
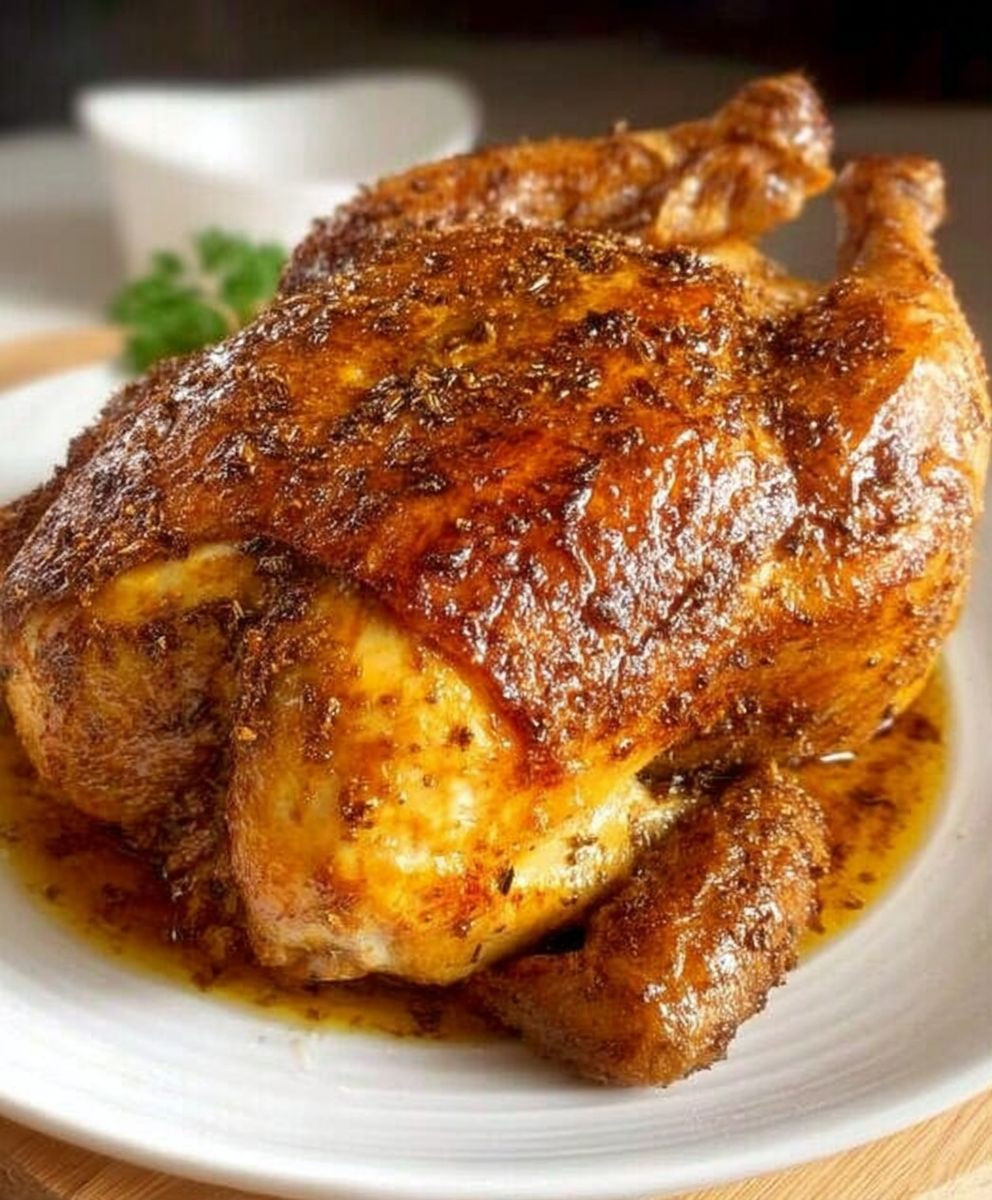
Whole Roasted Chicken: Is there anything more comforting than the aroma of a perfectly roasted chicken wafting through your home? I think not! This isn’t just a meal; it’s an experience, a centerpiece that brings people together. Imagine the golden-brown skin, glistening with savory juices, promising a tender and flavorful feast.
Roasting a whole chicken is a culinary tradition that spans cultures and generations. From humble peasant kitchens to grand royal feasts, the simple act of roasting a bird has always been a symbol of abundance and celebration. It’s a dish that speaks of home, of warmth, and of shared moments around the table.
But why do we love whole roasted chicken so much? It’s more than just nostalgia. The combination of crispy skin and succulent meat is simply irresistible. Plus, it’s incredibly versatile! Enjoy it hot with your favorite sides, or use the leftovers for sandwiches, salads, soups, and more. And let’s not forget the incredible chicken stock you can make from the carcass – a true gift that keeps on giving! This recipe will guide you through creating a truly memorable and delicious whole roasted chicken, perfect for any occasion.

Ingredients:
- 1 whole chicken (3-4 lbs), giblets removed
- 1 lemon, quartered
- 1 head of garlic, cut in half horizontally
- 2 sprigs fresh rosemary
- 2 sprigs fresh thyme
- 2 tablespoons olive oil
- 1 tablespoon kosher salt
- 1 teaspoon black pepper
- 1 teaspoon paprika
- 1/2 teaspoon garlic powder
- 1/2 teaspoon onion powder
- 1/4 teaspoon cayenne pepper (optional, for a little kick)
- 1 large onion, quartered
- 2 carrots, roughly chopped
- 2 celery stalks, roughly chopped
- 1 cup chicken broth
Preparing the Chicken:
Okay, let’s get started! First things first, we need to prep our chicken. This is a crucial step for ensuring a juicy and flavorful roast.
- Pat the Chicken Dry: This is super important! Use paper towels to thoroughly pat the chicken dry, inside and out. A dry chicken will brown much better in the oven. Don’t skip this step!
- Season Inside the Cavity: Take a pinch of salt and pepper and sprinkle it inside the chicken cavity. This will season the meat from the inside out.
- Stuff the Cavity: Now, stuff the cavity with the quartered lemon, halved garlic head, rosemary sprigs, and thyme sprigs. This aromatic mixture will infuse the chicken with amazing flavor as it roasts. Make sure everything is snug inside.
- Prepare the Herb Butter (Optional, but Recommended!): In a small bowl, combine 1 tablespoon of softened butter with 1 teaspoon of chopped fresh rosemary and 1 teaspoon of chopped fresh thyme. Mix well. Gently loosen the skin on the chicken breast by sliding your fingers between the skin and the meat. Be careful not to tear the skin. Spread the herb butter under the skin of the chicken breast. This will add extra flavor and moisture to the breast meat.
Preparing the Rub:
The rub is where we really build the flavor profile of our roasted chicken. Don’t be afraid to experiment with different spices, but this combination is a classic for a reason!
- Combine the Spices: In a small bowl, combine the olive oil, kosher salt, black pepper, paprika, garlic powder, onion powder, and cayenne pepper (if using). Mix well to form a paste.
- Rub the Chicken: Using your hands, generously rub the spice mixture all over the outside of the chicken, making sure to coat every nook and cranny. Get under the wings and around the legs. The more even the coating, the better the browning.
Preparing the Roasting Pan:
The roasting pan setup is key for even cooking and delicious pan juices. We’re creating a bed of vegetables that will elevate the chicken and add flavor to the drippings.
- Arrange the Vegetables: In the bottom of a roasting pan, spread the quartered onion, chopped carrots, and chopped celery stalks. These vegetables will act as a natural roasting rack, preventing the chicken from sitting directly in the pan juices and promoting even air circulation.
- Add Chicken Broth: Pour the chicken broth into the bottom of the roasting pan. This will help keep the vegetables from burning and create flavorful pan juices that you can use to make a delicious gravy later.
- Place the Chicken: Place the seasoned chicken on top of the vegetables in the roasting pan. Make sure it’s sitting securely and not touching the sides of the pan.
Roasting the Chicken:
Now for the main event! Roasting the chicken is all about temperature and time. We’ll start with a high temperature to get the skin nice and crispy, then lower the temperature to cook the chicken through without drying it out.
- Preheat the Oven: Preheat your oven to 450°F (232°C). Make sure your oven rack is in the center position.
- Roast at High Temperature: Place the roasting pan in the preheated oven and roast for 30 minutes. This high heat will help to brown the skin quickly.
- Reduce Temperature: After 30 minutes, reduce the oven temperature to 350°F (175°C).
- Continue Roasting: Continue roasting for another 1 hour to 1 hour and 30 minutes, or until the internal temperature of the chicken reaches 165°F (74°C) in the thickest part of the thigh. Use a meat thermometer to check the temperature. This is the most accurate way to ensure the chicken is cooked through.
- Basting (Optional, but Recommended!): Every 30 minutes, baste the chicken with the pan juices. This will help keep the chicken moist and add extra flavor to the skin.
- If the Chicken Browns Too Quickly: If the chicken starts to brown too quickly, tent it loosely with aluminum foil. This will prevent the skin from burning while allowing the chicken to continue cooking.
Resting the Chicken:
Resting the chicken is just as important as cooking it! This allows the juices to redistribute throughout the meat, resulting in a more tender and flavorful bird.
- Remove from Oven: Once the chicken reaches an internal temperature of 165°F (74°C), remove it from the oven.
- Rest: Transfer the chicken to a cutting board and let it rest for at least 15-20 minutes before carving. Cover it loosely with aluminum foil to keep it warm.
Making the Gravy (Optional):
While the chicken is resting, you can make a delicious gravy using the pan drippings. This is a great way to use all the flavorful juices and vegetables from the roasting pan.
- Strain the Pan Juices: Carefully pour the pan juices through a fine-mesh sieve into a heatproof bowl or measuring cup. Discard the solids (vegetables and herbs).
- Skim the Fat: Let the pan juices sit for a few minutes to allow the fat to rise to the top. Skim off as much of the fat as possible using a spoon or a fat separator.
- Make a Roux: In a saucepan, melt 2 tablespoons of butter over medium heat. Whisk in 2 tablespoons of all-purpose flour and cook for 1-2 minutes, stirring constantly, until the mixture is smooth and golden brown. This is your roux.
- Whisk in the Pan Juices: Gradually whisk the skimmed pan juices into the roux, making sure to break up any lumps.
- Simmer and Thicken: Bring the gravy to a simmer and cook for 5-10 minutes, or until it has thickened to your desired consistency. Stir occasionally to prevent sticking.
- Season to Taste: Season the gravy with salt and pepper to taste. You can also add a splash of cream or a squeeze of lemon juice for extra flavor.
Carving and Serving:
Now for the final step – carving and serving your perfectly roasted chicken! Here’s how to carve it like a pro:
- Remove the Legs: Using a sharp carving knife, cut through the skin and joint connecting the leg to the body. Pull the leg away from the body and cut through the remaining joint to detach it completely. Repeat on the other side.
- Separate the Thigh and Drumstick: Cut through the joint connecting the thigh and drumstick to separate them.
- Remove the Wings: Cut through the skin and joint connecting the wing to the body. Pull the wing away from the body and cut through the remaining joint to detach it completely. Repeat on the other side.
- Carve the Breast: Locate the breastbone in the center of the chicken. Using your carving knife, slice down along one side of the breastbone, following the curve of the rib cage. Continue slicing until you have removed the entire breast. Repeat on the other side.
- Slice the Breast: Slice the breast meat into thin, even slices.
- Arrange and Serve: Arrange the carved chicken on a platter and serve with the gravy (if made) and your favorite side dishes. Enjoy!
Conclusion:
So, there you have it! This Whole Roasted Chicken recipe isn’t just another chicken dinner; it’s a gateway to countless delicious meals and a confidence booster in the kitchen. I truly believe that once you master this simple technique, you’ll find yourself roasting a chicken every week. The aroma alone is enough to make your house feel like home, and the taste? Absolutely divine.
Why is this a must-try? Because it’s incredibly easy, surprisingly quick (considering it’s a whole chicken!), and yields the most succulent, flavorful bird you’ve ever tasted. Forget dry, bland chicken – this recipe guarantees juicy meat and crispy skin every single time. Plus, it’s a fantastic way to impress your family and friends without spending hours slaving away in the kitchen. It’s a win-win!
But the beauty of this recipe doesn’t stop there. Think of it as a blank canvas for your culinary creativity. Want to add a touch of Mediterranean flair? Toss some lemon wedges, olives, and rosemary sprigs into the cavity before roasting. Craving something spicier? Rub the chicken with a blend of chili powder, cumin, and smoked paprika. The possibilities are endless!
Serving Suggestions and Variations:
Of course, a perfectly roasted chicken deserves equally delicious sides. I personally love serving it with roasted root vegetables like carrots, potatoes, and parsnips. Their sweetness complements the savory chicken beautifully. A simple green salad with a light vinaigrette adds a refreshing contrast. And don’t forget the gravy! Use the pan drippings to create a rich, flavorful gravy that will have everyone licking their plates clean.
But the fun doesn’t have to end with dinner. Leftover roasted chicken is a gift that keeps on giving! Shred it and use it in chicken salad sandwiches, tacos, or enchiladas. Add it to soups or stews for a protein boost. Or simply enjoy it cold with a side of your favorite dipping sauce. I often use the carcass to make a flavorful chicken broth, which is perfect for soups, sauces, and risottos. Nothing goes to waste!
Here are a few more ideas to get your creative juices flowing:
- Herb Roasted Chicken: Use a combination of fresh herbs like thyme, rosemary, and sage to create a fragrant and flavorful rub.
- Lemon Herb Roasted Chicken: Add lemon zest and juice to the herb rub for a bright and zesty flavor.
- Spicy Roasted Chicken: Use a blend of chili powder, cumin, and smoked paprika for a spicy kick.
- Garlic Roasted Chicken: Add plenty of minced garlic to the rub for a pungent and savory flavor.
- Honey Glazed Roasted Chicken: Brush the chicken with a honey glaze during the last 15 minutes of roasting for a sweet and sticky finish.
I’m so excited for you to try this recipe and experience the joy of roasting your own chicken. It’s a skill that will serve you well for years to come. So, gather your ingredients, preheat your oven, and get ready to create a culinary masterpiece.
And most importantly, don’t be afraid to experiment and make it your own! Cooking should be fun and rewarding. Once you’ve tried this Whole Roasted Chicken recipe, I’d love to hear about your experience. Share your photos, tips, and variations in the comments below. Let’s inspire each other to create delicious meals and build a community of passionate home cooks. Happy roasting!
Whole Roasted Chicken: The Ultimate Guide to Perfecting Your Bird
Juicy and flavorful whole roasted chicken with crispy skin, infused with lemon, garlic, and herbs. Served with optional homemade gravy.
Ingredients
Instructions
Recipe Notes
- Patting the chicken dry is crucial for achieving crispy skin.
- Use a meat thermometer to ensure the chicken is cooked to a safe internal temperature of 165°F (74°C).
- Resting the chicken allows the juices to redistribute, resulting in a more tender and flavorful bird.
- Basting the chicken with pan juices helps keep it moist and adds flavor to the skin.
- If the chicken browns too quickly, tent it loosely with aluminum foil.
- The gravy is optional but a great way to use the flavorful pan drippings.
Leave a Comment