
Rice Krispies Treats: A Nostalgic Delight
Rice Krispies Treats: Just the name conjures up images of childhood, doesn’t it? The simple pleasure of gooey, marshmallowy squares, perfectly crisp on the edges, is a memory cherished by generations. This isn’t just a recipe; it’s a trip down memory lane, a taste of simpler times, and a guaranteed crowd-pleaser that’s as easy to make as it is to devour.
While the exact origins are a bit hazy, the iconic Rice Krispies Treats recipe, as we know it, emerged in the early 20th century, cleverly capitalizing on the popularity of Kellogg’s Rice Krispies cereal. It quickly became a staple in kitchens across America, transforming a simple breakfast cereal into a beloved after-school snack, party favorite, and even a sophisticated dessert base for more adventurous bakers. Its enduring popularity speaks volumes about its versatility and undeniable deliciousness.
What makes Rice Krispies Treats so universally loved? It’s the perfect balance of textures, of course! The satisfying crunch of the Rice Krispies contrasts beautifully with the soft, chewy marshmallow filling. It’s a delightful combination that’s both comforting and exciting. Beyond the texture, the taste is pure, unadulterated sweetness – a nostalgic flavor that instantly transports you back to carefree days. And let’s not forget the convenience! This recipe requires minimal ingredients and even less effort, making it ideal for busy weeknights or spontaneous baking sessions.
So, whether you’re a seasoned baker or a complete novice, get ready to rediscover the magic of homemade Rice Krispies Treats. This recipe is more than just instructions; it’s a chance to create lasting memories and share a little bit of happiness, one gooey square at a time.

Ingredients:
- 6 tablespoons (3 ounces) unsalted butter
- 1 (10 ounce) package marshmallows (mini or regular)
- 6 cups Rice Krispies cereal
- 1 teaspoon vanilla extract (optional, but highly recommended!)
- ¼ teaspoon salt
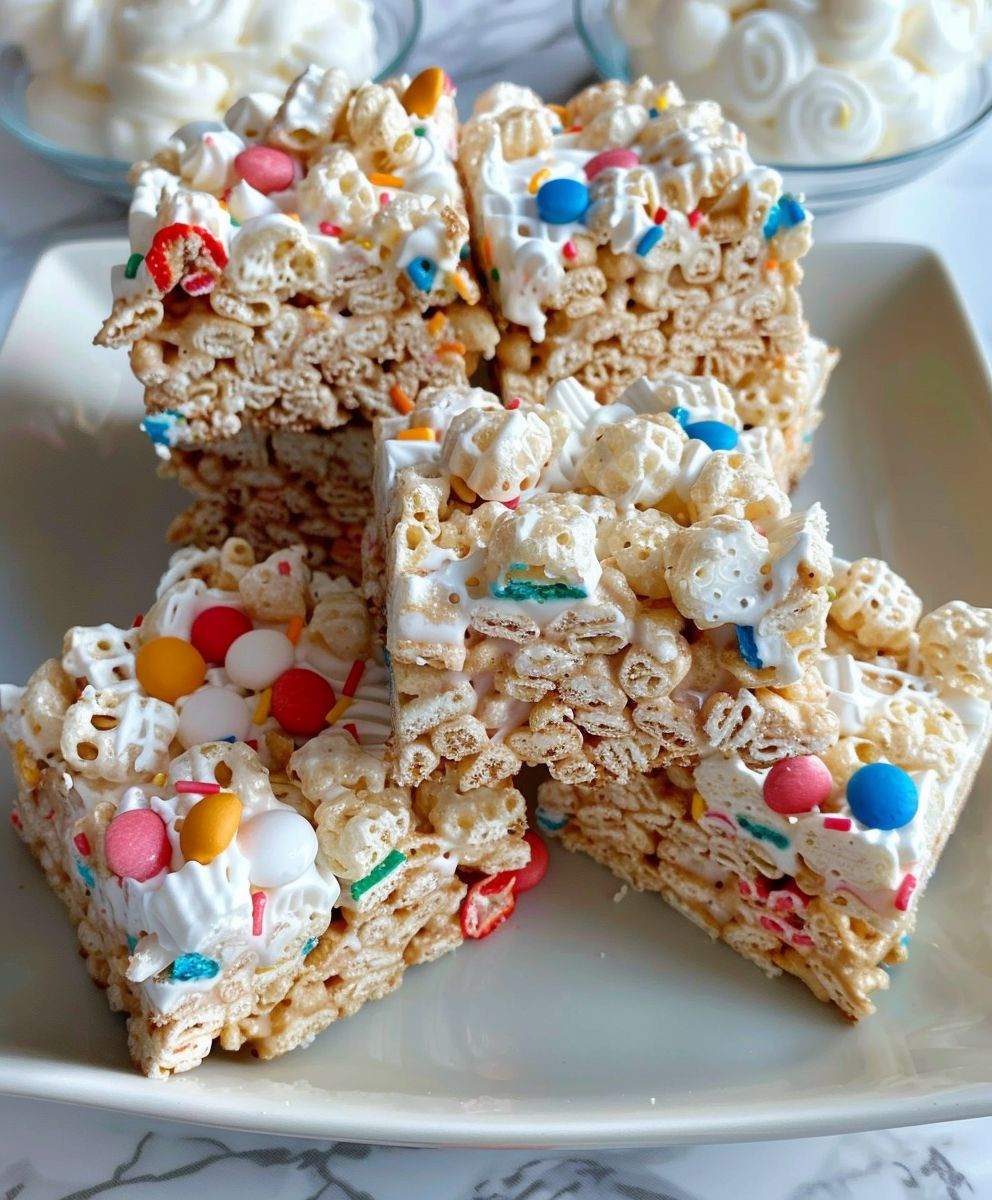
- Optional additions: ½ cup chocolate chips, ½ cup mini marshmallows, ¼ cup sprinkles, chopped nuts (peanuts, almonds, etc.), dried fruit (cranberries, chopped apricots), butterscotch chips
Preparing the Butter and Marshmallows:
- I always start by greasing my 9×13 inch baking pan. I use a little bit of butter or cooking spray – this prevents sticking and makes cleanup a breeze. Trust me on this one!
- Next, I melt the butter in a large, heavy-bottomed saucepan over low heat. Low and slow is key here; we don’t want to burn the butter. Stir occasionally to ensure even melting.
- Once the butter is completely melted, I add the marshmallows. I use a spatula to gently stir the marshmallows into the melted butter. This takes a little patience, but it’s important to make sure all the marshmallows are coated in butter before they start to melt.
- Keep stirring constantly! This prevents scorching and ensures the marshmallows melt evenly. It’s a bit of a workout for your arm, but it’s worth it for perfectly smooth Rice Krispies Treats.
- Once the marshmallows are completely melted and the mixture is smooth, I remove the pan from the heat. This is crucial to prevent further melting and potential burning.
- Now comes the fun part – adding flavor! I stir in the vanilla extract and salt. The vanilla adds a lovely depth of flavor, and the salt balances the sweetness of the marshmallows. If you’re using any optional additions (chocolate chips, sprinkles, etc.), this is the time to add them and stir gently to distribute them evenly.
Combining with Cereal:
- This is where things get a little messy (but in a good way!). I gently fold in the Rice Krispies cereal. I use a spatula to carefully mix the cereal into the marshmallow mixture, making sure all the cereal is coated. I try not to overmix, as this can crush the cereal and make the treats less crispy.
- Important Note: Don’t be tempted to use a mixer for this step. The marshmallow mixture is sticky, and a mixer will likely make a huge mess and potentially break your mixer. A spatula or wooden spoon is your best friend here.
- Once the cereal is evenly coated, I check for any uncoated cereal pieces and gently fold them in. I aim for a uniform mixture, with no pockets of just marshmallow or just cereal.
Pressing and Cooling:
- I carefully pour the mixture into my prepared 9×13 inch baking pan. I use a spatula to spread the mixture evenly into the pan, pressing down firmly to create a compact layer. This step is crucial for achieving the perfect texture.
- I use the back of a spatula or a lightly greased measuring cup to press down firmly on the mixture. This ensures that the treats are dense and not crumbly. I make sure to press down evenly across the entire surface.
- Pro Tip: For extra even pressing, I use a piece of parchment paper on top of the mixture and press down with a flat object, like a rolling pin or the bottom of a glass. This helps to create a perfectly smooth top.
- Once the mixture is evenly pressed, I let it cool completely at room temperature. This usually takes about 30-45 minutes. Cooling is essential for the treats to set properly and prevent them from being too sticky.
- Once cooled, I use a sharp knife to cut the treats into squares. I lightly grease the knife with butter or cooking spray between each cut to prevent sticking. I usually cut them into 16 squares, but you can adjust the size depending on your preference.
- And that’s it! Your homemade Rice Krispies Treats are ready to enjoy. Store them in an airtight container at room temperature for up to 3 days. They’re best enjoyed fresh, but they’ll still be delicious for a few days.
Variations and Flavor Combinations:
- Chocolate Lovers Delight: Add ½ cup of chocolate chips along with the marshmallows. You can also drizzle melted chocolate over the top after they’ve cooled.
- Nutty Professor: Incorporate ½ cup of chopped nuts (peanuts, almonds, pecans) for a crunchy twist.
- Fruity Fun: Add ¼ cup of dried cranberries or chopped apricots for a burst of fruity flavor.
- Butterscotch Bliss: Substitute butterscotch chips for the chocolate chips for a caramel-like flavor.
- Rainbow Sprinkle Extravaganza: Add ¼ cup of sprinkles for a festive and colorful treat.
- Salted Caramel Surprise: Add a pinch of sea salt to the marshmallow mixture and drizzle with caramel sauce after cooling.
Conclusion:
So there you have it – my recipe for the ultimate Rice Krispies Treats! I truly believe this recipe is a must-try for anyone, from seasoned bakers to complete beginners. Why? Because it’s incredibly simple, requiring just a handful of readily available ingredients, yet delivers a consistently delicious result every single time. The perfectly gooey marshmallow center, combined with the satisfying crunch of the Rice Krispies, creates a textural masterpiece that’s simply irresistible. It’s the kind of treat that evokes childhood memories and brings a smile to everyone’s face.
Why This Rice Krispies Treats Recipe Stands Out:
This isn’t your average Rice Krispies Treats recipe. I’ve spent years perfecting this method, ensuring that the marshmallows melt evenly, resulting in a treat that’s neither too hard nor too sticky. The addition of a touch of butter adds richness and depth of flavor, elevating this classic snack to a whole new level. And let’s be honest, who doesn’t love a perfectly golden-brown, evenly-cooked Rice Krispies Treat?
Beyond the basic recipe, the possibilities are endless! This is where you can truly get creative and personalize your treats. Experiment with different flavors and add-ins to create your own signature Rice Krispies Treats masterpiece.
Serving Suggestions and Variations:
These Rice Krispies Treats are fantastic on their own, but they’re even better with a few additions! Try serving them with a scoop of vanilla ice cream for a truly decadent dessert. A drizzle of melted chocolate or a sprinkle of colorful sprinkles adds a touch of visual appeal and extra flavor. For a festive twist, consider adding chopped nuts, dried fruit, or even mini marshmallows for an extra layer of texture and sweetness.
Here are a few of my favorite variations:
- Chocolate Rice Krispies Treats: Simply add ½ cup of semi-sweet chocolate chips to the melted marshmallow mixture.
- Peanut Butter Rice Krispies Treats: Stir in ½ cup of creamy peanut butter along with the marshmallows.
- Fruity Rice Krispies Treats: Fold in ½ cup of your favorite dried fruit, such as cranberries, cherries, or blueberries.
- S’mores Rice Krispies Treats: Layer crushed graham crackers and mini marshmallows on top of the Rice Krispies Treats before cutting.
The beauty of this recipe is its adaptability. Feel free to experiment with different flavors and add-ins to create your own unique Rice Krispies Treats. Don’t be afraid to get creative and have fun with it!
Give it a Try and Share Your Experience!
I genuinely hope you’ll give this Rice Krispies Treats recipe a try. It’s a guaranteed crowd-pleaser, perfect for parties, potlucks, or simply satisfying a sweet craving. Once you’ve made them, I’d love to hear about your experience! Share your photos and feedback on social media using #MyPerfectRiceKrispiesTreats. I can’t wait to see your delicious creations and hear about your favorite variations. Happy baking!
Remember, the best Rice Krispies Treats are the ones you make with love!
Rice Krispies Treats: The Ultimate Guide to Making the Perfect Squares
Classic no-bake Rice Krispies treats recipe with optional add-ins like chocolate chips, nuts, or sprinkles. Easy to make and customizable for different flavors.
Ingredients
Instructions
Recipe Notes
- Low and slow melting of the marshmallows is key to prevent burning. Constant stirring is crucial.
- Do not use a mixer to combine the cereal and marshmallow mixture; it will make a mess. A spatula or wooden spoon works best.
- Pressing the mixture firmly ensures a dense, non-crumbly treat.
- Variations are endless! Experiment with different flavor combinations.
Leave a Comment