
Strawberry Cheesecake Protein Balls are about to become your new favorite guilt-free indulgence! Imagine biting into the luscious, creamy flavor of a classic strawberry cheesecake, but without the oven, the baking, or the sugar rush. That’s precisely what we’ve crafted for you today. While protein balls themselves are a modern marvel, born from the desire for convenient, nutritious snacking, the inspiration for this particular treat harks back to the timeless popularity of the beloved cheesecake – a dessert enjoyed across cultures for centuries, now reimagined for the health-conscious era.
Why Everyone Loves These Guilt-Free Treats
I find that people absolutely adore these delightful bites because they strike the perfect balance between decadence and dietary goals. They offer an incredible burst of flavor that genuinely satisfies those dessert cravings, boasting a delightful chewy texture that makes them feel substantial. Beyond the amazing taste, their sheer convenience is a game-changer. These no-bake wonders are incredibly easy to prepare, making them ideal for busy mornings, a post-workout refuel, or a satisfying afternoon pick-me-up. Get ready to fall in love with these versatile and utterly delicious Strawberry Cheesecake Protein Balls!

Ingredients:
- 1 ½ cups (120g) rolled oats (gluten-free if preferred): I always go for classic rolled oats because they provide a lovely texture and absorb moisture beautifully, giving our protein balls a satisfying chewiness.
- 2 scoops (approx. 60g) vanilla protein powder: This is the star of our “Strawberry Cheesecake Protein Balls”! A good quality vanilla protein powder is essential for that creamy, dessert-like flavor and, of course, the protein boost. Whey or plant-based vanilla protein powder both work wonderfully.
- ½ cup (120g) light cream cheese, softened: Make sure your cream cheese is at room temperature. This is crucial for achieving that smooth, luscious “cheesecake” consistency in our protein balls. It’s what gives them that signature tang and richness.
- ¼ cup (60ml) sugar-free strawberry preserves or jam: For that vibrant strawberry flavor! I love using sugar-free options to keep the macros in check, but any good quality strawberry jam will do. It adds sweetness, a lovely fruity burst, and helps bind everything together.
- 2 tablespoons (30ml) unsweetened almond milk (or milk of choice): We’ll use this to adjust the consistency of our dough. Sometimes protein powders can be a bit thirsty, so having a little extra liquid on hand ensures our “Strawberry Cheesecake Protein Balls” are perfectly pliable.
- 2 tablespoons (30ml) maple syrup or honey (or liquid sweetener of choice): This adds a touch of natural sweetness and helps with the binding. Adjust to your personal preference; if your protein powder is very sweet, you might need less.
- 1 teaspoon vanilla extract: A classic for enhancing all those sweet, creamy flavors and really bringing out the “cheesecake” essence. Don’t skip this!
- ¼ teaspoon sea salt: Just a pinch to balance the sweetness and really make all the other flavors pop. It’s amazing what a little salt can do.
- Optional Coatings/Mix-ins:
- ½ cup freeze-dried strawberries, crushed into a powder: My absolute favorite for coating! It gives our “Strawberry Cheesecake Protein Balls” a beautiful pink hue and an intense, natural strawberry flavor. You can crush them in a food processor or with a rolling pin in a bag.
- ¼ cup graham cracker crumbs: For a more authentic “cheesecake crust” vibe.
- ¼ cup shredded unsweetened coconut: Adds another layer of texture and a tropical hint.
- 2 tablespoons mini white chocolate chips (sugar-free optional): A delicious treat to mix into the dough or sprinkle on top.
Preparing the Delectable Base Mixture
-
Gather Your Tools and Ingredients:
Before we dive into creating these irresistible Strawberry Cheesecake Protein Balls, take a moment to gather all your ingredients and equipment. Make sure your cream cheese is lovely and soft – this is truly non-negotiable for a smooth mixture! Having everything laid out not only makes the process smoother but also ensures you don’t miss any crucial steps or ingredients. I find that a large mixing bowl, a sturdy spatula, and a measuring cup are my best friends for this recipe.
-
Combine the Dry Foundation:
In your spacious mixing bowl, begin by combining the rolled oats, vanilla protein powder, and that tiny but mighty pinch of sea salt. Give these dry ingredients a really good whisk or stir. We want to ensure that the protein powder is evenly distributed throughout the oats. This step is more important than it might seem, as it sets the stage for a uniformly flavored and textured protein ball, preventing any pockets of unmixed powder. Think of it as building the perfect canvas for our delicious strawberry and cheesecake flavors!
Infusing Strawberry and Cheesecake Flavors into Our Protein Balls
-
Introduce the Creamy and Sweet Elements:
Now for the fun part where the magic really begins! To your dry oat and protein powder mixture, add the softened light cream cheese. I like to dollop it in a few places to make it easier to incorporate. Next, pour in the sugar-free strawberry preserves, the maple syrup (or honey), and that wonderful vanilla extract. These ingredients are what give our Strawberry Cheesecake Protein Balls their signature sweet, tangy, and creamy character.
-
Mix Until a Cohesive Dough Forms:
Using a strong spatula or, frankly, your clean hands (which I often prefer for a more tactile feel!), begin to mix all the ingredients together. This requires a bit of patience and elbow grease. At first, it might seem crumbly and like it won’t come together, but keep pressing and folding. The warmth from your hands can actually help soften the cream cheese and integrate everything. You’re aiming for a thick, cohesive dough that holds together when you squeeze a small portion between your fingers. It should be moist but not sticky, and firm enough to roll into balls.
-
Adjusting Consistency with Almond Milk:
This is where our almond milk comes into play as our secret weapon. If, after thorough mixing, your dough still feels too dry, crumbly, or isn’t holding its shape well, add the unsweetened almond milk one tablespoon at a time. Mix well after each addition and assess the texture. The goal is a pliable dough that is easy to roll. Different protein powders can absorb liquid differently, so this step ensures your Strawberry Cheesecake Protein Balls are perfectly textured every single time. Do not add too much liquid too quickly! You want a firm dough, not a wet batter. A slightly tacky feel is okay, but it shouldn’t stick excessively to your hands.
-
Optional: Folding in Extra Goodies:
If you’ve decided to include some delightful mix-ins, now is the time to gently fold them into your perfectly prepared dough. Whether you’re adding mini white chocolate chips for a touch of decadence or extra crushed freeze-dried strawberries for an intense burst of fruit, incorporate them evenly. This ensures every bite of your Strawberry Cheesecake Protein Balls offers a delightful surprise. Just be careful not to overmix once these are added.
Forming and Coating Our Delicious Strawberry Cheesecake Protein Balls
-
Prepare Your Rolling Station:
Before you start shaping, set up your coating ingredients in a shallow dish or plate. If you’re using crushed freeze-dried strawberries, make sure they are finely powdered for the best adherence and a beautiful, vibrant color. If using graham cracker crumbs or shredded coconut, have them ready. This preparation step makes the rolling and coating process much more efficient and less messy.
-
Portioning the Dough:
To ensure all your Strawberry Cheesecake Protein Balls are uniform in size (and thus, in calories and protein!), I highly recommend using a small cookie scoop (about 1.5 to 2 tablespoons in size). Scoop out portions of the dough and place them on a clean surface or a parchment-lined baking sheet. If you don’t have a scoop, simply eyeball portions, aiming for roughly the same amount for each ball.
-
Hand-Rolling for Perfection:
Take each portion of dough and gently roll it between the palms of your hands. Apply light, even pressure to form a smooth, compact ball. If the dough feels a little sticky, you can lightly dampen your hands or even dust them with a tiny bit of extra protein powder, though this shouldn’t be necessary if the consistency was adjusted correctly in the previous steps. The goal is a firm, round shape that will hold up well. This is a satisfying process, seeing your efforts transform into perfectly formed Strawberry Cheesecake Protein Balls.
-
Coating for Extra Flavor and Visual Appeal:
Once you’ve rolled a ball, immediately transfer it to your prepared coating dish. Roll the ball gently in the coating until it’s evenly covered. For the crushed freeze-dried strawberries, you’ll find they stick wonderfully and create a stunning, natural pink exterior. If using graham cracker crumbs, they mimic the classic cheesecake crust beautifully. Place the coated protein balls back onto your parchment-lined baking sheet or directly into an airtight container. Repeat this process for all remaining dough until you have a tray full of gorgeous, ready-to-chill Strawberry Cheesecake Protein Balls. This step not only adds to the aesthetic but also enhances the overall flavor and texture experience!
Chilling and Storing Your Strawberry Cheesecake Protein Balls
-
The Essential Chill:
This step is absolutely crucial for letting the flavors meld and for the protein balls to firm up to their ideal consistency. Once all your Strawberry Cheesecake Protein Balls are rolled and coated, transfer the baking sheet or airtight container to the refrigerator. Allow them to chill for at least 30 minutes. I often find that an hour or even two yields the best results. During this chilling time, the oats will continue to absorb moisture, the cream cheese will firm up, and all those delightful strawberry and cheesecake flavors will deepen and harmonize. Patience is key here! You’ll be rewarded with a much more satisfying bite.
-
Long-Term Storage for Freshness:
Once thoroughly chilled and firm, your delicious Strawberry Cheesecake Protein Balls are ready to be enjoyed! For storage, transfer them to an airtight container. I usually layer them with small pieces of parchment paper between layers if I’m stacking them, just to prevent any sticking, although they generally hold their shape well once firm. Store them in the refrigerator for up to one week. They are a fantastic grab-and-go snack, pre- or post-workout treat, or even a healthier dessert option.
-
Freezing for Extended Enjoyment:
If you’ve made a larger batch or want to keep a stash of Strawberry Cheesecake Protein Balls on hand for even longer, they freeze beautifully! To freeze, arrange the fully chilled protein balls in a single layer on a parchment-lined baking sheet. Place the sheet in the freezer for about 1-2 hours, or until the balls are completely solid. This step is called flash-freezing and prevents them from sticking together. Once solid, transfer the frozen protein balls to a freezer-safe bag or airtight container. They will keep well in the freezer for up to 2-3 months. When you’re ready to enjoy one, simply pull it out of the freezer and let it thaw in the refrigerator for an hour or at room temperature for about 15-20 minutes. They’re just as delicious thawed as they are fresh, making them incredibly convenient!
-
Enjoying Your Hard Work:
Finally, it’s time to indulge! Take a moment to appreciate your culinary creation. These homemade Strawberry Cheesecake Protein Balls are not only packed with protein and delightful flavors, but they’re also a testament to how easy and enjoyable healthy snacking can be. Whether you enjoy them as a quick breakfast, a midday energy boost, or a sweet treat after dinner, I hope you savor every single bite. They truly hit that perfect balance between decadent dessert and nutritious fuel. Enjoy!

Conclusion:
Well, there you have it, my friends! I truly hope you’re as excited about this recipe as I am. We’ve journeyed through the simple steps of creating something truly magical in your kitchen, something that doesn’t just taste incredible but also aligns perfectly with your wellness goals. This isn’t just another snack; it’s a delightful experience waiting to happen. What makes this recipe a definite must-try, you ask? It’s the perfect trifecta of ease, nutrition, and absolutely unbeatable flavor. Imagine sinking your teeth into a creamy, tangy, and subtly sweet treat that feels indulgent but is secretly packed with wholesome ingredients and, most importantly, a generous boost of protein.
These aren’t your average, guilt-ridden dessert. Oh no, these are a revelation. They are the ideal solution for those mid-afternoon slumps, a fantastic pre- or post-workout fuel, or simply a guilt-free way to satisfy that sweet tooth without derailing your progress. The no-bake aspect is a game-changer, making them accessible to even the most novice of kitchen adventurers. You don’t need fancy equipment or extensive culinary skills to achieve perfect results every single time. The vibrant burst of strawberry, combined with the rich, luxurious creaminess reminiscent of your favorite cheesecake, creates a flavor profile that is truly irresistible. I genuinely believe you’ll fall in love with these Strawberry Cheesecake Protein Balls from the very first bite.
Serving Suggestions for Your Delightful Creations:
Now, let’s talk about making these beauties your own! While I adore the classic version, the beauty of these treats lies in their versatility. For serving, I love them straight from the fridge, perfectly chilled, perhaps alongside a cup of freshly brewed coffee or a soothing herbal tea. They make an excellent addition to lunchboxes for both kids and adults, offering a much-needed energy boost. Think about arranging them on a small platter for a casual gathering – they’re always a hit! They’re also perfect as a thoughtful, homemade gift when packaged nicely, showing someone you care about their health and happiness.
Unleash Your Creativity: Exciting Variations!
When it comes to variations, the sky’s the limit. Feel free to experiment with different nut butters; almond or cashew butter can offer a slightly different nuance to the base, making it even creamier or nuttier. If you’re not a fan of vanilla protein, try an unflavored one to let the strawberry shine even more, or even a chocolate protein powder for a completely different “chocolate strawberry cheesecake” vibe. For coatings, while shredded coconut is a personal favorite, consider rolling them in finely chopped pistachios, cocoa powder for a rich finish, or even extra crushed freeze-dried strawberries for an even more intense berry punch and beautiful color. A little orange zest mixed into the dough can add a wonderfully bright, citrusy note that complements the strawberry beautifully. For a bit of textural contrast, mini sugar-free chocolate chips or chopped dried cranberries could be folded into the mixture, adding another layer of flavor and chewiness. If you prefer a chewier texture, you can add a little more rolled oats, or for a smoother, creamier bite, reduce the oats slightly. These are fantastic as individual balls, but you could also press the entire mixture into a lined square pan, chill it, and then cut it into “Strawberry Cheesecake Protein Bars” for an equally delicious grab-and-go option. Don’t be afraid to swap out the freeze-dried strawberries for other berries like raspberries or blueberries, adapting them to whatever fruit is in season or to your personal preference. Each variation offers a new adventure for your taste buds!
This is truly more than just a recipe; it’s an invitation to elevate your snacking game.
So, what are you waiting for? I wholeheartedly encourage you to give this recipe for Strawberry Cheesecake Protein Balls a try this week. You’ll be amazed at how quickly they come together and how utterly satisfying they are. I promise, your taste buds (and your body) will thank you. Once you’ve whipped up a batch and savored every delicious bite, I would absolutely love to hear about your experience! Did you stick to the original, or did you create your own unique variation? Please share your thoughts, your photos, and your triumphs. Your feedback not only brings a smile to my face but also inspires others in our wonderful community. Let’s make healthy snacking delicious and fun together! Happy snacking, everyone!
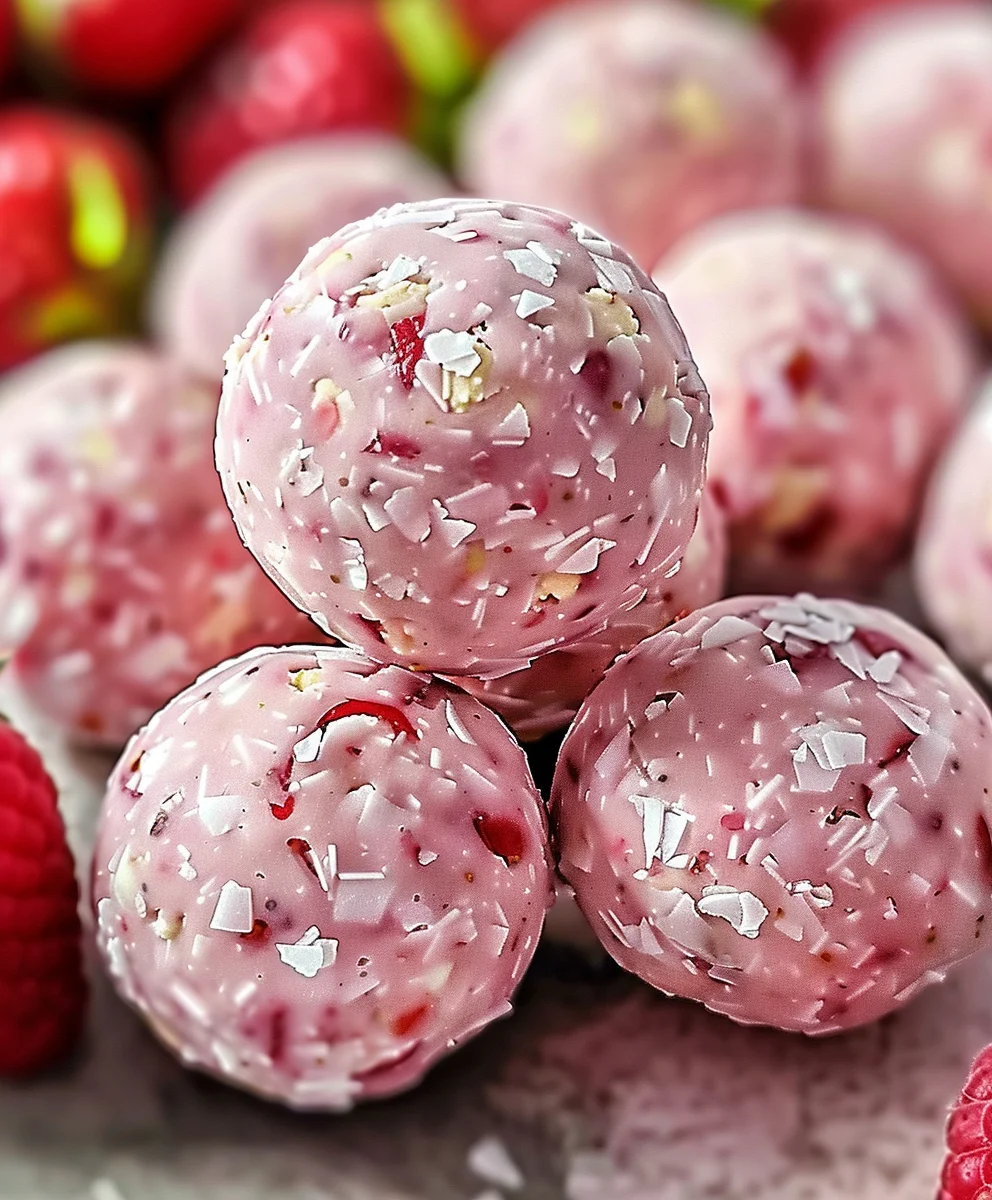
Strawberry Cheesecake Protein Balls
Imagine biting into the luscious, creamy flavor of a classic strawberry cheesecake, but without the oven or the sugar rush. These no-bake Strawberry Cheesecake Protein Balls are a guilt-free indulgence, offering a delightful chewy texture and satisfying dessert cravings for a healthy snack, post-workout refuel, or afternoon pick-me-up.
Ingredients
-
½ cup rolled oats
-
1 cup almond flour
-
2 scoops vanilla protein powder
-
¼ cup cream cheese, softened
-
¼ cup freeze-dried strawberries, crushed
-
2 tbsp honey or maple syrup
-
1 tsp vanilla extract
-
1–2 tbsp milk (as needed)
Instructions
-
Step 1
In a large mixing bowl, combine the rolled oats, almond flour, and vanilla protein powder. Stir well. -
Step 2
Add the softened cream cheese, crushed freeze-dried strawberries, honey or maple syrup, and vanilla extract to the dry mixture. -
Step 3
Mix all ingredients thoroughly until a thick, cohesive dough forms that holds together when squeezed. -
Step 4
If the dough is too dry, add milk one tablespoon at a time, mixing well after each addition, until the dough is pliable. Do not add too much liquid. -
Step 5
Scoop about 1.5 to 2 tablespoons of dough and roll it between your palms to form smooth, compact balls. Optionally, roll the formed balls in extra crushed freeze-dried strawberries for coating. -
Step 6
Place the protein balls on a parchment-lined baking sheet or in an airtight container and refrigerate for at least 30 minutes to firm up. Store in an airtight container in the refrigerator for up to one week, or freeze for longer storage.
Important Information
Nutrition Facts (Per Serving)
It is important to consider this information as approximate and not to use it as definitive health advice.
Allergy Information
Please check ingredients for potential allergens and consult a health professional if in doubt.
Leave a Comment