
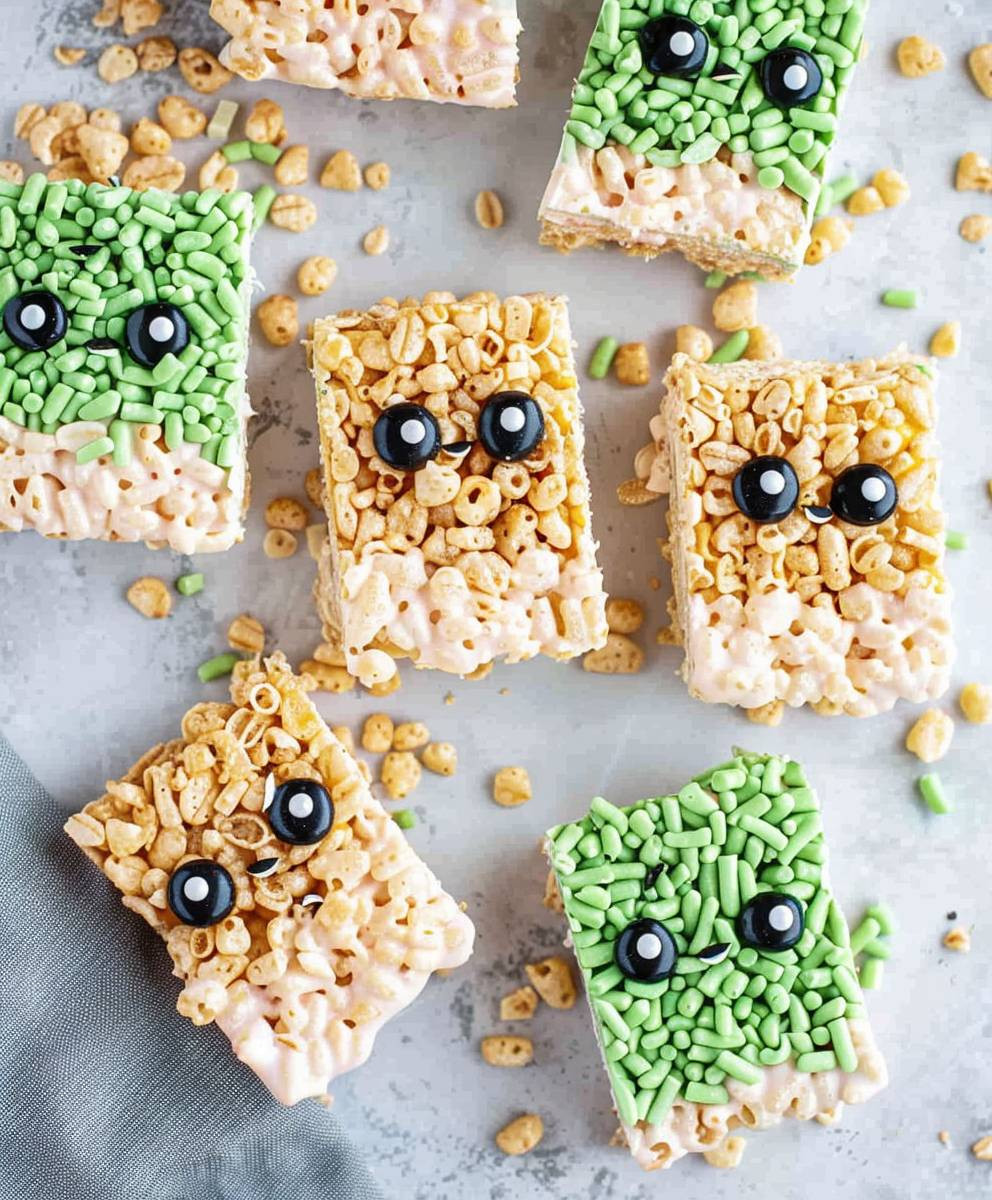
Monster Rice Krispies Treats
Monster Rice Krispies Treats: Have you ever craved a Rice Krispies treat that’s not just a treat, but a truly epic adventure for your taste buds? Then prepare yourself for a recipe that will transform your childhood favorite into something truly monstrously delicious! This isn’t your average, run-of-the-mill square; we’re talking about a colossal, customizable creation that’s perfect for Halloween parties, spooky movie nights, or any time you need a delightfully spooky snack.
While the classic Rice Krispies treat holds a cherished place in many hearts (and lunchboxes!), the history of this simple yet beloved confection is surprisingly understated. Its origins trace back to the 1930s, with Kellogg’s Rice Krispies cereal providing the perfect base for a sweet, crispy treat. However, the beauty of Monster Rice Krispies Treats lies in its adaptability. It’s a blank canvas for creativity, allowing you to personalize the flavor and appearance to match any theme or occasion.
What makes these monstrously good? The texture, of course! That satisfying crunch of the Rice Krispies, combined with the gooey, marshmallowy goodness, is simply irresistible. But it’s more than just texture; it’s the sheer fun of it all. The ability to mold and shape these treats into terrifyingly delightful monsters, complete with candy eyes, colorful sprinkles, and other spooky embellishments, makes them a crowd-pleaser for both kids and adults. Whether you’re a seasoned baker or a complete novice, this recipe is easy to follow and guarantees a delicious, visually stunning result. So, gather your ingredients, unleash your inner monster maker, and prepare to be amazed by these unforgettable Monster Rice Krispies Treats!

Ingredients:
- 6 tablespoons (3 ounces) unsalted butter
- 1 (10 ounce) bag marshmallows (mini marshmallows work best for this recipe)
- 1 teaspoon vanilla extract
- 6 cups Rice Krispies cereal (or other similar crispy rice cereal)
- 1 cup chocolate chips (semi-sweet or milk chocolate)
- 1/2 cup peanut butter (creamy or crunchy, your preference)
- 1/2 cup pretzels, roughly crushed
- 1/4 cup gummy worms, cut into smaller pieces
- Green food coloring (gel or liquid)
- Red food coloring (gel or liquid)
- Optional: Sprinkles, mini chocolate chips, other candies for decoration
Preparing the Marshmallow Base
- First, I like to grease a 9×13 inch baking pan generously with butter or cooking spray. This prevents sticking and makes cleanup a breeze!
- Next, in a large, heavy-bottomed saucepan over low heat, I melt the butter completely. Low and slow is key here to prevent burning the butter or marshmallows.
- Once the butter is melted, I add all the marshmallows to the saucepan. I stir them constantly with a spatula until they are completely melted and smooth. This usually takes about 5-7 minutes, depending on your stovetop.
- Remove the saucepan from the heat. I stir in the vanilla extract. This adds a lovely touch of flavor.
- Now, it’s time for the cereal! I gently fold in the Rice Krispies cereal until it’s evenly coated with the marshmallow mixture. Be careful not to overmix, as this can make the treats too dense.
- Quickly transfer the mixture to the prepared baking pan. I use a spatula to spread it evenly into a single layer. Work quickly, as the marshmallow mixture will start to cool and set.
Creating the Monster Features
- While the main treat base is still slightly warm and pliable, I start creating the monster features. First, I melt the chocolate chips in a microwave-safe bowl in 30-second intervals, stirring until smooth. You can also do this in a double boiler on the stovetop.
- I use a spoon to drizzle about half of the melted chocolate over the Rice Krispies mixture in a random pattern. This will create the monster’s “skin” texture.
- Next, I mix the peanut butter with a small amount of the remaining melted chocolate to create a thicker, spreadable consistency. This will be used for the monster’s eyes and mouth.
- Using a spoon or piping bag (if you have one), I create two large peanut butter “eyes” on the top of the treat. I add a few crushed pretzels around the eyes to give them a more textured look.
- For the monster’s mouth, I spread a long line of the peanut butter mixture across the bottom of the treats. I add a few more crushed pretzels to the mouth area for detail.
- Now for the fun part – the gummy worms! I press the cut-up gummy worms into the peanut butter mixture to create a jagged, monster-like mouth.
Adding Color and Finishing Touches
- I divide the remaining melted chocolate into two bowls. I add a few drops of green food coloring to one bowl and a few drops of red food coloring to the other. I stir until the color is evenly distributed. Start with a small amount of food coloring and add more as needed to achieve your desired shade.
- Using a toothpick or small spoon, I drizzle the green chocolate over parts of the treat to create a mossy or swampy effect. I do the same with the red chocolate, adding small streaks to create a more monstrous look.
- Finally, I sprinkle any remaining crushed pretzels, sprinkles, or mini chocolate chips over the entire treat for extra decoration. Let your creativity run wild!
- Once all the decorations are in place, I refrigerate the Monster Rice Krispies Treats for at least 30 minutes to allow the chocolate and peanut butter to set completely. This will make it easier to cut and serve.
- After chilling, I cut the treats into squares and serve. Enjoy your spooky and delicious creation!
Tips and Variations
- For a less messy experience, use a silicone baking pan.
- Feel free to experiment with different types of candy and decorations.
- If you don’t have gummy worms, you can use other candies like M&Ms or Skittles.
- For a more intense flavor, use flavored marshmallows.
- To make individual monster treats, use mini muffin tins.
Conclusion:
So there you have it – my recipe for Monster Rice Krispies Treats! I truly believe this recipe is a must-try for several reasons. First, it’s incredibly easy. Even the most novice baker can whip up a batch of these spooky-delicious treats in under 30 minutes. Second, the flavor combination is simply irresistible. The gooey, marshmallowy goodness perfectly complements the crispiness of the Rice Krispies, creating a textural masterpiece that’s both satisfying and addictive. And third, the fun factor is off the charts! These aren’t just treats; they’re a creative outlet, a chance to get messy in the kitchen, and a guaranteed crowd-pleaser for any Halloween gathering, party, or even a simple weeknight dessert.
But the fun doesn’t stop there! I’ve already experimented with a few variations, and I encourage you to do the same. For a richer, more decadent treat, try substituting dark chocolate chips for the milk chocolate. Or, for a truly monstrous twist, add a handful of chopped gummy worms or candy eyeballs to the mix before pressing into the pan. You could even get creative with the shapes – use cookie cutters to create fun monster shapes, or simply press the mixture into a muffin tin for individual servings. Imagine the possibilities! A sprinkle of colorful sprinkles adds a festive touch, while a drizzle of white chocolate can create a spooky “spiderweb” effect.
For serving suggestions, these Monster Rice Krispies Treats are perfect on their own, but they also pair beautifully with a glass of cold milk or a warm cup of cocoa. They’re a fantastic addition to a Halloween buffet, a spooky movie night, or even a classroom party. Cut them into small squares for easy snacking, or make larger bars for a more substantial treat. They’re also great for packing in lunchboxes – just be sure to store them in an airtight container to maintain their freshness.
Beyond the variations and serving suggestions, I encourage you to personalize these treats to your liking. Experiment with different types of candy, add nuts for extra crunch, or even incorporate different colored marshmallows for a more vibrant look. The possibilities are truly endless, and that’s what makes this recipe so special. It’s a blank canvas for your creativity, allowing you to create unique and delicious treats that are as individual as you are.
Don’t be afraid to get creative!
I’d love to see your creations! Once you’ve had a chance to make your own batch of Monster Rice Krispies Treats, share your photos and experiences with me on social media using #MonsterRiceKrispiesTreats. I can’t wait to see what monstrous masterpieces you come up with. And remember, the best part about baking is sharing your creations with loved ones. So gather your friends and family, put on some spooky music, and get ready for a fun-filled baking adventure. You won’t regret it!
Seriously, these Monster Rice Krispies Treats are more than just a recipe; they’re an experience. They’re a chance to unleash your inner child, to get creative in the kitchen, and to create delicious memories that will last a lifetime. So what are you waiting for? Grab your ingredients, put on your apron, and let’s get baking! Happy haunting (and baking!).
Monster Rice Krispies Treats: A Giant Recipe for Halloween
Spooky Rice Krispies treats with chocolate, peanut butter, and gummy worms.
Ingredients
Instructions
Recipe Notes
- Use a silicone baking pan for easier cleanup.
- Experiment with different candies and decorations.
- Flavored marshmallows can enhance the flavor.
- For individual treats, use mini muffin tins.
- Start with a small amount of food coloring and add more as needed. Gel food coloring provides more vibrant color than liquid.
- Work quickly with the marshmallow mixture as it sets rapidly once removed from heat.
Leave a Comment