
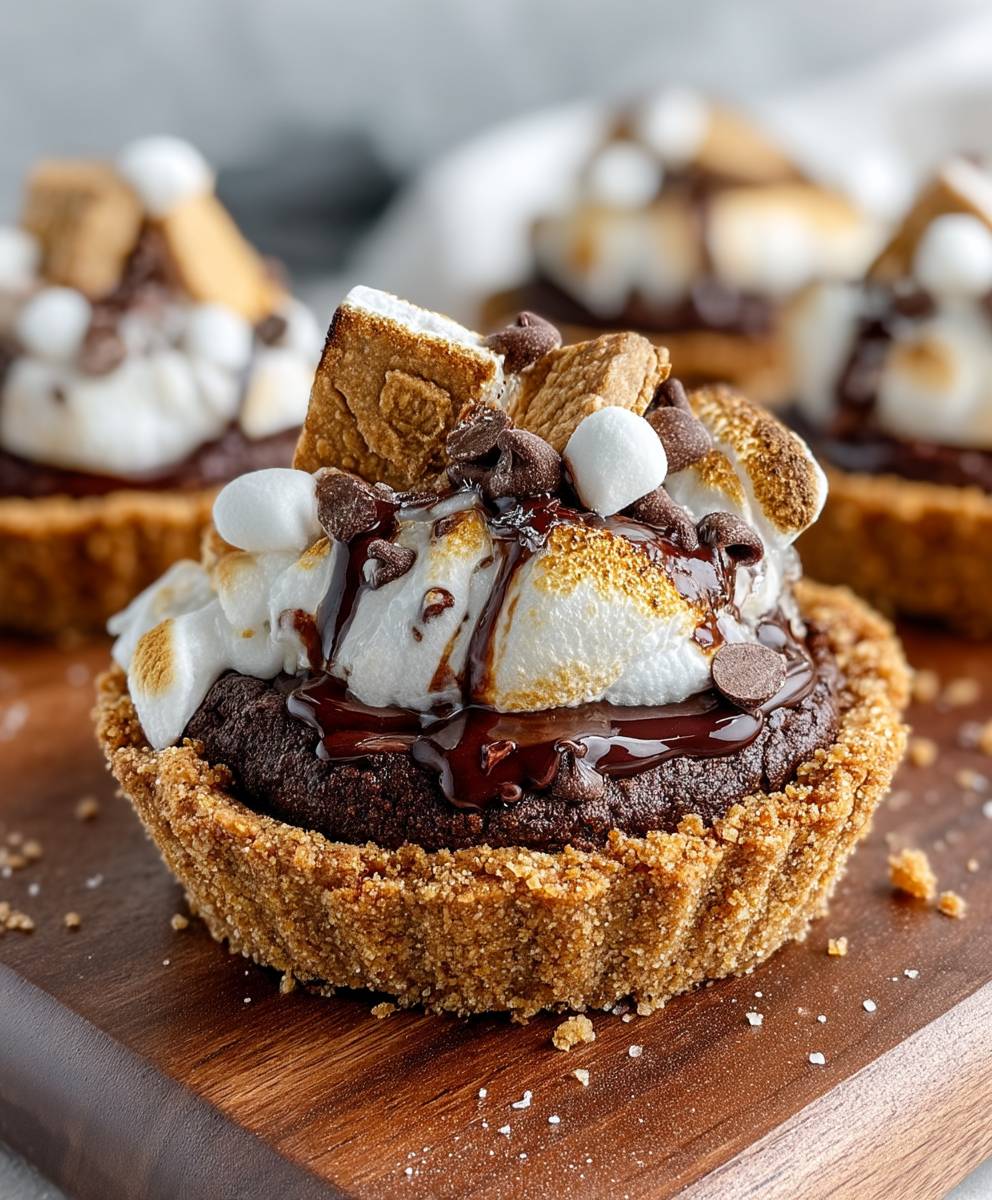
Mini Smores Pies: Prepare to be transported back to crackling campfires and starry nights with a dessert that perfectly captures the essence of summer! These aren’t your average s’mores; we’re elevating the classic treat into adorable, individual pies that are guaranteed to be a crowd-pleaser. Imagine biting into a buttery graham cracker crust, filled with a rich, decadent chocolate ganache, and topped with a perfectly toasted, gooey marshmallow.
The history of s’mores is deeply rooted in American camping culture, with the first recorded recipe appearing in a Girl Scout guidebook in the 1920s. Since then, they’ve become a beloved tradition, symbolizing warmth, friendship, and the simple joys of outdoor life. But let’s be honest, sometimes you crave that s’mores flavor without the hassle of building a fire. That’s where these Mini Smores Pies come in!
People adore s’mores for their irresistible combination of textures and flavors. The crunchy graham cracker, the smooth, melting chocolate, and the soft, pillowy marshmallow create a symphony of sensations in every bite. These mini pies take that beloved combination and make it even more convenient and elegant. They’re perfect for parties, potlucks, or simply a delightful treat to enjoy at home. Get ready to experience the magic of s’mores in a whole new way!

Ingredients:
- For the Crust:
- 1 ½ cups graham cracker crumbs
- 5 tablespoons unsalted butter, melted
- ¼ cup granulated sugar
- Pinch of salt
- For the Chocolate Filling:
- 1 cup heavy cream
- 8 ounces semi-sweet chocolate, chopped
- 1 tablespoon unsalted butter
- ¼ teaspoon salt
- For the Marshmallow Topping:
- 4 large egg whites
- ¾ cup granulated sugar
- ¼ cup water
- ¼ teaspoon cream of tartar
- 1 teaspoon vanilla extract
- For Garnish (Optional):
- Mini marshmallows
- Chocolate shavings
- Graham cracker crumbs
Preparing the Graham Cracker Crust:
Okay, let’s get started with the foundation of our mini S’mores pies – the graham cracker crust! This is super easy and sets the stage for all the deliciousness to come.
- Combine the dry ingredients: In a medium bowl, whisk together the graham cracker crumbs, granulated sugar, and salt. Make sure everything is evenly distributed. This ensures a consistent flavor throughout the crust.
- Add the melted butter: Pour the melted butter into the bowl with the dry ingredients. Use a fork or your fingers to mix everything together until the mixture resembles wet sand. You want the crumbs to be evenly coated with the butter.
- Press into mini pie tins: Divide the graham cracker mixture evenly among your mini pie tins (usually about 12 tins). I like to use a small measuring cup or the back of a spoon to firmly press the mixture into the bottom and up the sides of each tin. Make sure the crust is compact and even. This will prevent it from crumbling too much later.
- Bake the crusts: Preheat your oven to 350°F (175°C). Bake the crusts for 8-10 minutes, or until they are lightly golden brown and fragrant. Keep a close eye on them, as they can burn easily.
- Cool completely: Remove the crusts from the oven and let them cool completely on a wire rack. This is important because you don’t want the chocolate filling to melt when you pour it in.
Making the Rich Chocolate Filling:
Now for the good stuff – the decadent chocolate filling! This is a simple ganache that will give your mini pies that classic S’mores chocolate flavor.
- Heat the heavy cream: In a small saucepan, heat the heavy cream over medium heat until it just begins to simmer. Be careful not to let it boil.
- Pour over the chocolate: Remove the saucepan from the heat and pour the hot cream over the chopped chocolate in a heatproof bowl. Let it sit for about a minute to allow the heat to melt the chocolate.
- Whisk until smooth: Add the butter and salt to the bowl. Gently whisk the mixture until the chocolate is completely melted and the ganache is smooth and glossy. If there are any stubborn chocolate pieces, you can microwave the mixture in 15-second intervals, stirring in between, until it’s fully melted.
- Pour into the crusts: Once the graham cracker crusts are completely cool, pour the chocolate filling evenly into each crust.
- Chill: Cover the mini pies with plastic wrap and refrigerate for at least 2 hours, or until the chocolate filling is firm. This allows the filling to set properly and prevents it from being too runny when you add the marshmallow topping.
Creating the Fluffy Marshmallow Topping:
This is where the magic happens! We’re making a Swiss meringue, which is a stable and delicious marshmallow topping that’s perfect for these mini pies. Don’t be intimidated – it’s easier than you think!
- Combine egg whites and sugar: In a heatproof bowl (like stainless steel or glass) set over a saucepan of simmering water (make sure the bottom of the bowl doesn’t touch the water), combine the egg whites and granulated sugar.
- Heat and whisk: Whisk the egg whites and sugar constantly until the sugar is completely dissolved and the mixture is warm to the touch (about 160°F or 71°C). You can test this by rubbing a little of the mixture between your fingers – it should feel smooth and not grainy.
- Whip to stiff peaks: Remove the bowl from the heat and transfer the mixture to the bowl of a stand mixer fitted with the whisk attachment. Add the cream of tartar. Beat on medium-high speed until stiff, glossy peaks form. This may take 5-7 minutes, so be patient. The meringue should be thick and hold its shape.
- Add vanilla extract: Once stiff peaks have formed, reduce the mixer speed to low and add the vanilla extract. Mix until just combined.
Assembling and Toasting the Mini S’mores Pies:
Almost there! Now it’s time to put everything together and give our mini pies that signature toasted marshmallow look.
- Pipe or spread the marshmallow topping: Remove the chilled mini pies from the refrigerator. You can either pipe the marshmallow topping onto each pie using a piping bag fitted with a decorative tip, or you can simply spread it on with a spoon or spatula. I prefer piping because it gives a more professional look.
- Toast the marshmallow topping: There are a few ways to toast the marshmallow topping:
- Kitchen Torch: This is the easiest and most common method. Use a kitchen torch to carefully toast the marshmallow topping until it’s golden brown and slightly charred. Keep the torch moving to avoid burning the marshmallow.
- Broiler: Preheat your broiler to low. Place the mini pies on a baking sheet and broil for 1-2 minutes, or until the marshmallow topping is golden brown. Watch them very closely, as they can burn quickly under the broiler.
- Oven: If you don’t have a torch or broiler, you can bake the pies in a preheated oven at 400°F (200°C) for 2-3 minutes, or until the marshmallow topping is golden brown. Again, keep a close eye on them.
- Garnish (Optional): While the marshmallow topping is still warm, you can garnish the mini pies with mini marshmallows, chocolate shavings, or graham cracker crumbs. This adds extra flavor and visual appeal.
- Serve immediately: These mini S’mores pies are best served immediately after toasting the marshmallow topping. The warm, gooey marshmallow and the cold, rich chocolate filling are a match made in heaven!
Tips and Tricks for Perfect Mini S’mores Pies:
Here are a few extra tips to ensure your mini S’mores pies are a total success:
- Use high-quality chocolate: The quality of the chocolate will greatly affect the flavor of the filling. I recommend using a good quality semi-sweet chocolate for the best results.
- Don’t overbake the crusts: Overbaked crusts will be dry and crumbly. Keep a close eye on them while they’re baking and remove them from the oven as soon as they are lightly golden brown.
- Make sure the egg whites are clean: For the marshmallow topping, make sure your egg whites are completely free of any yolk. Even a tiny bit of yolk can prevent the egg whites from whipping up properly.
- Be patient with the meringue: Whipping the egg whites and sugar to stiff peaks can take some time. Don’t rush the process, and make sure the meringue is thick and glossy before adding the vanilla extract.
- Watch the toasting carefully: Marshmallows burn easily, so keep a close eye on the pies while you’re toasting the marshmallow topping.
- Make ahead: You can make the graham cracker crusts and chocolate filling ahead of time. Store them separately in the refrigerator until you’re ready to assemble the pies. The marshmallow topping is best made right before serving.
- Variations: Feel free to experiment with different flavors and toppings. You can add a layer of caramel to the chocolate filling, use different types of chocolate, or top the pies with chopped nuts or sprinkles.
Enjoy your delicious homemade Mini S’mores Pies! They’re perfect for parties, potlucks, or just a special treat for yourself.
Conclusion:
So, there you have it! These Mini Smores Pies are truly a must-try recipe, and I’m not just saying that because I created it. The combination of the buttery graham cracker crust, the rich chocolate filling, and the perfectly toasted marshmallow topping is simply irresistible. It’s like a campfire treat, but elevated and perfectly portioned for individual enjoyment. Seriously, what’s not to love?
I know you might be thinking, “Another dessert recipe? Do I really need this?” And to that, I say a resounding YES! These aren’t just any dessert; they’re a nostalgic trip down memory lane, a guaranteed crowd-pleaser, and surprisingly easy to make. They’re perfect for a summer barbecue, a cozy night in, or even a bake sale. Plus, they’re so cute! Who can resist a mini pie?
But the best part? You can totally customize them to your liking. Feeling adventurous? Try adding a pinch of sea salt to the graham cracker crust for a sweet and salty kick. Or, swirl in some peanut butter into the chocolate filling for a Reese’s-inspired treat. For a more sophisticated flavor, use dark chocolate instead of milk chocolate. And if you’re feeling extra fancy, top them with a drizzle of chocolate ganache or a sprinkle of chopped nuts.
Serving Suggestions and Variations:
- Serve them warm, straight from the oven, with a scoop of vanilla ice cream. The contrast of the warm pie and the cold ice cream is heavenly!
- Let them cool completely and enjoy them as a grab-and-go treat. They’re perfect for lunchboxes or picnics.
- Make a large batch and freeze them for later. Simply thaw them out when you’re ready to enjoy them.
- For a vegan version, use vegan graham crackers, vegan chocolate, and a vegan marshmallow alternative.
- Get creative with the toppings! Try adding sprinkles, chocolate shavings, or even a dollop of whipped cream.
I truly believe that everyone should have this recipe in their repertoire. It’s a guaranteed winner, and it’s so much fun to make. Imagine the smiles on the faces of your friends and family when you present them with these adorable and delicious Mini Smores Pies. You’ll be the hero of the day, I promise!
So, what are you waiting for? Gather your ingredients, preheat your oven, and get ready to bake up a batch of these little beauties. I’m confident that you’ll love them as much as I do. And when you do, please, please, please share your experience with me! I’d love to hear how they turned out, what variations you tried, and what your friends and family thought. You can leave a comment below, tag me on social media, or even send me an email. I can’t wait to see your creations!
Happy baking, and enjoy your Mini Smores Pies!
Mini Smores Pies: The Ultimate Guide to Baking Delicious Treats
Mini S'mores Pies: Graham cracker crusts filled with rich chocolate ganache and topped with toasted marshmallow meringue. A delightful twist on the classic campfire treat!
Ingredients
Instructions
Recipe Notes
- Use high-quality chocolate for the best flavor.
- Don’t overbake the crusts.
- Ensure egg whites are clean and free of yolk for the marshmallow topping.
- Be patient when whipping the meringue.
- Watch the toasting carefully to avoid burning the marshmallows.
- You can make the crusts and chocolate filling ahead of time. Store separately in the refrigerator. The marshmallow topping is best made right before serving.
- Feel free to experiment with different flavors and toppings.
Leave a Comment