
Mini Apple Pies: Is there anything that screams autumn more than the warm, comforting aroma of baked apples and cinnamon wafting through your kitchen? These aren’t just any apple pies; they’re perfectly portioned, utterly adorable, and bursting with all the classic flavors you crave. Forget wrestling with a full-sized pie crust – these individual delights are surprisingly easy to make and even easier to devour!
Apple pie, in its various forms, has been a beloved dessert for centuries, with roots tracing back to Europe. While the saying “as American as apple pie” might be a common phrase, the dessert’s journey across the Atlantic transformed it into the comforting classic we know and love today. It’s a symbol of home, hearth, and shared moments around the table.
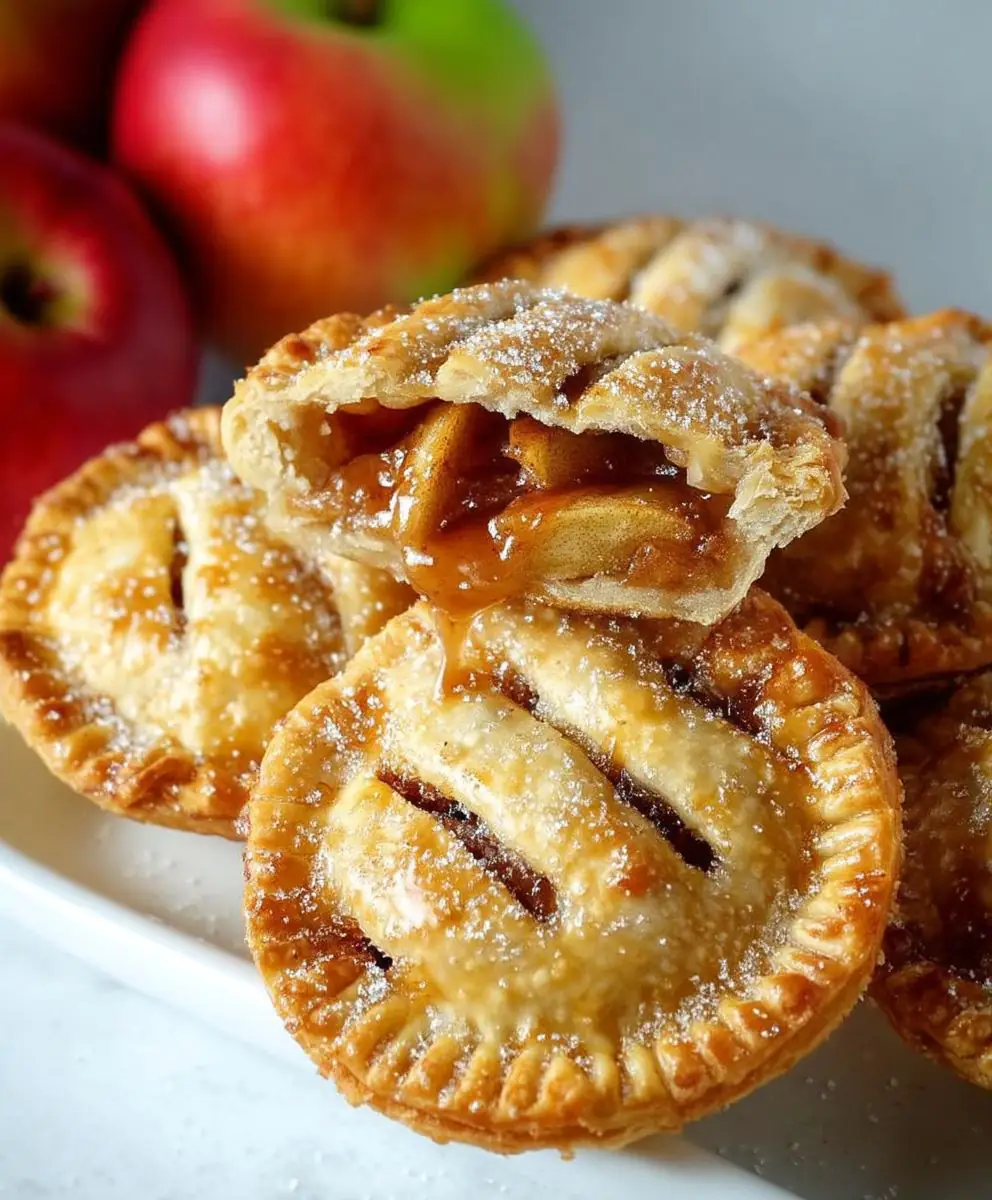
So, why do people adore mini apple pies so much? Beyond their undeniable cuteness, they offer the perfect balance of sweet and tart, with a flaky, buttery crust that melts in your mouth. They’re ideal for portion control (if you can resist eating more than one!), perfect for parties, and a fantastic way to introduce baking to beginners. Plus, the individual servings make them incredibly convenient for on-the-go treats or a quick dessert after dinner. Get ready to experience apple pie perfection in miniature form!

Ingredients:
- For the Crust:
- 2 1/2 cups all-purpose flour, plus more for dusting
- 1 teaspoon salt
- 1 cup (2 sticks) unsalted butter, cold and cut into 1/2-inch cubes
- 1/2 cup vegetable shortening, cold
- 6-8 tablespoons ice water
- For the Apple Filling:
- 6 medium apples (such as Honeycrisp, Gala, or Fuji), peeled, cored, and diced
- 1/2 cup granulated sugar
- 1/4 cup packed light brown sugar
- 2 tablespoons all-purpose flour
- 1 teaspoon ground cinnamon
- 1/4 teaspoon ground nutmeg
- 1/4 teaspoon ground allspice
- 2 tablespoons lemon juice
- 2 tablespoons unsalted butter, cut into small pieces
- For the Egg Wash (Optional):
- 1 large egg
- 1 tablespoon milk or water
- For Sprinkling (Optional):
- Turbinado sugar or granulated sugar
Preparing the Dough:
Okay, let’s get started with the most important part – the crust! A good crust makes or breaks a pie, so pay close attention. Don’t be intimidated; I’ll walk you through it.
- Combine Dry Ingredients: In a large bowl, whisk together the flour and salt. This ensures the salt is evenly distributed, which is crucial for flavor.
- Cut in the Butter and Shortening: Add the cold butter and shortening to the flour mixture. Using a pastry blender (my preferred method) or your fingertips, cut the butter and shortening into the flour until the mixture resembles coarse crumbs. You should still see small pieces of butter and shortening – that’s what creates those flaky layers! The key here is to work quickly and keep everything cold. If your hands are warm, try using the pastry blender or even pulsing the mixture in a food processor (but be careful not to over-process!).
- Add Ice Water: Gradually add the ice water, one tablespoon at a time, mixing gently after each addition. Use a fork to incorporate the water. You want the dough to just come together and form a shaggy mass. Be careful not to add too much water, or your crust will be tough. I usually start with 6 tablespoons and add more only if needed.
- Form the Dough: Turn the dough out onto a lightly floured surface. Gently gather it into a ball. If the dough is too sticky, add a little more flour. Divide the dough in half, flatten each half into a disc, wrap them tightly in plastic wrap, and refrigerate for at least 2 hours, or preferably overnight. This chilling time is essential! It allows the gluten to relax, which will result in a tender crust.
Making the Apple Filling:
While the dough is chilling, let’s get that delicious apple filling ready. The aroma alone will make your kitchen feel like autumn!
- Prepare the Apples: Peel, core, and dice the apples into small, even pieces. I like to use a mix of apple varieties for a more complex flavor, but you can use your favorite.
- Combine Filling Ingredients: In a large bowl, combine the diced apples, granulated sugar, brown sugar, flour, cinnamon, nutmeg, and allspice. Toss everything together until the apples are evenly coated. The flour will help thicken the filling as it bakes.
- Add Lemon Juice and Butter: Stir in the lemon juice. This will help prevent the apples from browning and add a touch of brightness to the filling. Dot the apple mixture with the small pieces of butter. The butter will melt and create a rich, flavorful sauce.
Assembling the Mini Apple Pies:
Now for the fun part – putting it all together! This is where your creativity can shine. You can use a muffin tin, small tart pans, or even just free-form them on a baking sheet.
- Preheat Oven and Prepare Muffin Tin: Preheat your oven to 375°F (190°C). Lightly grease a muffin tin or small tart pans. If you’re using a baking sheet, line it with parchment paper.
- Roll Out the Dough: On a lightly floured surface, roll out one disc of dough to about 1/8-inch thickness. Use a cookie cutter or a knife to cut out circles that are slightly larger than the diameter of your muffin tin cups or tart pans. You’ll need enough circles for the bottom crusts.
- Line the Muffin Tin/Tart Pans: Gently press the dough circles into the muffin tin cups or tart pans, making sure the dough comes up the sides.
- Fill the Pies: Spoon the apple filling into the prepared crusts, filling them almost to the top. Don’t overfill them, or the filling will bubble over during baking.
- Prepare the Top Crust (Optional): Roll out the second disc of dough and cut out circles for the top crusts. You can use the same size cookie cutter as before, or you can get creative with different shapes. You can also cut strips of dough to create a lattice top. If you’re using a solid top crust, be sure to cut a few slits in the top to allow steam to escape.
- Add the Top Crust: Place the top crusts over the filling, pressing the edges to seal them to the bottom crusts. If you’re using a lattice top, weave the strips of dough over and under each other, then trim the edges and press them to seal.
- Egg Wash (Optional): In a small bowl, whisk together the egg and milk or water. Brush the tops of the pies with the egg wash. This will give them a beautiful golden-brown color.
- Sprinkle with Sugar (Optional): Sprinkle the tops of the pies with turbinado sugar or granulated sugar for a little extra sparkle and sweetness.
Baking the Mini Apple Pies:
Almost there! Now it’s time to bake these little beauties until they’re golden brown and bubbly.
- Bake: Bake the mini apple pies for 25-30 minutes, or until the crusts are golden brown and the filling is bubbly. If the crusts start to brown too quickly, you can tent them with foil.
- Cool: Let the pies cool in the muffin tin or tart pans for a few minutes before transferring them to a wire rack to cool completely. This will prevent them from sticking.
Serving and Storing:
These mini apple pies are best served warm, but they’re also delicious at room temperature. You can serve them plain, or with a scoop of vanilla ice cream or a dollop of whipped cream. They’re perfect for a fall dessert, a holiday treat, or just a cozy afternoon snack.
To store, keep them in an airtight container at room temperature for up to 2 days, or in the refrigerator for up to 4 days. You can also freeze them for longer storage. To reheat, bake them in a preheated oven at 350°F (175°C) for about 10-15 minutes, or until warmed through.
Tips for Success:
- Keep everything cold: This is the most important tip for making a flaky pie crust. Use cold butter, cold shortening, and ice water.
- Don’t overwork the dough: Overworking the dough will develop the gluten, resulting in a tough crust. Mix the dough just until it comes together.
- Chill the dough: Chilling the dough allows the gluten to relax, which will result in a tender crust.
- Use a variety of apples: Using a mix of apple varieties will give your filling a more complex flavor.
- Don’t overfill the pies: Overfilling the pies will cause the filling to bubble over during baking.
- Cut slits in the top crust: Cutting slits in the top crust allows steam to escape, which will prevent the crust from becoming soggy.
Variations:
- Add nuts: Add chopped walnuts or pecans to the apple filling for a nutty crunch.
- Use different spices: Experiment with different spices, such as cardamom, ginger, or cloves.
- Add caramel: Drizzle caramel sauce over the apple filling before baking for a decadent treat.
- Make a crumble topping: Instead of a top crust, top the pies
Conclusion:
And there you have it! These Mini Apple Pies are truly a must-try recipe, and I’m not just saying that because I created it. The combination of the flaky, buttery crust and the warm, spiced apple filling is simply irresistible. They’re the perfect size for a single serving, making them ideal for portion control (if you can resist having more than one!) or for serving at parties and gatherings. Forget about slicing and serving a large pie – these little beauties are grab-and-go deliciousness.
But what truly sets these apart is their versatility. While I’ve shared my go-to recipe, feel free to experiment and make them your own. Want to add a little extra zing? A squeeze of lemon juice to the apple mixture will brighten the flavors. Craving a nutty crunch? Sprinkle some chopped pecans or walnuts on top before baking. For a richer, more decadent experience, brush the tops with melted butter and sprinkle with coarse sugar for a beautiful, caramelized finish.
Serving suggestions are endless! These Mini Apple Pies are fantastic warm, straight from the oven, but they’re equally delightful at room temperature. A scoop of vanilla ice cream or a dollop of whipped cream takes them to the next level of indulgence. For a cozy autumn treat, pair them with a warm cup of spiced cider or hot chocolate. And if you’re feeling adventurous, try serving them with a sharp cheddar cheese for a sweet and savory combination that will tantalize your taste buds.
Don’t be intimidated by the thought of making pies from scratch. This recipe is surprisingly easy to follow, and the results are well worth the effort. The joy of biting into a homemade pie, knowing you created it with your own two hands, is truly unparalleled. Plus, the aroma that fills your kitchen as these bake is simply heavenly. It’s an experience that engages all your senses and creates lasting memories.
I truly believe that everyone should have a reliable apple pie recipe in their repertoire, and these Mini Apple Pies are a fantastic place to start. They’re perfect for beginners and seasoned bakers alike. So, gather your ingredients, preheat your oven, and get ready to embark on a baking adventure.
I’m so excited for you to try this recipe! Once you do, I’d absolutely love to hear about your experience. Did you make any variations? What did you think of the flavor? What did your family and friends say? Share your photos and stories in the comments below. Let’s create a community of apple pie lovers and inspire each other with our baking creations. Happy baking, and enjoy every delicious bite of these delightful Mini Apple Pies! I can’t wait to see what you create! Remember to tag me in your social media posts so I can see your beautiful creations!
Mini Apple Pies: The Perfect Bite-Sized Dessert Recipe
Delicious, easy mini apple pies with flaky crust and flavorful filling. Perfect for fall, holidays, or a cozy snack!
By: ShareyCategory: DessertDifficulty: EasyCuisine: AmericanYield: 12 mini piesDietary: VegetarianIngredients
Instructions
Recipe Notes
- Keep everything cold: This is the most important tip for making a flaky pie crust. Use cold butter, cold shortening, and ice water.
- Don’t overwork the dough: Overworking the dough will develop the gluten, resulting in a tough crust. Mix the dough just until it comes together.
- Chill the dough: Chilling the dough allows the gluten to relax, which will result in a tender crust.
- Use a variety of apples: Using a mix of apple varieties will give your filling a more complex flavor.
- Don’t overfill the pies: Overfilling the pies will cause the filling to bubble over during baking.
- Cut slits in the top crust: Cutting slits in the top crust allows steam to escape, which will prevent the crust from becoming soggy.
- Variations: Add nuts, use different spices, add caramel, or make a crumble topping.
Frequently Asked Questions
→ How do I ensure the bread stays moist?Use fresh, ripe ingredients and avoid overmixing the batter. Store in an airtight container.→ Can I substitute ingredients?Yes, you can substitute similar ingredients while maintaining the basic ratios for best results.→ How long does this bread keep?Store tightly wrapped at room temperature for 2-3 days, or refrigerate for up to a week.→ What if I don't have all the spices?You can adjust spices to taste or substitute with similar warming spices.→ Can I freeze this bread?Yes, wrap individual slices and freeze for up to 3 months. Thaw at room temperature before serving.
Leave a Comment