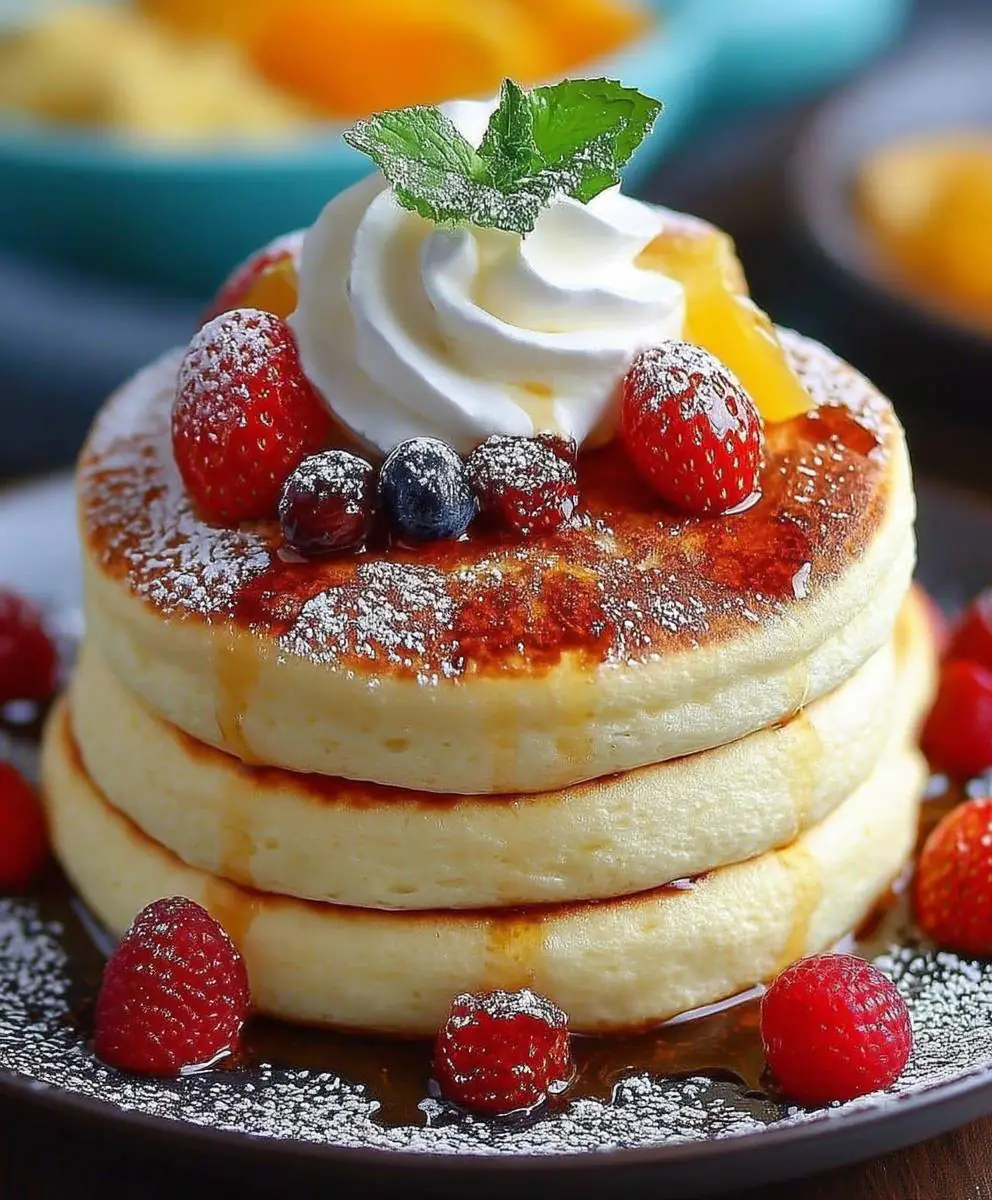
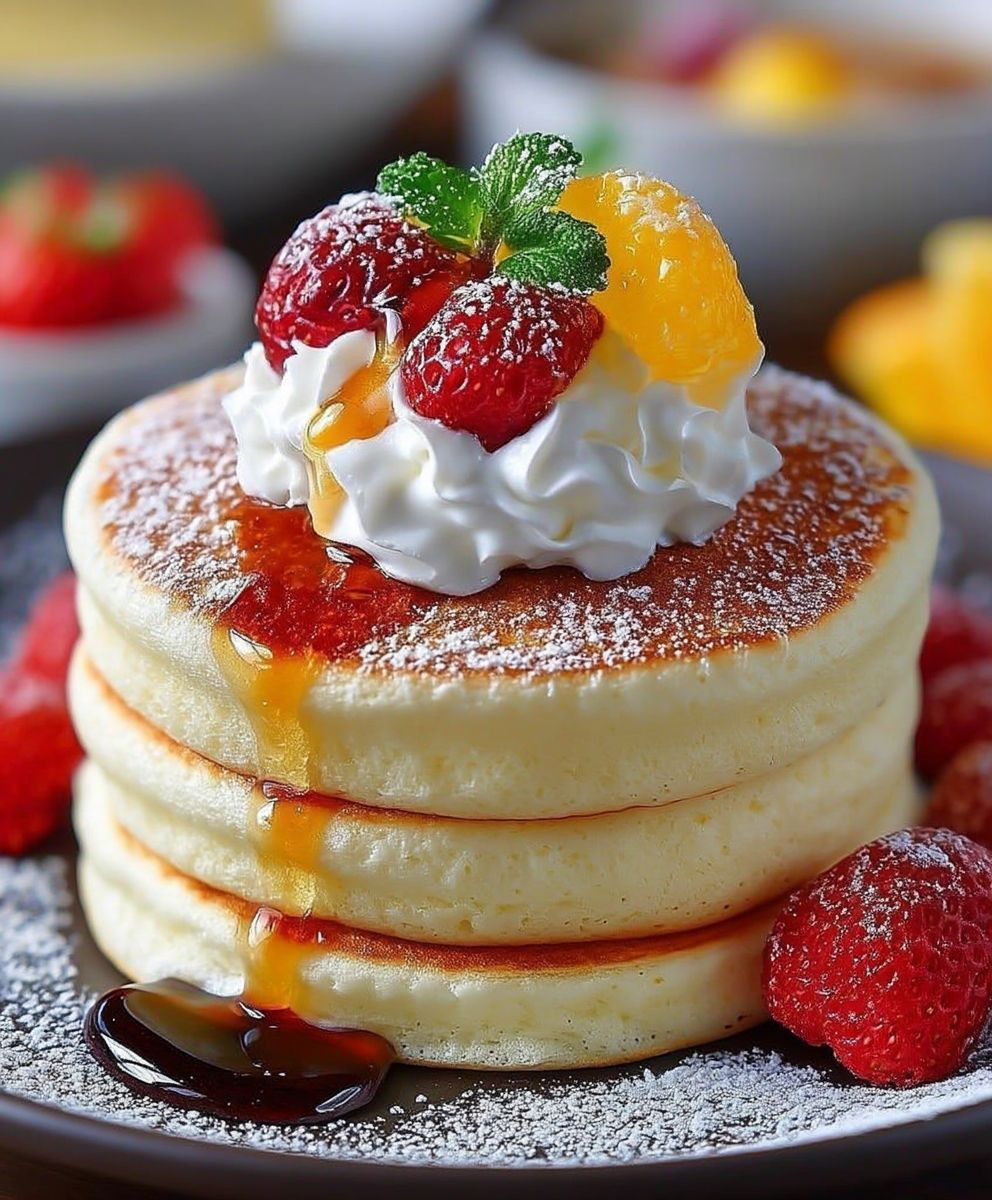
Japanese Souffle Pancakes: Prepare to embark on a culinary adventure that will redefine your breakfast expectations! Imagine light-as-air clouds of fluffy goodness, gently browned and practically melting in your mouth. These aren’t your average pancakes; they’re a delightful experience, a testament to the artistry of Japanese baking, and a guaranteed way to brighten any morning.
While the exact origins are debated, the souffle pancake craze truly took off in Japan, evolving from traditional hotcakes with a focus on achieving an unbelievably airy texture. This dedication to perfection is deeply rooted in Japanese culinary culture, where precision and presentation are paramount. The result? A pancake that’s as visually stunning as it is delicious.
What makes Japanese Souffle Pancakes so irresistible? It’s the unique combination of a delicate, custardy interior and a slightly crisp exterior. People adore them for their melt-in-your-mouth texture, their subtle sweetness, and the sheer joy they bring to the breakfast table. While they might seem intimidating at first, with a few simple techniques, you can easily recreate this delightful treat in your own kitchen. Get ready to impress your friends and family with these ethereal delights!
Ingredients:
- All-Purpose Flour: 100g (about ¾ cup plus 2 tablespoons)
- Granulated Sugar: 60g (divided into 30g for the yolks and 30g for the whites)
- Baking Powder: 1 teaspoon
- Salt: ¼ teaspoon
- Milk: 80ml (about ⅓ cup)
- Egg Yolks: 2 large
- Vanilla Extract: 1 teaspoon
- Egg Whites: 2 large
- Cream of Tartar: ¼ teaspoon (or a pinch of salt)
- Vegetable Oil: For greasing the pan
- Water: 2 tablespoons (for steaming)
- Optional Toppings: Maple syrup, fresh fruit (berries, bananas), whipped cream, powdered sugar
Preparing the Egg Yolk Batter
Alright, let’s get started! First, we’ll focus on creating a smooth and delicious egg yolk batter. This is the foundation of our fluffy pancakes, so pay close attention to the details.
- Combine Dry Ingredients: In a medium-sized bowl, whisk together the all-purpose flour, baking powder, and salt. Make sure there are no lumps! This ensures even distribution of the leavening agent, giving us that signature souffle rise.
- Whisk in Sugar: Add 30g of granulated sugar to the dry ingredients. Whisk again to combine. This helps prevent gluten development and adds a touch of sweetness to the base.
- Combine Wet Ingredients: In a separate bowl, whisk together the milk, egg yolks, and vanilla extract. Ensure the yolks are fully incorporated and the mixture is smooth.
- Combine Wet and Dry: Gradually pour the wet ingredients into the dry ingredients, whisking constantly until just combined. Be careful not to overmix! Overmixing will develop the gluten in the flour, resulting in tough pancakes. A few small lumps are okay. The batter should be thick but pourable.
- Set Aside: Cover the bowl with plastic wrap and set aside while you prepare the egg whites. This allows the gluten to relax slightly, resulting in a more tender pancake.
Whipping the Egg Whites
Now for the magic! Whipping the egg whites to stiff peaks is crucial for achieving that signature souffle texture. This step requires a bit of patience and attention to detail.
- Prepare the Bowl and Whisk: Make sure your mixing bowl and whisk (or beaters) are completely clean and dry. Any trace of grease or moisture can prevent the egg whites from whipping properly. I like to wipe them down with a bit of lemon juice or vinegar to ensure they’re spotless.
- Add Cream of Tartar: Place the egg whites in the clean mixing bowl. Add the cream of tartar (or a pinch of salt). Cream of tartar helps stabilize the egg whites and creates a more stable foam.
- Start Whipping: Begin whipping the egg whites on medium speed. As they start to foam, gradually increase the speed to medium-high.
- Gradually Add Sugar: Once the egg whites form soft peaks (they hold their shape briefly but droop at the tip), gradually add the remaining 30g of granulated sugar, one tablespoon at a time, while continuing to whip. This helps create a glossy and stable meringue.
- Whip to Stiff Peaks: Continue whipping until the egg whites form stiff, glossy peaks. This means the peaks stand straight up when you lift the whisk or beaters. Be careful not to overwhip! Overwhipped egg whites will look dry and curdled.
Combining the Batter and Egg Whites
This is where we gently bring everything together! Folding the egg whites into the batter requires a delicate touch to maintain the airiness we worked so hard to achieve.
- First Incorporation: Take about one-third of the whipped egg whites and gently fold them into the egg yolk batter. This helps lighten the batter and makes it easier to incorporate the remaining egg whites. Don’t worry about being too gentle at this stage; you just want to loosen up the batter.
- Gentle Folding: Now, gently fold the remaining egg whites into the batter in two additions. Use a rubber spatula and cut down through the center of the batter, scoop underneath, and fold the batter over the egg whites. Rotate the bowl slightly and repeat until just combined. Be careful not to overmix! Overmixing will deflate the egg whites and result in flat pancakes. A few streaks of egg white are okay.
Cooking the Souffle Pancakes
Time to cook these beauties! The key to perfectly cooked souffle pancakes is low and slow cooking with a bit of steam. This helps them rise tall and cook evenly.
- Prepare the Pan: Lightly grease a non-stick skillet or griddle with vegetable oil. Place the pan over low heat. It’s important to use low heat to prevent the pancakes from burning before they cook through.
- Add Water to the Pan: Add 2 tablespoons of water to the pan and cover with a lid. The steam created will help the pancakes cook evenly and prevent them from drying out.
- Spoon the Batter: Using a large spoon or ice cream scoop, gently spoon the batter onto the hot pan. Create small, round mounds, leaving some space between each pancake. You can stack two scoops of batter on top of each other to create taller pancakes.
- Cook with Steam: Cover the pan immediately and cook for about 3-4 minutes per side, or until the bottoms are golden brown and the pancakes have risen significantly. The exact cooking time will depend on the heat of your pan and the thickness of your pancakes.
- Flip Carefully: Gently flip the pancakes using a spatula. Be careful not to deflate them! If the pancakes are sticking to the pan, add a little more oil.
- Continue Cooking: Cover the pan again and cook for another 3-4 minutes, or until the second side is golden brown and the pancakes are cooked through. You can test for doneness by inserting a toothpick into the center of a pancake; it should come out clean.
- Repeat: Repeat the process with the remaining batter, adding more oil and water to the pan as needed.
Serving and Enjoying
Finally, the best part! Serve your freshly cooked souffle pancakes immediately while they’re still warm and fluffy. They’re delicious on their own, but even better with your favorite toppings.
- Plate the Pancakes: Arrange the pancakes on a plate.
- Add Toppings: Drizzle with maple syrup, top with fresh fruit (berries, bananas), whipped cream, and/or a dusting of powdered sugar. Get creative and add your own personal touch!
- Serve Immediately: Serve immediately and enjoy the light, airy texture and delicate flavor of your homemade Japanese souffle pancakes. They are best enjoyed fresh, as they tend to deflate over time.
Conclusion:
Well, there you have it! I truly believe these Japanese Souffle Pancakes are more than just a breakfast item; they’re an experience. The light, airy texture, the subtle sweetness, and the sheer joy of watching them puff up in the pan make this recipe a must-try for any pancake lover. Seriously, if you’re looking for a way to elevate your weekend brunch or simply treat yourself to something special, look no further. This is it.
But why are these pancakes a must-try? It’s simple. They’re unlike anything you’ve ever tasted. Forget those dense, heavy pancakes of your childhood. These are cloud-like, melt-in-your-mouth delights that will leave you wanting more. The technique might seem a little intimidating at first, but trust me, with a little patience and practice, you’ll be whipping up these beauties in no time. And the reward is so, so worth it.
Now, let’s talk about serving suggestions and variations because the possibilities are endless! I personally love serving them with a dollop of whipped cream, a drizzle of maple syrup, and a sprinkle of fresh berries. But don’t let me limit your imagination! You could try a dusting of powdered sugar, a scoop of vanilla ice cream, or even a drizzle of chocolate sauce. For a more Japanese-inspired twist, consider serving them with kinako (roasted soybean flour) and kuromitsu (Japanese black sugar syrup).
If you’re feeling adventurous, you can also experiment with different flavorings. A teaspoon of vanilla extract or a pinch of cinnamon can add a warm, comforting touch. For a citrusy twist, try adding a little lemon or orange zest to the batter. And if you’re a chocolate lover (like me!), you could even add a tablespoon of cocoa powder for a decadent chocolate souffle pancake.
Don’t be afraid to get creative and make these pancakes your own!
And here’s a little secret: these pancakes are also surprisingly versatile. They’re not just for breakfast! They make a wonderful dessert, a delightful afternoon snack, or even a fun and unique appetizer. Imagine serving mini souffle pancakes with a savory topping like smoked salmon and cream cheese – talk about a conversation starter!
I know that trying a new recipe can sometimes feel a little daunting, but I promise you, this one is worth the effort. The instructions are clear and easy to follow, and the results are simply amazing. Plus, the process of making these pancakes is actually quite therapeutic. There’s something so satisfying about whisking the egg whites to stiff peaks and watching the pancakes rise in the pan.
So, what are you waiting for? Grab your ingredients, put on your apron, and get ready to embark on a pancake adventure! I’m confident that you’ll love these Japanese Souffle Pancakes as much as I do.
And finally, I would absolutely love to hear about your experience making these pancakes! Did you try any variations? What were your favorite toppings? Did you encounter any challenges? Share your photos and stories in the comments below! I can’t wait to see your creations and hear your feedback. Happy cooking!
Japanese Souffle Pancakes: The Ultimate Guide to Fluffy Perfection
Light, airy Japanese Souffle Pancakes! Delightful, fluffy treat for breakfast or brunch.
Ingredients
Instructions
Recipe Notes
- Use a clean, dry bowl and whisk for whipping egg whites. Any grease or moisture can prevent them from whipping properly.
- Don’t overmix the batter after adding the wet ingredients to the dry ingredients, or after folding in the egg whites. Overmixing will result in tough, flat pancakes.
- Cook the pancakes over low heat to prevent burning. The steam from the water helps them cook evenly and rise properly.
- Serve immediately, as the pancakes tend to deflate over time.


Leave a Comment