
Halloween Gluten-Free Chips
Halloween Gluten-Free Chips: Are you ready to conjure up some seriously spooky (and delicious!) snacks this Halloween? Forget the store-bought, often-questionable ingredients; I’m sharing my recipe for frightfully fun, completely gluten-free chips that are guaranteed to be a hit with both kids and adults. These aren’t your average potato chips; we’re talking about crispy, flavorful delights perfect for dipping, snacking, or even incorporating into your Halloween party spread.
While the concept of a Halloween-themed chip might seem modern, the tradition of enjoying special treats during this time of year stretches back centuries. Think about the ancient Celtic festival of Samhain, a precursor to Halloween, where feasts and offerings were common. My Halloween Gluten-Free Chips recipe takes inspiration from that spirit of celebration, offering a delicious and inclusive alternative to traditional snacks. Many people avoid gluten for various reasons, and this recipe ensures everyone can enjoy the spooky fun.
What makes these Halloween Gluten-Free Chips so irresistible? It’s the perfect blend of satisfying crunch and bold flavor. The recipe uses a unique blend of spices that creates a truly unforgettable taste experience, far surpassing anything you’ll find in a bag. Plus, they’re incredibly easy to make, requiring minimal ingredients and prep time. Whether you’re a seasoned baker or a kitchen novice, you’ll find this recipe surprisingly simple to follow. So, ditch the processed snacks and get ready to create a truly memorable Halloween treat with my homemade Halloween Gluten-Free Chips.

Ingredients:
- 1 ½ cups gluten-free all-purpose flour blend (I prefer one with xanthan gum already included)
- ½ teaspoon baking powder
- ¼ teaspoon baking soda
- ½ teaspoon salt
- ¼ cup granulated sugar
- ½ cup cold unsalted butter, cut into small cubes
- ½ cup cold milk (dairy or non-dairy)
- 1 large egg, lightly beaten
- Optional: 1 teaspoon vanilla extract
- For the spooky coating:
- ½ cup semi-sweet chocolate chips
- ½ cup white chocolate chips
- Orange food coloring gel (a tiny amount goes a long way!)
- Purple food coloring gel (a tiny amount goes a long way!)
- Halloween sprinkles (various colors and shapes)
- Miniature candy eyeballs
- Pretzel sticks (for witch’s broomsticks)
Preparing the Gluten-Free Chip Batter
- Preheat your oven to 400°F (200°C). Line two baking sheets with parchment paper. This is crucial for easy cleanup and prevents sticking.
- In a large bowl, whisk together the gluten-free flour, baking powder, baking soda, salt, and sugar. Make sure everything is well combined to ensure even baking.
- Cut in the cold butter using a pastry blender or your fingers until the mixture resembles coarse crumbs. I find using my fingers works best for getting an even texture, but a pastry blender is a great alternative.
- In a separate bowl, whisk together the cold milk and the beaten egg. If using, add the vanilla extract now.
- Gradually add the wet ingredients to the dry ingredients, mixing gently until just combined. Don’t overmix! Overmixing can lead to tough chips. A few lumps are okay.
- Once the dough is formed, gently roll it out on a lightly floured surface to about ⅛ inch thickness. If the dough is too sticky, add a tablespoon or two of flour at a time until it’s manageable.
Cutting and Baking the Chips
- Using a cookie cutter (I love using Halloween-themed shapes!), cut out your chips. If you don’t have cookie cutters, you can use a knife to cut them into squares or triangles.
- Carefully transfer the cut chips to the prepared baking sheets, leaving a little space between each one. They will spread slightly as they bake.
- Bake for 10-12 minutes, or until the edges are lightly golden brown. Keep a close eye on them, as oven temperatures can vary. Every oven is different, so keep an eye on them!
- Remove the baking sheets from the oven and let the chips cool completely on a wire rack. This is important to prevent them from becoming soggy.
Creating the Spooky Chocolate Coating
- While the chips are cooling, prepare your spooky chocolate coating. In separate microwave-safe bowls, melt the semi-sweet and white chocolate chips in 30-second intervals, stirring until smooth. Be careful not to overheat the chocolate, or it will seize up.
- Divide the melted white chocolate into two bowls. Add a tiny amount of orange food coloring gel to one bowl and purple food coloring gel to the other. Stir gently until you achieve your desired color intensity. A little goes a long way, so start with a small amount and add more as needed.
- Once the chips are completely cool, dip them halfway into the melted semi-sweet chocolate. Let the excess drip off before placing them back on the wire rack.
- After the semi-sweet chocolate has set slightly, dip the other half of the chips into the colored white chocolate. Again, let the excess drip off before placing them back on the wire rack.
- Immediately sprinkle with Halloween sprinkles and add miniature candy eyeballs while the chocolate is still wet. Get creative! You can also use pretzel sticks to create witch’s broomsticks by dipping one end into the melted chocolate and sticking it into the chip.
- Let the chocolate coating set completely before serving. This usually takes about 30 minutes, but it’s best to let them sit for longer to ensure the chocolate is fully hardened.
Tips for Success
- Use high-quality gluten-free flour blend for the best results.
- Don’t overmix the batter.
- Make sure the chips are completely cool before dipping them in chocolate.
- Get creative with your decorations!
- Store the finished chips in an airtight container at room temperature for up to a week. They are best enjoyed fresh, but they will still be delicious after a few days.
Troubleshooting
Chips are too crumbly:
This could be due to using too much baking powder or baking soda, or not enough liquid. Next time, reduce the leavening agents slightly and add a little more milk.
Chips are too tough:
You may have overmixed the batter. Try to mix the ingredients just until combined. Also, ensure your butter is cold.
Chocolate coating is seizing:
This happens when water gets into the melted chocolate. Make sure your bowls are completely dry and avoid adding too much liquid to the chocolate.
Conclusion:
So there you have it! My recipe for spooktacular Halloween Gluten-Free Chips. I truly believe this recipe is a must-try for several reasons. First, it’s incredibly versatile. You can easily adapt the seasonings to match any Halloween theme or personal preference. Want something extra spicy? Go for it! Prefer a sweeter, more caramel-like flavor? Absolutely! The base recipe is sturdy enough to handle a wide range of flavor profiles, making it perfect for both seasoned cooks and beginners alike.
Secondly, and perhaps most importantly, these chips are delicious. The perfect balance of crispy, crunchy texture and flavorful seasoning makes them utterly addictive. I’ve personally tested this recipe countless times, and each batch disappears faster than a ghost at dawn! The gluten-free aspect is a bonus, making them accessible to a wider range of people and dietary needs, without compromising on taste or texture. I’ve worked hard to ensure these chips are just as satisfying, if not more so, than their gluten-containing counterparts.
Beyond the deliciousness and versatility, these Halloween Gluten-Free Chips are also incredibly fun to make! The process is relatively simple, and the opportunity to get creative with shapes and seasonings adds a playful element to the whole experience. It’s a fantastic activity to do with friends, family, or even just by yourself on a cozy autumn evening. The vibrant colors and festive shapes make them a perfect addition to any Halloween gathering, whether it’s a spooky party, a family get-together, or simply a night in with a good movie.
Serving Suggestions:
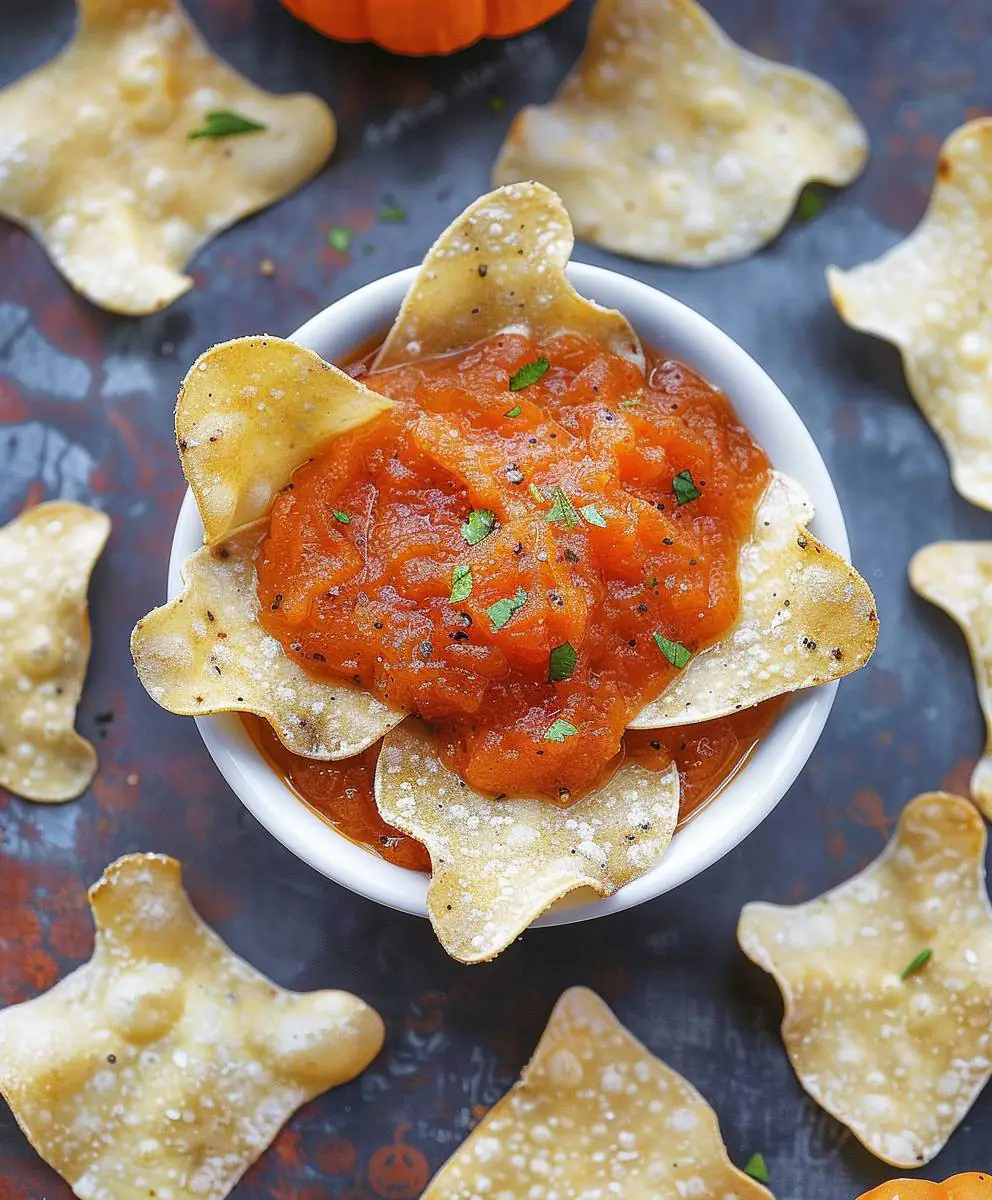
These Halloween Gluten-Free Chips are fantastic on their own, but they also pair beautifully with a variety of dips and accompaniments. I personally love them with a creamy pumpkin dip, a spicy guacamole, or even a simple sour cream and onion dip. They also make a great addition to Halloween-themed snack boards, adding a touch of spooky flair and delicious crunch.
For a truly decadent experience, try serving them alongside a bowl of chili or a hearty soup. The salty, crunchy chips provide a delightful contrast to the warmth and richness of the main course. You can also use them as a topping for salads or stews, adding a unique textural element and a burst of flavor.
Variations:
The possibilities for variations are endless! Experiment with different spices, herbs, and seasonings to create your own unique Halloween Gluten-Free Chip creations. Consider adding a sprinkle of cinnamon and sugar for a sweet and spicy twist, or try incorporating some finely chopped nuts or seeds for added texture and flavor. You can even use cookie cutters to create fun and festive shapes, making them even more appealing to both kids and adults.
Feel free to experiment with different types of flours to achieve your desired texture. I’ve found that a blend of almond flour and tapioca starch works particularly well, but you can certainly explore other gluten-free flour options. Remember to adjust the liquid accordingly, as different flours absorb moisture at different rates.
Don’t Forget to Share!
I would absolutely love to see your creations! Once you’ve tried this recipe, please share your photos and experiences on social media using the hashtag #HalloweenGlutenFreeChips. I can’t wait to see what spooky and delicious variations you come up with. Let’s make this Halloween the most delicious one yet!
So, what are you waiting for? Get baking (or rather, frying!) and let the Halloween festivities begin!
Halloween Gluten-Free Chips: Spooky Snacks for Every Diet
Fun, gluten-free Halloween chips, perfect for parties! Dippable in colorful chocolate and decorated with sprinkles and candy eyeballs.
Ingredients
Instructions
Recipe Notes
- Use a high-quality gluten-free flour blend.
- Don’t overmix the batter.
- Ensure chips are completely cool before dipping in chocolate.
- Store in an airtight container at room temperature for up to a week. Best enjoyed fresh.
Leave a Comment