Halloween Breadsticks
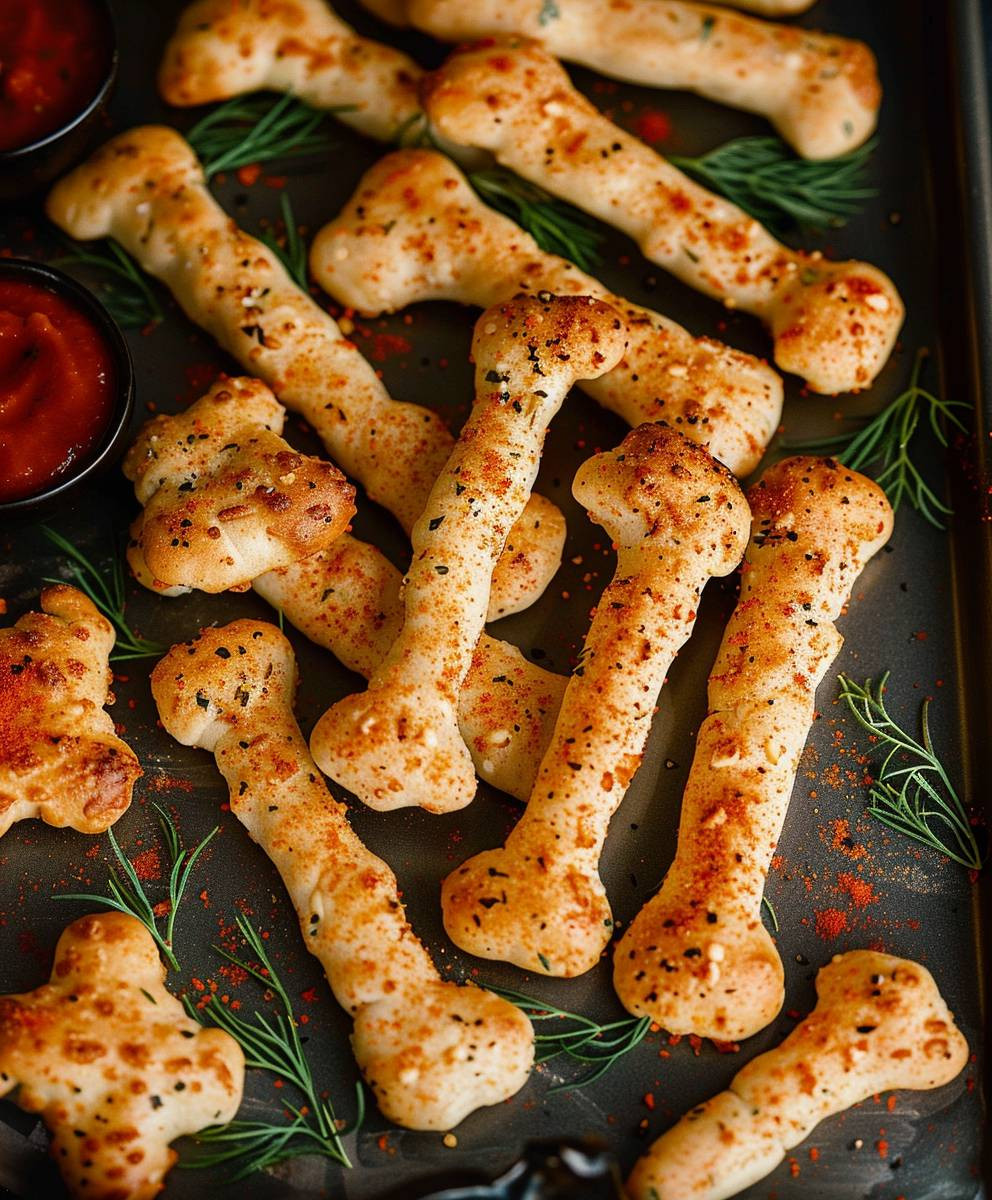
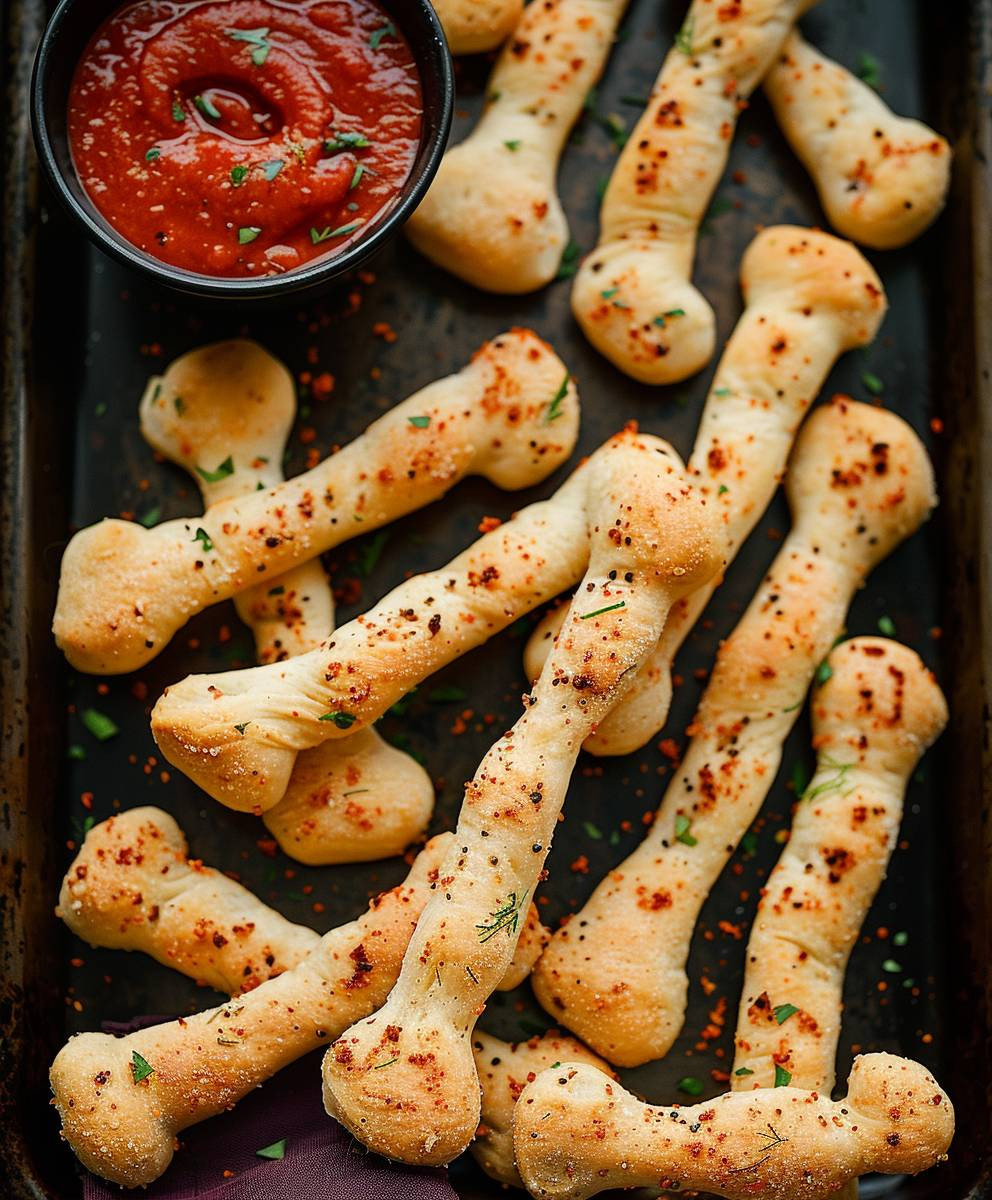
Halloween Breadsticks: Are you ready to conjure up some spooky fun in the kitchen this Halloween? Forget the store-bought treats; this year, I’m sharing my recipe for frightfully delicious and surprisingly easy-to-make Halloween Breadsticks. These aren’t your average breadsticks; we’re talking about crispy, golden-brown perfection, shaped into adorable (and slightly creepy!) Halloween designs that will be the star of your spooky spread.
While the precise origins of breadsticks are debated, stretching back to ancient civilizations, their transformation into a Halloween treat is a more recent, yet equally delightful, evolution. Think of it: the perfect salty-savory counterpoint to all those sweet Halloween candies. And let’s be honest, anything shaped like a ghost or a bat instantly becomes more appealing, especially to the little monsters (and big kids!) in your life.
What makes these Halloween Breadsticks so irresistible? It’s the perfect combination of factors. The dough is wonderfully soft and pliable, making it a joy to shape. The baking process yields a satisfyingly crunchy exterior with a fluffy interior. And the best part? They’re incredibly versatile! You can customize them with a variety of seasonings, dips, and even spooky sprinkles, making them perfect for any Halloween gathering, from a casual family get-together to a more elaborate party.
So, gather your ingredients, put on your witch’s hat (optional, but encouraged!), and let’s get baking these unforgettable Halloween Breadsticks. Prepare to be amazed by how simple it is to create these festive treats that are guaranteed to be a hit with everyone.
Ingredients:
- 2 cups (250g) all-purpose flour, plus extra for dusting
- 1 teaspoon salt
- 1 teaspoon sugar
- 1 packet (2 1/4 teaspoons) active dry yeast
- 1 cup (240ml) warm water (105-115°F)
- 2 tablespoons olive oil
- 1 large egg, lightly beaten
- 1/4 cup (50g) grated Parmesan cheese
- For the topping:
- 1/2 cup (60g) melted unsalted butter
- 1/4 cup (30g) finely grated Parmesan cheese
- 1 teaspoon garlic powder
- 1/2 teaspoon dried oregano
- 1/4 teaspoon salt
- For the decoration:
- Black sesame seeds
- Orange food coloring gel
- Pretzel sticks
- Candy eyeballs
Preparing the Dough
- In a large bowl, whisk together the flour, salt, and sugar. Make a well in the center.
- In a small bowl, combine the warm water and yeast. Let it stand for 5-10 minutes until foamy. This ensures your yeast is active and will help your breadsticks rise beautifully.
- Pour the yeast mixture into the well of the flour mixture. Add the olive oil and beaten egg.
- Using a wooden spoon or your hands, gradually incorporate the flour into the wet ingredients until a shaggy dough forms. Don’t worry if it’s a little sticky at this stage.
- Turn the dough out onto a lightly floured surface and knead for 5-7 minutes, or until the dough becomes smooth and elastic. If it’s too sticky, add a little more flour, a tablespoon at a time. I find kneading by hand really helps develop the gluten, resulting in chewier breadsticks.
- Lightly grease a large bowl with olive oil. Place the dough in the bowl, turning to coat it with oil. Cover the bowl with plastic wrap and let the dough rise in a warm place for about 1 hour, or until doubled in size. A slightly warmer kitchen will speed up the process.
Shaping the Breadsticks
- Once the dough has risen, punch it down gently to release the air. This helps prevent the breadsticks from becoming too airy.
- On a lightly floured surface, roll out the dough to about 1/4 inch thickness. I like to use a rolling pin to get an even thickness, but you can also use your hands.
- Using a pizza cutter or a sharp knife, cut the dough into long strips, about 1/2 inch wide. You can make them thicker or thinner depending on your preference.
- Place the breadsticks onto a baking sheet lined with parchment paper, leaving a little space between each one. This allows for even baking and prevents sticking.
- Cover the baking sheet loosely with plastic wrap and let the breadsticks rise for another 15-20 minutes. This second rise will give them a nice fluffy texture.
Baking and Decorating the Breadsticks
- Preheat your oven to 400°F (200°C). Make sure your oven is fully preheated before baking for the best results.
- While the oven is preheating, prepare the topping. In a small bowl, combine the melted butter, Parmesan cheese, garlic powder, oregano, and salt. Mix well.
- Once the breadsticks have had their second rise, brush them generously with the butter mixture. Make sure to coat them evenly for maximum flavor.
- Bake for 12-15 minutes, or until the breadsticks are golden brown and cooked through. Keep an eye on them, as ovens can vary.
- Remove the breadsticks from the oven and let them cool slightly on a wire rack. This prevents them from becoming soggy.
- Now for the fun part – decorating!
- While the breadsticks are still slightly warm, use a toothpick to gently apply a small amount of orange food coloring gel to create a spooky orange hue on some of the breadsticks. Be creative!
- Press black sesame seeds onto the orange-colored breadsticks to create a “mummy” effect. You can also use the sesame seeds to create other Halloween designs.
- For a “spider” effect, use pretzel sticks to create legs on some of the breadsticks. Attach them while the breadsticks are still slightly warm and pliable.
- Finally, add candy eyeballs to some of the breadsticks to complete the Halloween theme. These add a fun, spooky touch.
Serving Suggestions
- Serve your Halloween breadsticks warm or at room temperature. They are delicious on their own or with your favorite dipping sauce, such as marinara sauce or pesto.
- These breadsticks are perfect for Halloween parties, gatherings, or as a spooky treat for the whole family.
- Enjoy your creepy, crawly, delicious Halloween breadsticks!
Conclusion:
So there you have it – my recipe for spooktacular Halloween Breadsticks! I truly believe this recipe is a must-try for several reasons. First, it’s incredibly versatile. You can easily adjust the seasonings to your liking, adding different herbs, spices, or even a touch of sweetness. The basic dough is incredibly forgiving, making it perfect for even beginner bakers. And let’s be honest, the sheer fun of shaping these breadsticks into creepy crawlies and ghostly figures is half the battle! It’s a fantastic activity to do with kids, making it a perfect addition to your Halloween festivities.
Beyond the ease and fun, the taste is simply divine. That perfectly crisp exterior gives way to a soft, fluffy interior, creating a delightful textural contrast. The savory garlic and herb flavor is a crowd-pleaser, and the addition of the fun Halloween shapes elevates it from a simple snack to a memorable treat. These Halloween Breadsticks are guaranteed to be a hit at your next Halloween party, or even a cozy night in.
Speaking of serving suggestions, the possibilities are endless! These breadsticks are delicious served warm, alongside your favorite soup or chili. They’re also perfect for dipping in marinara sauce, pesto, or even a creamy cheese dip. For a truly spooky spread, consider serving them with a bowl of “witch’s brew” – a vibrant green spinach and artichoke dip. Or, for a sweeter twist, try drizzling them with melted butter and a sprinkle of cinnamon sugar after baking – a surprisingly delicious combination!
For those looking for variations, feel free to experiment! Add some shredded cheese to the dough for a cheesy twist. Try incorporating different herbs like rosemary or oregano for a unique flavor profile. You could even add some finely chopped vegetables like sun-dried tomatoes or olives for an extra layer of complexity. The beauty of this recipe is its adaptability; let your creativity run wild and create your own signature Halloween Breadsticks!
I’ve personally experimented with different dipping sauces and found that a spicy chipotle mayo is a surprisingly delicious pairing. The smoky heat complements the savory breadsticks perfectly, creating a flavor explosion in your mouth. Another fun idea is to use cookie cutters to create different Halloween shapes beyond the basic twists. Think bats, pumpkins, ghosts, or even spooky spiders! The possibilities are truly endless.
So, what are you waiting for? Give this recipe a try and let me know what you think! I’d love to hear about your experiences, your variations, and most importantly, see pictures of your spooky creations! Share your Halloween Breadstick masterpieces on social media using the hashtag #HalloweenBreadsticks so I can see your culinary creations. I can’t wait to see what you come up with! Remember, baking should be fun, and these Halloween Breadsticks are the perfect example of how delicious and fun baking can be. Happy baking, and happy Halloween!
Don’t forget to share your photos and tag me! Let’s make this Halloween extra delicious!
Halloween Breadsticks: Spooky & Delicious Recipe
Spooky Halloween breadsticks perfect for parties! Decorated with orange food coloring, sesame seeds, pretzels, and candy eyeballs.
Ingredients
Instructions
Recipe Notes
- A warmer kitchen will speed up the rising process.
- Don’t over-knead the dough, or the breadsticks will be tough.
- Get creative with your Halloween decorations! Use different colored food coloring, sprinkles, or other candies.


Leave a Comment