
Grilled Cheese Sandwich: Is there anything more comforting than the simple pleasure of a perfectly melted, golden-brown grilled cheese sandwich? I think not! This isn’t just a recipe; it’s a warm hug on a plate, a nostalgic trip back to childhood, and a testament to the fact that sometimes, the simplest things in life are truly the best.
While its exact origins are debated, the modern grilled cheese as we know and love it likely emerged in the 1920s, coinciding with the rise of sliced bread and processed cheese. It quickly became a staple in American households, offering an affordable and satisfying meal during the Great Depression. But its appeal extends far beyond mere sustenance.
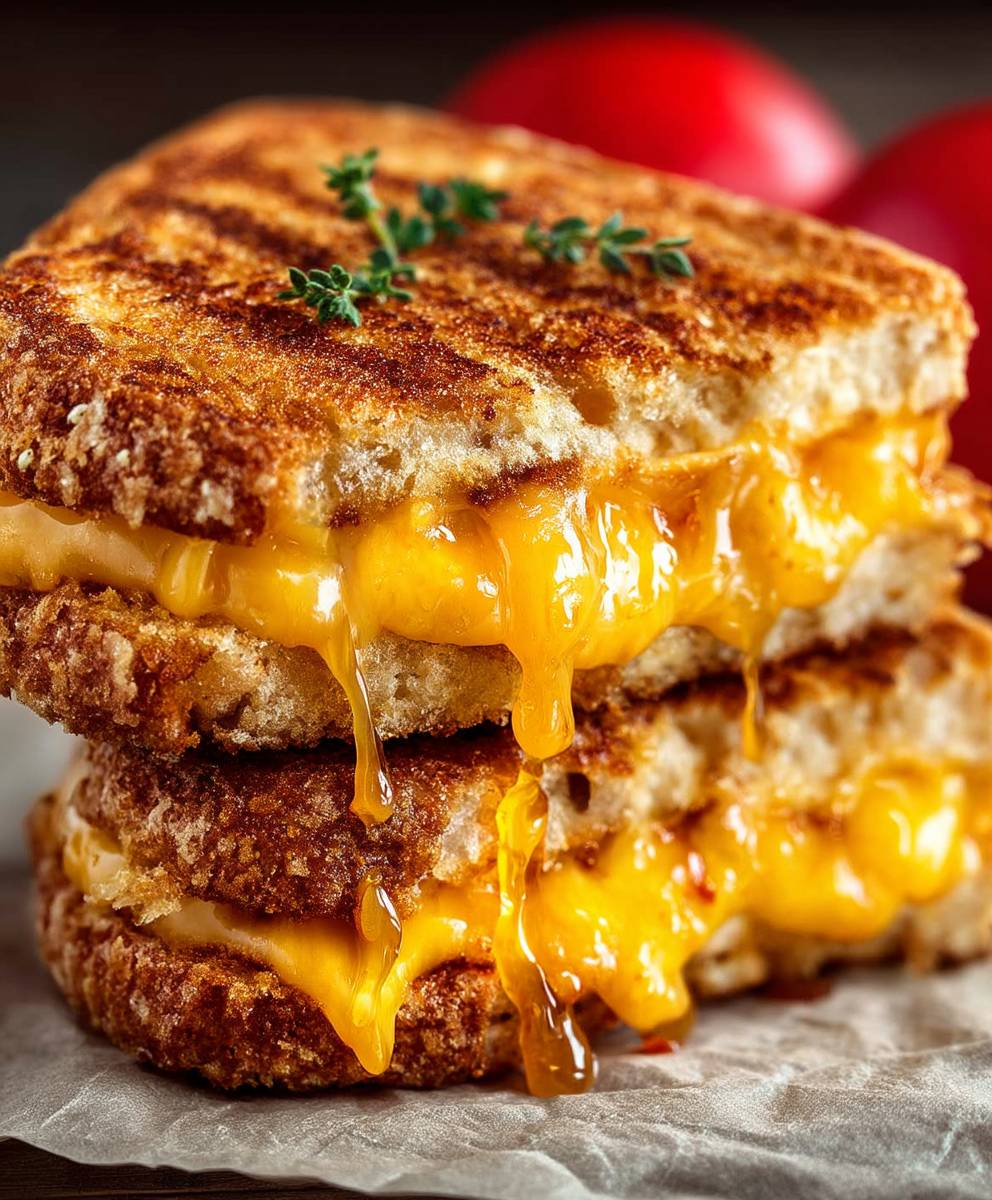
What makes the grilled cheese so universally beloved? It’s the irresistible combination of textures: the crisp, buttery exterior giving way to a gooey, molten cheese center. The taste is pure comfort food – a savory, cheesy delight that’s both familiar and deeply satisfying. Plus, let’s be honest, it’s incredibly easy and quick to make! Whether you’re a seasoned chef or a kitchen novice, you can whip up a delicious grilled cheese sandwich in minutes. So, let’s get started and elevate this classic to its full potential!

Ingredients:
- 2 slices of your favorite bread (I personally love sourdough or a hearty multigrain)
- 2 tablespoons butter, softened (salted or unsalted, your preference!)
- 2-3 slices of cheese (cheddar, Gruyere, Monterey Jack, or a blend – get creative!)
- Optional: A sprinkle of garlic powder
- Optional: A dash of black pepper
Preparing the Perfect Grilled Cheese
- Butter the Bread: This is crucial! Take your softened butter and generously spread it on one side of each slice of bread. Make sure to get right to the edges – that’s where the golden-brown crispiness comes from. Don’t skimp! A good layer of butter is key to a delicious grilled cheese.
- Cheese it Up: Now, place one slice of bread, butter-side down, in a cold skillet or frying pan. I prefer using a non-stick skillet for easy cleanup, but cast iron works wonders too, just be sure it’s well-seasoned. Arrange your cheese slices evenly on top of the bread. Don’t be afraid to overlap them slightly to ensure every bite is cheesy goodness. If you’re using shredded cheese, pile it on!
- Optional Seasoning: This is where you can get a little fancy. If you’re feeling adventurous, sprinkle a tiny bit of garlic powder and a dash of black pepper over the cheese. This adds a subtle but delightful flavor dimension. You can also experiment with other spices like onion powder or paprika.
- Top it Off: Place the second slice of bread on top of the cheese, butter-side up. Make sure the buttered side is facing outwards – this is what will get beautifully browned and crispy.
The Cooking Process: Low and Slow is the Way to Go
- Heat it Up (Gently!): Place the skillet over low heat. This is the most important part of making a truly perfect grilled cheese. Resist the urge to crank up the heat! Cooking it low and slow allows the cheese to melt completely and evenly without burning the bread. Patience is key!
- Press it Down (Lightly): Using a spatula, gently press down on the sandwich. This helps the bread make good contact with the skillet and ensures even browning. Don’t press too hard, though – you don’t want to squish all the cheese out!
- Flip it Like a Pro: After about 3-5 minutes, or when the bottom slice of bread is golden brown and crispy, carefully flip the sandwich using your spatula. If the bread is sticking, gently loosen it with the spatula before flipping.
- Repeat and Observe: Continue cooking the sandwich on the other side for another 3-5 minutes, or until the bread is golden brown and the cheese is completely melted and gooey. Again, gently press down on the sandwich with your spatula to ensure even browning. Keep a close eye on it – you want it to be perfectly golden brown, not burnt!
- Check for Doneness: To check if the cheese is fully melted, you can gently peek inside the sandwich with your spatula. If the cheese is still firm, continue cooking for a minute or two longer, checking frequently.
Serving and Enjoying Your Masterpiece
- Remove and Rest (Briefly): Once the grilled cheese is perfectly golden brown and the cheese is melted and gooey, carefully remove it from the skillet and place it on a cutting board. Let it rest for a minute or two before cutting into it. This allows the cheese to set slightly and prevents it from oozing out everywhere when you cut it.
- Cut and Serve: Using a sharp knife, cut the grilled cheese in half diagonally. This is the classic way to serve it, but you can cut it into squares or triangles if you prefer.
- Serve Immediately: Grilled cheese is best enjoyed hot and fresh, when the cheese is at its melty, gooey peak. Serve it immediately and savor every bite!
- Optional Dipping Sauces: While a grilled cheese is delicious on its own, it’s even better with a dipping sauce! Some popular choices include tomato soup (a classic pairing!), marinara sauce, ranch dressing, or even a simple bowl of ketchup.
Tips and Tricks for the Ultimate Grilled Cheese
- Bread Matters: The type of bread you use can make a big difference in the final result. Sourdough and multigrain breads are great for their texture and flavor, but you can also use white bread, wheat bread, or even brioche. Experiment and find your favorite!
- Cheese Choices: Don’t be afraid to get creative with your cheese! Cheddar is a classic choice, but Gruyere, Monterey Jack, provolone, and even brie can be delicious. You can also use a blend of cheeses for a more complex flavor.
- Butter vs. Mayonnaise: Some people swear by using mayonnaise instead of butter on the outside of the bread. Mayonnaise has a higher fat content than butter, which can result in a crispier, more evenly browned crust. Give it a try and see what you think!
- Garlic Butter: For an extra layer of flavor, try making garlic butter. Simply mix softened butter with minced garlic and spread it on the bread.
- Add-Ins: Take your grilled cheese to the next level by adding some extra ingredients. Some popular add-ins include sliced tomatoes, bacon, ham, avocado, caramelized onions, or even a fried egg.
- Even Cooking: If you find that the bread is browning too quickly before the cheese is fully melted, you can try covering the skillet with a lid. This will trap the heat and help the cheese melt more quickly.
- Don’t Overcrowd the Pan: If you’re making multiple grilled cheese sandwiches, don’t overcrowd the pan. Cook them in batches to ensure that each sandwich has enough room to brown evenly.
- Clean Up: To make cleanup easier, soak the skillet in hot, soapy water immediately after cooking. This will help loosen any stuck-on cheese or butter.
Variations to Spice Things Up
The Caprese Grilled Cheese
Add slices of fresh mozzarella, tomato, and basil leaves to your grilled cheese for a taste of Italy.
The Ham and Swiss Grilled Cheese
Layer slices of ham and Swiss cheese between your bread for a hearty and satisfying meal.
The Spicy Jalapeño Popper Grilled Cheese
Mix cream cheese, shredded cheddar, diced jalapeños, and a sprinkle of garlic powder. Spread this mixture on one slice of bread, then top with another slice of bread and grill as usual. This one has a kick!
The Apple and Cheddar Grilled Cheese
Thinly slice an apple and layer it with cheddar cheese between your bread. The sweet and savory combination is surprisingly delicious.
The Pesto Grilled Cheese
Spread pesto on one or both slices of bread before adding your cheese. This adds a vibrant and flavorful twist to the classic grilled cheese.
Enjoy experimenting and finding your own perfect grilled cheese combination! The possibilities are endless!
Conclusion:
So, there you have it! This isn’t just any grilled cheese; it’s a symphony of textures and flavors that elevates a childhood classic to something truly special. From the perfectly golden-brown, crispy exterior to the gooey, melty cheese pull that stretches for days, this recipe is a guaranteed crowd-pleaser. I truly believe that this is a must-try grilled cheese sandwich experience.
But why is it a must-try? Because it’s more than just slapping cheese between bread and throwing it in a pan. It’s about the details: the careful selection of cheeses, the perfect butter-to-bread ratio, the low and slow cooking method that ensures even melting and browning. It’s about creating a moment of pure comfort and joy with every single bite. It’s about taking something simple and making it extraordinary.
And the best part? It’s incredibly versatile! Feel free to experiment with different cheeses. Gruyere and sharp cheddar are a fantastic combination for a more sophisticated flavor profile. Or, if you’re feeling adventurous, try adding a slice of provolone or even a little bit of pepper jack for a spicy kick.
Beyond the cheese, consider adding some extra ingredients to take your grilled cheese to the next level. Thinly sliced tomatoes, caramelized onions, or even a few slices of crispy bacon can add incredible depth of flavor. For a vegetarian option, try adding some sautéed mushrooms or roasted red peppers. The possibilities are truly endless!
As for serving suggestions, this grilled cheese is perfect on its own for a quick and satisfying lunch. But it also pairs beautifully with a bowl of creamy tomato soup for a classic comfort food combination. Or, for a more substantial meal, serve it with a side salad or some roasted vegetables. You could even cut it into smaller squares and serve it as an appetizer at your next gathering.
Don’t be afraid to get creative and make this recipe your own! That’s the beauty of cooking, after all. It’s about experimenting, having fun, and creating something delicious that you and your loved ones will enjoy.
I’m so confident that you’re going to love this recipe. It’s simple enough for a weeknight meal, but impressive enough to serve to guests. It’s a guaranteed winner, every single time.
So, what are you waiting for? Gather your ingredients, fire up your stove, and get ready to experience the ultimate grilled cheese sandwich. I promise you won’t be disappointed.
And once you’ve tried it, I’d love to hear about your experience! Did you make any variations? What cheeses did you use? What did you serve it with? Share your photos and comments in the section below. I can’t wait to see what you create! Happy cooking, and enjoy your must-try grilled cheese sandwich! I am sure you will love it.
Grilled Cheese Sandwich: The Ultimate Guide to a Perfect Melt
The ultimate guide to making the perfect grilled cheese sandwich, with tips, tricks, and delicious variations to elevate this classic comfort food.
Ingredients
- 2 slices of your favorite bread (sourdough or multigrain recommended)
- 2 tablespoons butter, softened (salted or unsalted)
- 2-3 slices of cheese (cheddar, Gruyere, Monterey Jack, or a blend)
- Optional: A sprinkle of garlic powder
- Optional: A dash of black pepper
Instructions
- Butter the Bread: Generously spread softened butter on one side of each slice of bread, right to the edges.
- Cheese it Up: Place one slice of bread, butter-side down, in a cold skillet. Arrange cheese slices evenly on top, overlapping slightly if needed.
- Optional Seasoning: Sprinkle a tiny bit of garlic powder and a dash of black pepper over the cheese, if desired.
- Top it Off: Place the second slice of bread on top of the cheese, butter-side up.
- Heat it Up (Gently!): Place the skillet over low heat.
- Press it Down (Lightly): Using a spatula, gently press down on the sandwich.
- Flip it Like a Pro: After about 3-5 minutes, or when the bottom slice of bread is golden brown and crispy, carefully flip the sandwich.
- Repeat and Observe: Continue cooking on the other side for another 3-5 minutes, or until the bread is golden brown and the cheese is completely melted and gooey. Gently press down on the sandwich with your spatula to ensure even browning.
- Check for Doneness: Gently peek inside the sandwich with your spatula to check if the cheese is fully melted. If the cheese is still firm, continue cooking for a minute or two longer, checking frequently.
- Remove and Rest (Briefly): Once the grilled cheese is perfectly golden brown and the cheese is melted and gooey, carefully remove it from the skillet and place it on a cutting board. Let it rest for a minute or two before cutting into it.
- Cut and Serve: Cut the grilled cheese in half diagonally.
- Serve Immediately: Serve hot and fresh.
- Optional Dipping Sauces: Serve with tomato soup, marinara sauce, ranch dressing, or ketchup.
Notes
- Bread Matters: Sourdough and multigrain breads are great for their texture and flavor, but you can also use white bread, wheat bread, or even brioche.
- Cheese Choices: Cheddar is a classic choice, but Gruyere, Monterey Jack, provolone, and even brie can be delicious. You can also use a blend of cheeses for a more complex flavor.
- Butter vs. Mayonnaise: Some people swear by using mayonnaise instead of butter on the outside of the bread. Mayonnaise has a higher fat content than butter, which can result in a crispier, more evenly browned crust.
- Garlic Butter: For an extra layer of flavor, try making garlic butter. Simply mix softened butter with minced garlic and spread it on the bread.
- Add-Ins: Take your grilled cheese to the next level by adding some extra ingredients. Some popular add-ins include sliced tomatoes, bacon, ham, avocado, caramelized onions, or even a fried egg.
- Even Cooking: If you find that the bread is browning too quickly before the cheese is fully melted, you can try covering the skillet with a lid. This will trap the heat and help the cheese melt more quickly.
- Don’t Overcrowd the Pan: If you’re making multiple grilled cheese sandwiches, don’t overcrowd the pan. Cook them in batches to ensure that each sandwich has enough room to brown evenly.
- Clean Up: To make cleanup easier, soak the skillet in hot, soapy water immediately after cooking. This will help loosen any stuck-on cheese or butter.
Leave a Comment