
Candy Cane Pizza Breadsticks
Oh my goodness, get ready to dive into something truly delightful and incredibly festive! I’m so excited to share my recipe for Candy Cane Pizza Breadsticks with you. This isn’t just any ordinary snack; it’s a brilliant fusion of everyone’s favorite pizza flavors, the satisfying chewiness of a breadstick, and a super fun, eye-catching holiday twist!
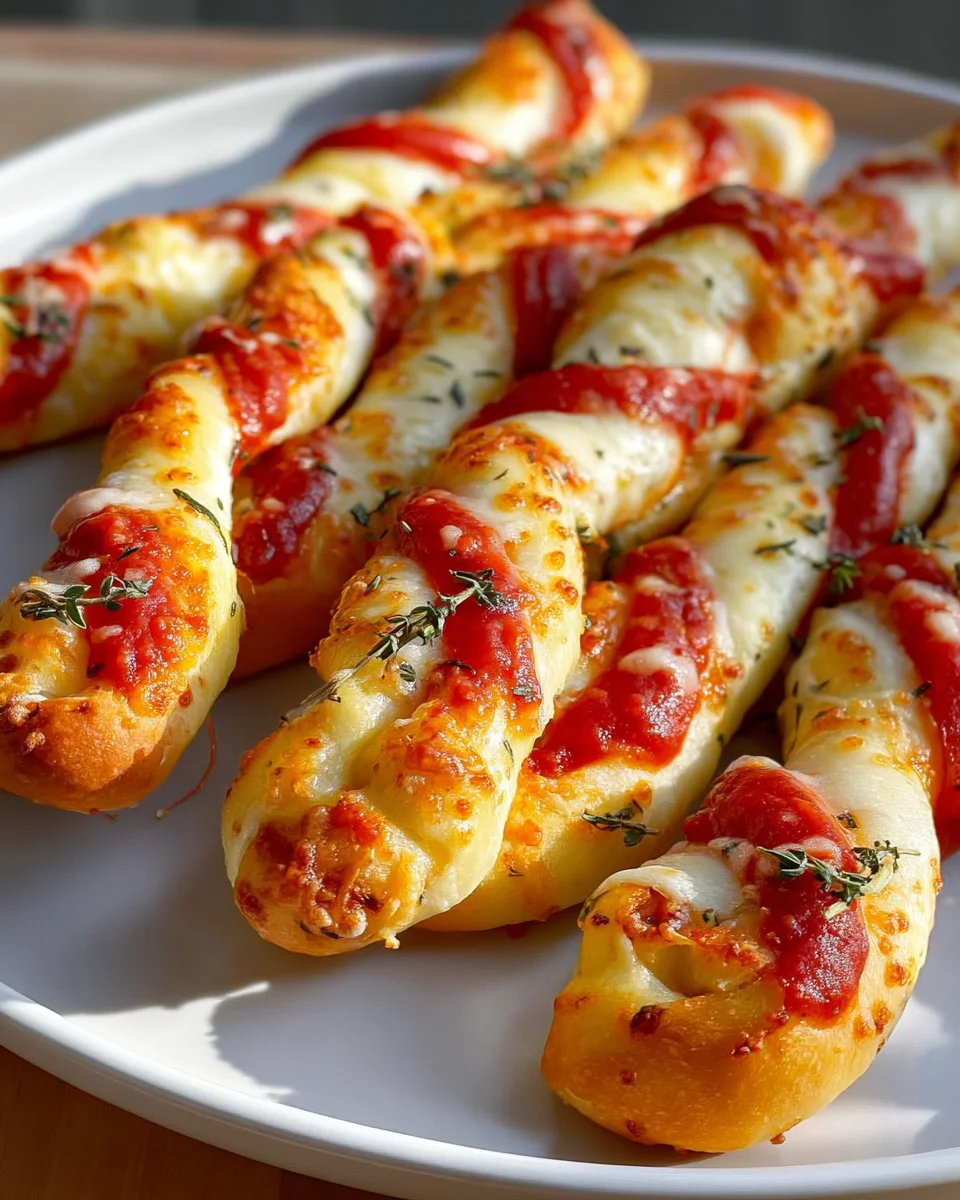
What makes these so special? Well, it’s all in the presentation! We’re taking simple pizza dough and shaping it into an adorable candy cane, then loading it up with all the classic goodies you love: savory pizza sauce, gooey melted mozzarella, and maybe even some delicious beef pepperoni or your favorite veggie toppings. It’s a visually stunning centerpiece for any holiday gathering, potluck, or just a fun family dinner that needs a little extra sparkle.
You and your loved ones are absolutely going to adore these Candy Cane Pizza Breadsticks because they’re not only incredibly delicious and satisfying, but they also bring so much joy and cheer to the table. They’re surprisingly easy to make, a fantastic project to get the kids involved with, and they disappear lightning fast! Imagine the smiles when you bring out this festive, cheesy, and utterly irresistible creation. It’s the perfect way to add a bit of holiday magic to your mealtime without a lot of fuss. Get ready to bake some happiness!

Ingredient Notes
Oh, I’m so excited to share my go-to recipe for Candy Cane Pizza Breadsticks! These festive and fun snacks are an absolute hit, especially during the holidays. The beauty of them is their flexibility, but here are the key ingredients I always reach for to make them perfectly delicious and visually stunning.
The Dough
- Store-Bought Pizza Dough: This is my secret weapon for convenience! You can grab a tube or a ball of fresh pizza dough from your local grocery store. I find that a standard 13.8-ounce (or similar size) tube is usually enough for a good batch. Look for brands that offer classic or even thin-crust dough. If you’re feeling ambitious and have a favorite homemade pizza dough recipe, by all means, go for it! Just make sure it’s well-rested and easy to work with for shaping.
-
Substitution: If you can’t find pizza dough, pre-made crescent roll dough can work in a pinch for a softer, flakier breadstick, but the texture will be different. For a slightly more rustic feel, you could even use refrigerated biscuit dough, flattened and cut.
The “Pizza” Elements
- Marinara or Pizza Sauce: This is where our vibrant “red” color comes from! I prefer a good quality marinara sauce – something rich and flavorful, not too watery. You’ll only need a thin layer, so a small jar or can will be plenty.
- Shredded Mozzarella Cheese: Our glorious “white” stripe! Low-moisture, part-skim mozzarella is ideal for melting beautifully without making the breadsticks greasy. A cup or so should do the trick.
-
Substitution: Feel free to experiment with a blend of Italian cheeses like provolone, Monterey Jack, or even a little Parmesan for added flavor. Just ensure it’s a good melting cheese.
Optional Toppings & Seasoning (but highly recommended!)
- Olive Oil: A little drizzle on top before baking helps achieve that golden-brown crust and a lovely texture.
- Garlic Powder & Italian Seasoning: These are my must-haves for infusing that classic pizza parlor aroma and taste. A sprinkle goes a long way.
- Mini Pepperoni: If you want to add a classic pizza topping, mini pepperoni slices are perfect because they fit well on the narrow breadsticks. If you only have regular size, simply cut them into quarters.
-
Cooked Crumbled Beef: For a heartier option, I love adding a little pre-cooked, finely crumbled seasoned beef. It adds fantastic savory depth without overpowering the breadstick concept. Just make sure it’s cooled before adding to the dough.
-
Finely Diced Red Bell Pepper: For a pop of extra color and a slight crunch, a tiny amount of finely diced red bell pepper can be sprinkled on the marinara side. It really enhances the festive look!
Step-by-Step Instructions
Alright, let’s get hands-on and create these adorable and delicious Candy Cane Pizza Breadsticks! It’s a fun process, and the results are always worth it.
- Preheat Your Oven & Prep Baking Sheets: First things first, preheat your oven to 400°F (200°C). Line two large baking sheets with parchment paper. This is crucial for easy cleanup and preventing sticking.
- Unroll & Prep the Dough: Carefully unroll your pizza dough onto a lightly floured surface or a clean cutting board. Gently stretch it into a rectangle, aiming for about 12×16 inches, give or take. Don’t overwork it! If it springs back too much, let it rest for 5-10 minutes.
- Cut into Strips: Using a pizza cutter or a sharp knife, cut the dough lengthwise into approximately 1-inch wide strips. You’ll need an even number of strips for the “red” and “white” sections. For a batch of about 8-10 candy canes, aim for 16-20 strips.
- Create Your “Red” Strips: On half of your dough strips, spread a very thin layer of marinara sauce. I mean thin – we don’t want soggy breadsticks! Leave a small border around the edges. If you’re adding mini pepperoni or crumbled beef, sprinkle them lightly over the sauce now.
- Prepare Your “White” Strips: On the remaining half of the dough strips, generously sprinkle the shredded mozzarella cheese. Try to keep the cheese mostly in the center so it doesn’t fall off too easily when twisting.
- Form the Candy Canes (The Fun Part!):
- Take one “red” strip and one “white” strip. Lay them side-by-side, pressing one end together gently.
- Carefully twist the two strips together, like braiding, keeping them somewhat flat so the toppings don’t fall off. Don’t twist too tightly; you want them to hold their shape but still look distinct.
- Once twisted, gently form the dough into a candy cane shape by curving the top part into a hook.
- Repeat this process with the remaining strips, placing each finished candy cane on your prepared baking sheets, leaving about an inch or two between them.
- Season & Bake: Lightly brush the tops of your candy cane breadsticks with olive oil. If you like, sprinkle a little garlic powder and Italian seasoning over them.
- Bake for 12-18 minutes, or until the dough is golden brown, and the cheese is bubbly and melted. Keep an eye on them, as oven temperatures can vary!
- Serve Warm: Let them cool for just a minute or two on the baking sheet before transferring them to a serving platter. They are best enjoyed warm, perhaps with an extra side of marinara for dipping!
Tips & Suggestions
Making these Candy Cane Pizza Breadsticks is truly a joy, and I’ve picked up a few tricks along the way to make them extra special and easy for you. Here are my best tips:
- Don’t Overload the Sauce: This is probably the most important tip! A thin, even layer of marinara is key. Too much sauce will make your breadsticks soggy and difficult to twist, plus it won’t allow the dough to crisp up properly. Use a pastry brush or the back of a spoon to spread it out.
- Keep Toppings Small: If you’re adding toppings beyond sauce and cheese, make sure they are very finely diced or mini-sized (like mini pepperoni or finely crumbled beef). Large pieces will make it hard to twist the dough and are more likely to fall off during baking.
- Work Quickly with Dough: Pizza dough can get sticky as it warms up. If you find it hard to handle, pop it back into the fridge for 5-10 minutes to firm up slightly. A light dusting of flour on your work surface also helps tremendously.
- Embrace Imperfection: Don’t stress about making every candy cane look absolutely identical. The charm of homemade treats often lies in their unique, rustic appearance! Each one will be delicious no matter what.
- Make it Kid-Friendly: This recipe is fantastic for involving kids! Let them help with spreading the sauce, sprinkling cheese, and even twisting the dough (with supervision, of course). They’ll love creating their own edible art.
- Spice It Up: Want a little kick? Sprinkle a pinch of red pepper flakes over the marinara sauce for a fiery “candy cane.” Or, infuse your olive oil with a minced garlic clove before brushing it on.
- Garlic Butter Brush: Instead of plain olive oil, melt a tablespoon of butter with a quarter teaspoon of garlic powder and brush this mixture over the breadsticks before baking. It adds an incredible aroma and savory flavor!
- Serving Suggestion: These are absolutely delicious on their own, but they’re even better with a warm bowl of extra marinara sauce for dipping. A sprinkle of fresh chopped parsley after baking also adds a lovely fresh garnish and a hint of green for contrast.
Storage
If by some miracle you have any of these festive treats leftover (it rarely happens in my house!), here’s how I like to store them to keep them as fresh and delicious as possible:
- Cool Completely: The absolute first step is to let your Candy Cane Pizza Breadsticks cool down to room temperature. Storing them while they’re still warm will create condensation, making them soggy.
- Airtight Container at Room Temperature: If you plan to eat them within a day, you can store them in an airtight container at room temperature. They’ll retain a decent texture, though they won’t be as crisp as when they first came out of the oven.
- Refrigeration: For longer storage, up to 2-3 days, place the cooled breadsticks in an airtight container or a large, sealable plastic bag in the refrigerator. Layer them with parchment paper if you’re stacking them to prevent sticking.
- Reheating for Best Results:
- Oven/Toaster Oven: My absolute preferred method! Preheat your oven or toaster oven to 350°F (175°C). Place the breadsticks directly on a baking sheet (no need for parchment paper unless they are really cheesy). Reheat for about 5-8 minutes, or until the cheese is bubbly again and the dough is crisped up. This method really helps bring back that fresh-baked texture.
- Air Fryer: If you have an air fryer, this is another excellent option for quick crisping! Air fry at 350°F (175°C) for 3-5 minutes, checking frequently to prevent burning.
- Microwave: While you can microwave them, I generally advise against it if you want to maintain a crisp texture. The microwave tends to make them soft and chewy, not ideal for a breadstick. If you must, microwave for short bursts (15-30 seconds) until warmed through.
- Freezing (Not Recommended for Best Quality): While technically you could freeze them, I don’t typically recommend it for these specific breadsticks. The cheese and sauce can sometimes become a bit watery or change texture upon thawing and reheating. They are truly best enjoyed fresh or reheated from refrigeration.
Final Thoughts
There you have it – my delightful take on festive snacking! These Candy Cane Pizza Breadsticks aren’t just a treat for the taste buds; they’re an experience. I truly believe this recipe is a must-try for anyone looking to add a sprinkle of joy and a dash of deliciousness to their holiday season, or really, any gathering that calls for something fun and flavorful. The playful candy cane shape makes them absolutely irresistible, while the classic pizza flavors ensure everyone, from the pickiest eaters to the most seasoned foodies, will be reaching for more.
They’re incredibly versatile too – perfect as an appetizer, a party snack, or a fun addition to a casual meal. Forget the usual boring finger foods; these Candy Cane Pizza Breadsticks bring a unique charm and a burst of cheesy, savory goodness that’s simply unmatched. I promise you, once you pull these beautifully shaped, golden-brown breadsticks out of the oven, you’ll understand why they’ve become a personal favorite. So go ahead, gather your ingredients, put on some festive tunes, and get ready to bake up some magic with these wonderful Candy Cane Pizza Breadsticks!
Leave a Comment