
Stained Glass Cookies Recipe
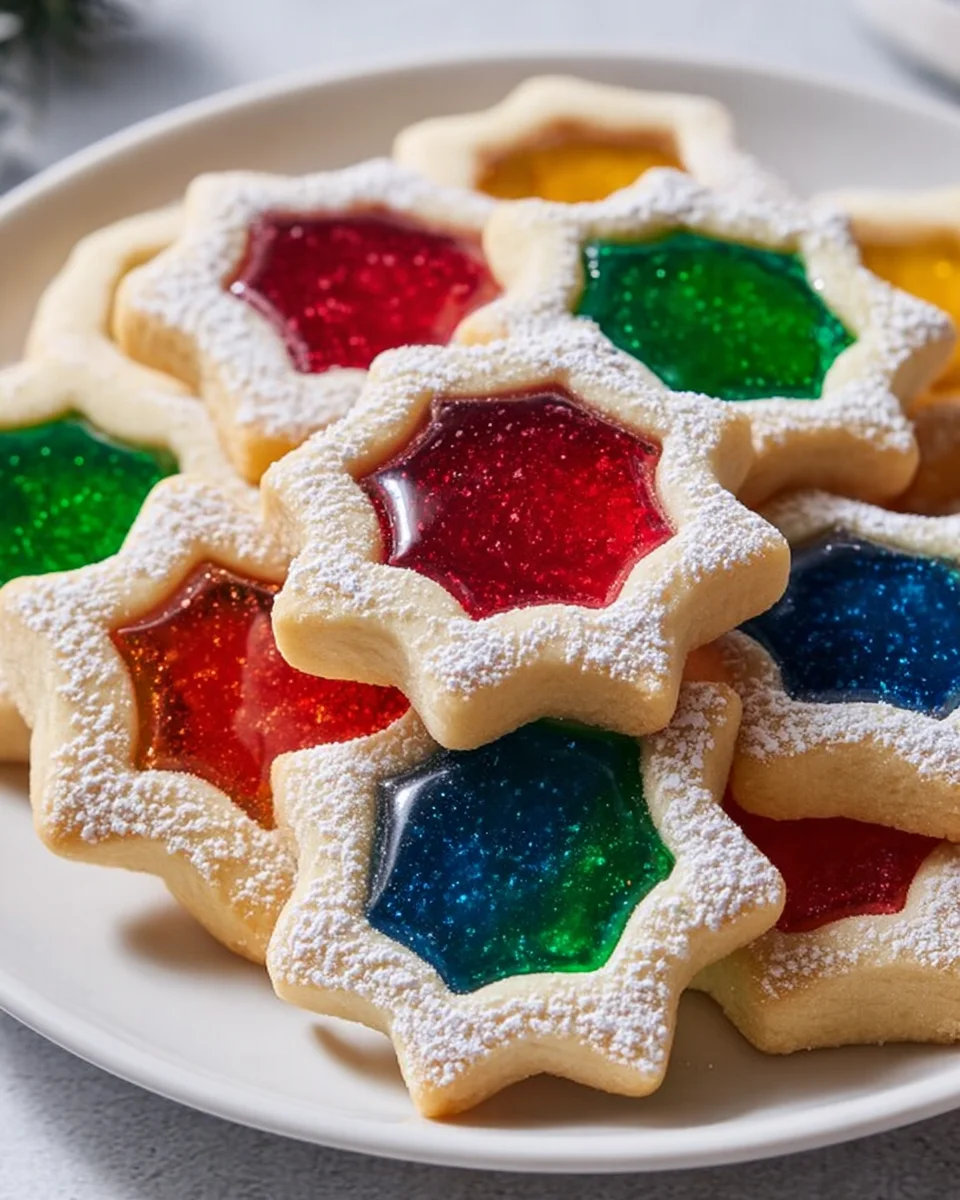
Welcome to the delightful world of baking with my Stained Glass Cookies Recipe, where art meets flavor in the most delicious way! These enchanting cookies are not just a treat for the taste buds; they are a feast for the eyes as well. Imagine biting into a crisp, buttery cookie that reveals a vibrant, jewel-like center, made from melted hard candies that create a stunning stained glass effect. It’s like having a little piece of art you can enjoy and share!
What makes this recipe truly special is its perfect blend of creativity and simplicity. Whether you’re a seasoned baker or just starting your culinary adventure, these cookies offer a fun opportunity to unleash your inner artist. They are perfect for holiday gatherings, birthday parties, or even just a cozy afternoon at home. Readers will love how easy it is to customize the colors and shapes, making each batch uniquely yours!
So, roll up your sleeves and get ready to impress your friends and family with these delightful treats. Let’s dive into the magic of baking and create some stunning Stained Glass Cookies together!

Ingredient Notes
For my Stained Glass Cookies, I like to use a simple sugar cookie dough as the base. Here’s what you’ll need:
- Butter: Unsalted butter is ideal for a rich flavor. If you need a dairy-free option, you can substitute with coconut oil or a vegan butter alternative.
- Sugar: Granulated sugar works perfectly to sweeten the dough. You can also use brown sugar for a slightly different flavor profile.
- Flour: All-purpose flour is best for structure. If you’re looking for a gluten-free version, consider a 1:1 gluten-free flour blend.
- Eggs: Large eggs bind the ingredients together. For an egg substitute, try using a flax egg (1 tablespoon of ground flaxseed mixed with 2.5 tablespoons of water) for each egg.
- Food Coloring: I use gel food coloring to achieve vibrant hues for the stained glass effect. If you prefer natural colors, consider beet juice or matcha for red and green, respectively.
- Candy: Hard candies like Jolly Ranchers or Life Savers are perfect for the stained glass effect. You can crush them into small pieces or use different colors to create a variety of designs.
Step-by-Step Instructions
Let’s dive into making these delightful Stained Glass Cookies!
- Prepare the Dough: In a large mixing bowl, cream together 1 cup of softened unsalted butter and 1 cup of granulated sugar until light and fluffy. Add in 2 large eggs and 1 teaspoon of vanilla extract, mixing well.
- Combine Dry Ingredients: In a separate bowl, whisk together 3 cups of all-purpose flour, 1 teaspoon of baking powder, and a pinch of salt. Gradually add this mixture to the wet ingredients, mixing until just combined.
- Chill the Dough: Divide the dough into two equal parts, wrap each in plastic wrap, and refrigerate for at least 1 hour. This step is crucial for easier handling.
- Roll Out the Dough: Once chilled, roll out one portion of dough on a floured surface to about 1/4-inch thickness. Use a cookie cutter to cut out shapes, then use a smaller cookie cutter to remove the center to create a window effect.
- Add the Candy: Place crushed hard candies in the center of each cookie shape. The amount depends on the size of your cutout, but be generous! The candy will melt and fill the hole.
- Bake: Preheat your oven to 350°F (175°C) and bake the cookies on a parchment-lined baking sheet for about 10-12 minutes or until the edges are lightly golden. Keep an eye on them to avoid overbaking.
- Cool and Enjoy: Allow the cookies to cool on the baking sheet for a few minutes before transferring them to a wire rack to cool completely. Once cooled, the candy will have hardened, creating a beautiful stained glass effect.
Tips & Suggestions
Here are some personal tips to make your Stained Glass Cookies even better:
- Use Quality Candy: The type of hard candy you use can affect the final look and taste. Opt for clear or brightly colored candies for the best results.
- Experiment with Shapes: Don’t limit yourself to traditional shapes. Use seasonal cookie cutters like stars for Christmas or hearts for Valentine’s Day to make themed cookies.
- Layering Colors: For a more intricate design, you can layer different colors of crushed candy in the cutout. Just be cautious about how much you add to avoid overflow during baking.
- Decorate: Once cooled, you can drizzle melted chocolate over the cookies for added flavor and decoration. Sprinkles can also add a festive touch.
Storage
Stained Glass Cookies are best enjoyed fresh, but you can store them to enjoy later. Here’s how:
- Room Temperature: Store the cookies in an airtight container at room temperature for up to one week. Make sure they are completely cool before storing to prevent them from becoming soggy.
- Freezing: If you want to keep them longer, you can freeze the cookies. Place them in a single layer in a freezer-safe container, separating layers with parchment paper. They can be frozen for up to three months.
- Thawing: To enjoy frozen cookies, simply remove them from the freezer and let them thaw at room temperature. Avoid microwaving, as this can cause the candy to become sticky.
Enjoy making and sharing your beautiful Stained Glass Cookies! They’re sure to brighten up any occasion with their colorful charm.
Final Thoughts
In my experience, the Stained Glass Cookies Recipe is truly a delightful baking adventure that everyone should try at least once. Not only are these cookies visually stunning with their vibrant, jewel-like centers, but they also taste deliciously buttery and sweet. They make for a perfect treat for holidays, parties, or simply a fun afternoon in the kitchen. Plus, the joy of making these cookies with loved ones adds an extra layer of magic to the experience. So gather your ingredients, unleash your creativity, and let the Stained Glass Cookies Recipe bring a splash of color and happiness to your day!
Leave a Comment