
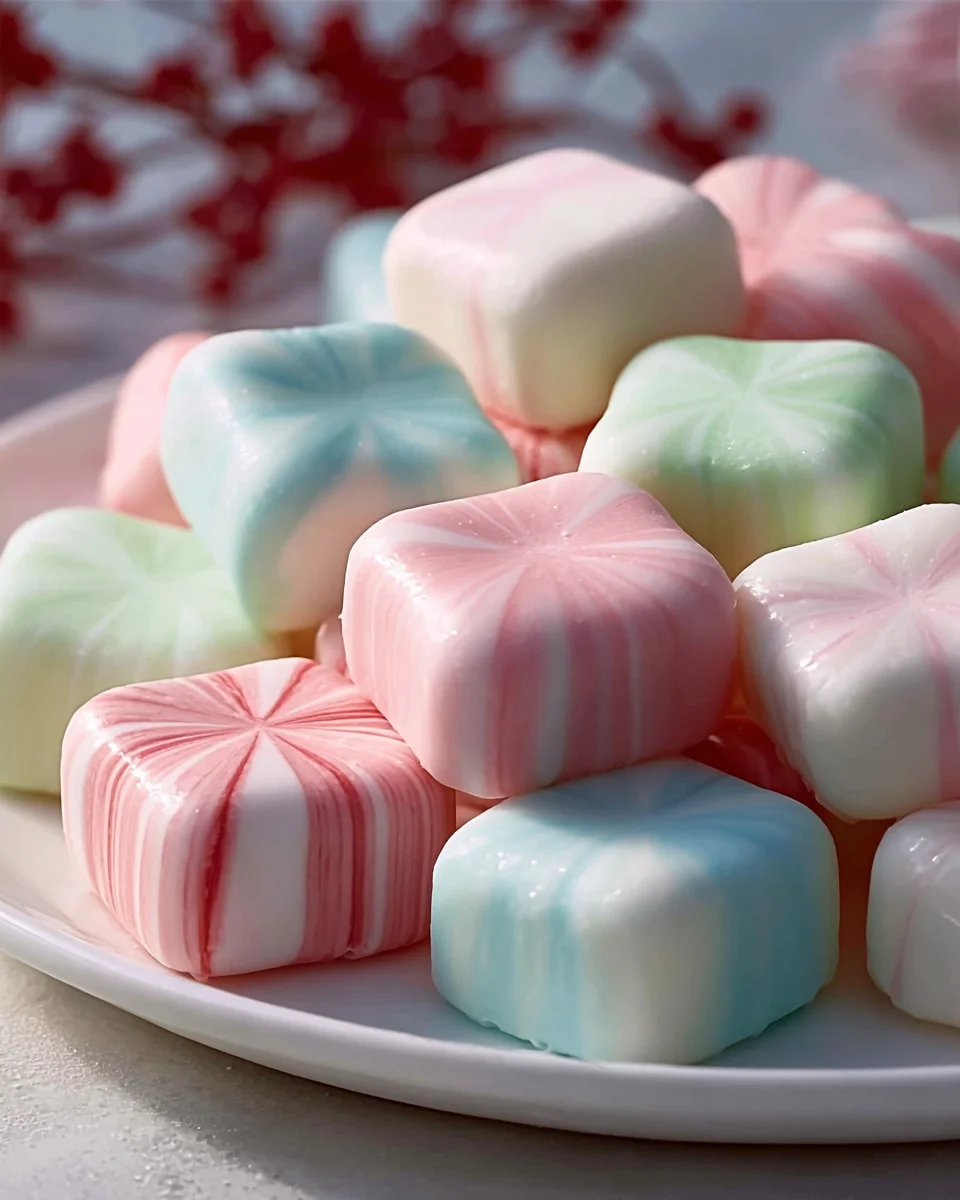
Old Fashioned Butter Mints
Ah, the delightful world of candy-making! Today, I’m excited to share a cherished gem from my collection: Old Fashioned Butter Mints. These little treats hold a special place in my heart and my kitchen, evoking memories of family gatherings and sweet celebrations. With their melt-in-your-mouth texture and buttery flavor, these mints are not just candy; they’re a nostalgic experience that brings a smile to everyone’s face.
What makes Old Fashioned Butter Mints truly special is their simplicity and the way they elegantly balance sweetness with a touch of creamy decadence. Unlike store-bought candies, these mints are made with love and just a handful of ingredients you probably already have in your pantry. They’re perfect for weddings, holidays, or just a sweet addition to your dessert table. Trust me, once you try making these at home, you’ll find that there’s nothing quite like the satisfaction of crafting your very own buttery confections!
So, roll up your sleeves and get ready to whip up a batch of these delightful mints. Your taste buds will thank you, and I promise, they’ll become a favorite in your home, just as they are in mine!

Ingredient Notes
When making Old Fashioned Butter Mints, you’ll want to gather some key ingredients that create that delightful, creamy flavor and texture. Here’s what you’ll need:
- Butter: Use unsalted butter for the best flavor. If you prefer, you can substitute with a plant-based butter for a dairy-free option.
- Powdered Sugar: This gives the mints their sweetness and smooth texture. If you’re looking to reduce sugar, you can use a sugar substitute that measures like powdered sugar.
- Evaporated Milk: This adds richness. A non-dairy milk, such as coconut or almond milk, can work as a substitute, but it may alter the flavor slightly.
- Flavoring Extract: Peppermint extract is traditional, but feel free to experiment with spearmint, vanilla, or even almond extract for different flavor profiles.
- Food Coloring: This is optional for those who want colorful mints. Gel food coloring works best for vibrant hues without altering the texture.
Step-by-Step Instructions
Making Old Fashioned Butter Mints is a fun and straightforward process. Here’s how to do it:
- Prepare Your Work Surface: Start by covering a baking sheet with parchment paper. This will prevent the mints from sticking and make cleanup easier.
- Mix the Butter and Sugar: In a mixing bowl, cream together 1/2 cup of softened unsalted butter and 4 cups of powdered sugar. Use an electric mixer on low speed to avoid a sugar cloud!
- Add Evaporated Milk: Gradually mix in 3 tablespoons of evaporated milk until the mixture is smooth. If you’re using non-dairy milk, add it slowly until you achieve the desired consistency.
- Flavor It Up: Stir in 1 teaspoon of peppermint extract (or your chosen flavor) to the butter mixture. Taste and adjust the flavoring to your liking; you can add more if you want a stronger mint taste.
- Color the Mixture: If you’d like your mints colored, add a few drops of food coloring. Mix until the color is evenly distributed.
- Form the Mints: Once the mixture is well combined, take small amounts and roll them into balls or shape them into little squares. Aim for a size that fits comfortably in your mouth—about a teaspoon works well.
- Let Them Set: Place the shaped mints onto the prepared baking sheet. Allow them to set at room temperature for about an hour, or until they firm up.
- Store or Serve: Once set, you can enjoy them immediately or store them for later!
Tips & Suggestions
Here are some tips to ensure your Old Fashioned Butter Mints turn out perfectly:
- Temperature Matters: Make sure your butter is at room temperature for easy mixing and a smooth texture.
- Flavor Variations: Experiment with different extracts like vanilla or citrus to give your mints a unique twist. You can even mix flavors for a delightful surprise.
- Keep It Cool: If your mints are too soft to shape, refrigerate the mixture for a short time to make it easier to work with.
- Presentation: For a fun touch, consider dusting your mints with a little extra powdered sugar after they set, or pack them in a decorative tin for gifting.
- Perfect Size: Rolling uniform sizes can help with presentation, so using a small cookie scoop can be helpful for consistency.
Storage
To keep your Old Fashioned Butter Mints fresh, follow these storage tips:
- Airtight Container: Store the mints in an airtight container at room temperature for up to two weeks. This helps maintain their softness and flavor.
- Refrigeration: If you live in a particularly warm climate, consider refrigerating the mints. Just be sure to let them come to room temperature before serving for the best texture.
- Freezing: You can freeze the mints for longer storage. Place them in a single layer on a baking sheet until frozen, then transfer to an airtight freezer bag. They can last up to three months frozen.
Enjoy creating and sharing these delightful Old Fashioned Butter Mints with family and friends!
Final Thoughts
If you’re looking for a delightful treat that brings back the charm of yesteryears, then the Old Fashioned Butter Mints are an absolute must-try! I can’t emphasize enough how these little gems melt in your mouth, offering a perfect blend of sweetness and buttery goodness. Not only do they make for a wonderful addition to any gathering, but they also evoke a sense of nostalgia that can transport you back to simpler times. Plus, making them is a fun and rewarding experience that the whole family can enjoy together. So go ahead, whip up a batch of Old Fashioned Butter Mints, and let their delightful flavor remind you of the warmth of home and the joy of sharing sweet moments with loved ones!
Leave a Comment