
Mini Fruit Tarts
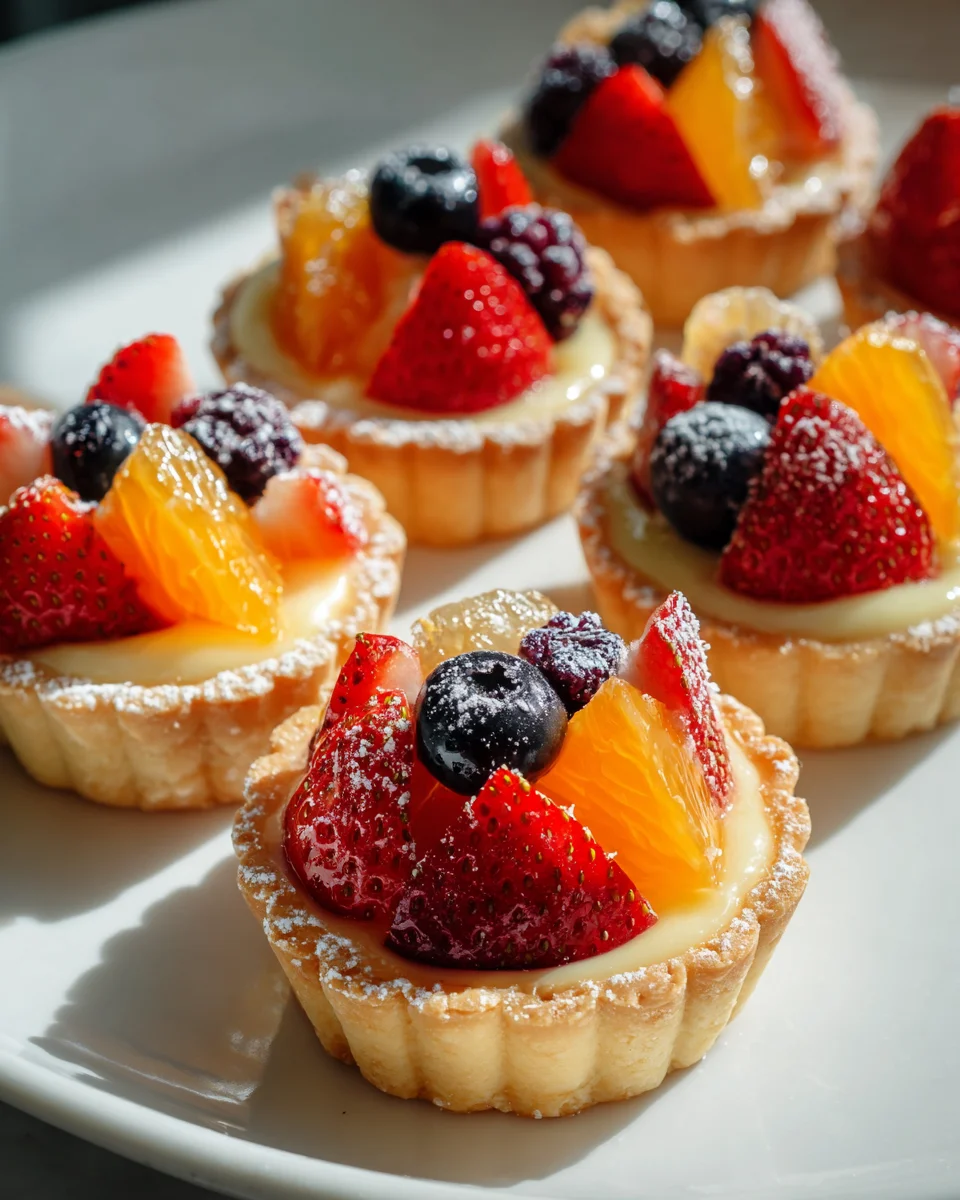
There’s something irresistibly charming about Mini Fruit Tarts that makes them the perfect treat for any occasion. These delightful little pastries are not only a feast for the eyes but also a burst of flavor in every bite. Imagine a buttery, flaky crust cradling a luscious layer of creamy filling, all topped off with a vibrant medley of fresh, juicy fruits. What’s not to love?
What makes this recipe truly special is its versatility. You can mix and match your favorite fruits, whether it’s sweet strawberries, tangy kiwis, or succulent blueberries, creating a colorful display that’s as fun to make as it is to eat. Plus, they’re a hit at parties, picnics, or just as a sweet treat for yourself. Trust me, once you bring these Mini Fruit Tarts to the table, everyone will be reaching for seconds!
So, roll up your sleeves and get ready to impress your friends and family with these delightful little desserts. Let’s dive into the world of Mini Fruit Tarts and create something truly special together!

Ingredient Notes
When making Mini Fruit Tarts, it’s essential to gather the right ingredients to achieve that perfect balance of flavor and texture. Here’s what you’ll need:
- Tart Shells: You can use pre-made tart shells from the store for convenience, or make your own using flour, butter, sugar, and eggs. For a gluten-free option, almond flour works wonderfully!
- Pastry Cream: This creamy filling is made from milk, sugar, eggs, cornstarch, and vanilla. If you prefer a lighter version, consider using whipped cream or a non-dairy substitute like coconut cream.
- Fruits: Fresh fruits are the star of the show! Common choices include strawberries, blueberries, kiwi, and raspberries. Feel free to mix in seasonal fruits or your personal favorites. Canned fruits can be used, but fresh is always best.
- Glaze: A simple glaze made from apricot jam or a fruit-infused syrup adds shine. You can substitute with a homemade simple syrup for a fresher taste.
Step-by-Step Instructions
Creating Mini Fruit Tarts is a delightful process. Here’s how to do it:
- Prepare the Tart Shells: If you’re making your own tart shells, combine flour, butter, sugar, and a pinch of salt in a bowl. Mix until crumbly, then add in one egg yolk and a splash of cold water. Form a dough, wrap it in plastic, and chill for about 30 minutes. Roll out the dough and cut it into small circles that fit your tartlet pans. Bake at 350°F (175°C) for about 10-12 minutes until golden. Let them cool completely.
- Make the Pastry Cream: In a saucepan, heat 2 cups of milk with half a cup of sugar and vanilla until it’s steaming. In a bowl, whisk together 4 egg yolks and 1/4 cup of cornstarch. Once the milk is hot, slowly pour it into the egg mixture while whisking. Return it to the saucepan and cook over medium heat until thickened, stirring constantly. Let it cool before filling the tart shells.
- Fill the Tart Shells: Once the pastry cream has cooled, fill each tart shell generously. You can use a piping bag for a neater application. Make sure to leave a little space at the top for the fruit.
- Decorate with Fruits: Arrange your choice of fresh fruits on top of the pastry cream. Get creative! You can create patterns or simply pile them on for a vibrant look.
- Add the Glaze: If using apricot jam, warm it slightly until it becomes liquid. Brush it gently over the fruits to give them a beautiful shine and to help preserve freshness.
- Chill and Serve: Refrigerate the tarts for at least 30 minutes before serving. This helps set the cream and makes for easier handling. Enjoy your delightful Mini Fruit Tarts!
Tips & Suggestions
To ensure your Mini Fruit Tarts turn out beautifully, here are some handy tips:
- Fruit Selection: Choose fruits that are firm and not overly ripe to prevent them from becoming mushy in the tarts. Wash and dry them thoroughly to avoid excess moisture.
- Assembly Timing: To keep the tart shells crispy, fill them with cream and add fruit just before serving. This way, they won’t get soggy.
- Garnish Options: Consider adding a sprinkle of powdered sugar or a few mint leaves on top for an elegant touch.
- Flavor Variations: Feel free to experiment with different flavorings in the pastry cream, such as lemon zest or almond extract, to give it a unique twist.
Storage
To keep your Mini Fruit Tarts fresh:
- Short-term: Store the tarts in an airtight container in the refrigerator for up to 2 days. This helps maintain the texture of the tart shells and the freshness of the fruit.
- Long-term: If you’ve made extra tart shells, you can freeze them before filling. Wrap them tightly in plastic wrap and store in a freezer bag for up to 3 months. Thaw and fill them when you’re ready to serve!
Enjoy making and indulging in your delicious Mini Fruit Tarts!
Final Thoughts
If you’re looking for a delightful dessert that combines elegance and simplicity, then you absolutely must try this recipe for Mini Fruit Tarts. These little bites of joy are perfect for any occasion, whether it’s a family gathering, a fancy dinner party, or just a sweet treat to brighten your day. With their buttery crust, creamy filling, and vibrant assortment of fresh fruits, Mini Fruit Tarts not only look stunning but also burst with flavor in every bite. I promise you, once you serve these to your loved ones, they’ll be asking for seconds! So gather your ingredients and get ready to impress with these charming and delicious Mini Fruit Tarts—your taste buds will thank you!

Delicious Mini Fruit Tarts Recipe for a Sweet Treat!
- Total Time: 42 minutes
- Yield: 12 servings
Description
Mini Fruit Tarts are charming little pastries that are a feast for the eyes and a burst of flavor in every bite. With a buttery crust, creamy filling, and a vibrant medley of fresh fruits, they are perfect for any occasion.
Ingredients
- Tart Shells: flour
- Tart Shells: butter
- Tart Shells: sugar
- Tart Shells: eggs
- Tart Shells: salt
- Pastry Cream: milk
- Pastry Cream: sugar
- Pastry Cream: eggs
- Pastry Cream: cornstarch
- Pastry Cream: vanilla
- Fruits: strawberries
- Fruits: blueberries
- Fruits: kiwi
- Fruits: raspberries
- Glaze: apricot jam
- Glaze: fruit-infused syrup
- Glaze: homemade simple syrup
Instructions
- Prepare the Tart Shells: If you're making your own tart shells, combine flour, butter, sugar, and a pinch of salt in a bowl. Mix until crumbly, then add in one egg yolk and a splash of cold water. Form a dough, wrap it in plastic, and chill for about 30 minutes. Roll out the dough and cut it into small circles that fit your tartlet pans. Bake at 350°F (175°C) for about 10-12 minutes until golden. Let them cool completely.
- Make the Pastry Cream: In a saucepan, heat 2 cups of milk with half a cup of sugar and vanilla until it's steaming. In a bowl, whisk together 4 egg yolks and 1/4 cup of cornstarch. Once the milk is hot, slowly pour it into the egg mixture while whisking. Return it to the saucepan and cook over medium heat until thickened, stirring constantly. Let it cool before filling the tart shells.
- Fill the Tart Shells: Once the pastry cream has cooled, fill each tart shell generously. You can use a piping bag for a neater application. Make sure to leave a little space at the top for the fruit.
- Decorate with Fruits: Arrange your choice of fresh fruits on top of the pastry cream. Get creative! You can create patterns or simply pile them on for a vibrant look.
- Add the Glaze: If using apricot jam, warm it slightly until it becomes liquid. Brush it gently over the fruits to give them a beautiful shine and to help preserve freshness.
- Chill and Serve: Refrigerate the tarts for at least 30 minutes before serving. This helps set the cream and makes for easier handling. Enjoy your delightful Mini Fruit Tarts!
- Prep Time: 30 mins
- Cook Time: 12 mins
- Category: Dessert
- Method: Baking
- Cuisine: American
Nutrition
- Serving Size: 1 tart
- Calories: 150
- Sugar: 10 g
- Sodium: 50 mg
- Fat: 7 g
- Saturated Fat: 4 g
- Unsaturated Fat: 2 g
- Trans Fat: 0 g
- Carbohydrates: 20 g
- Fiber: 1 g
- Protein: 3 g
- Cholesterol: 50 mg
Keywords: Choose fruits that are firm and not overly ripe to prevent them from becoming mushy in the tarts. Fill the tart shells with cream and add fruit just before serving to keep them crispy.
Leave a Comment