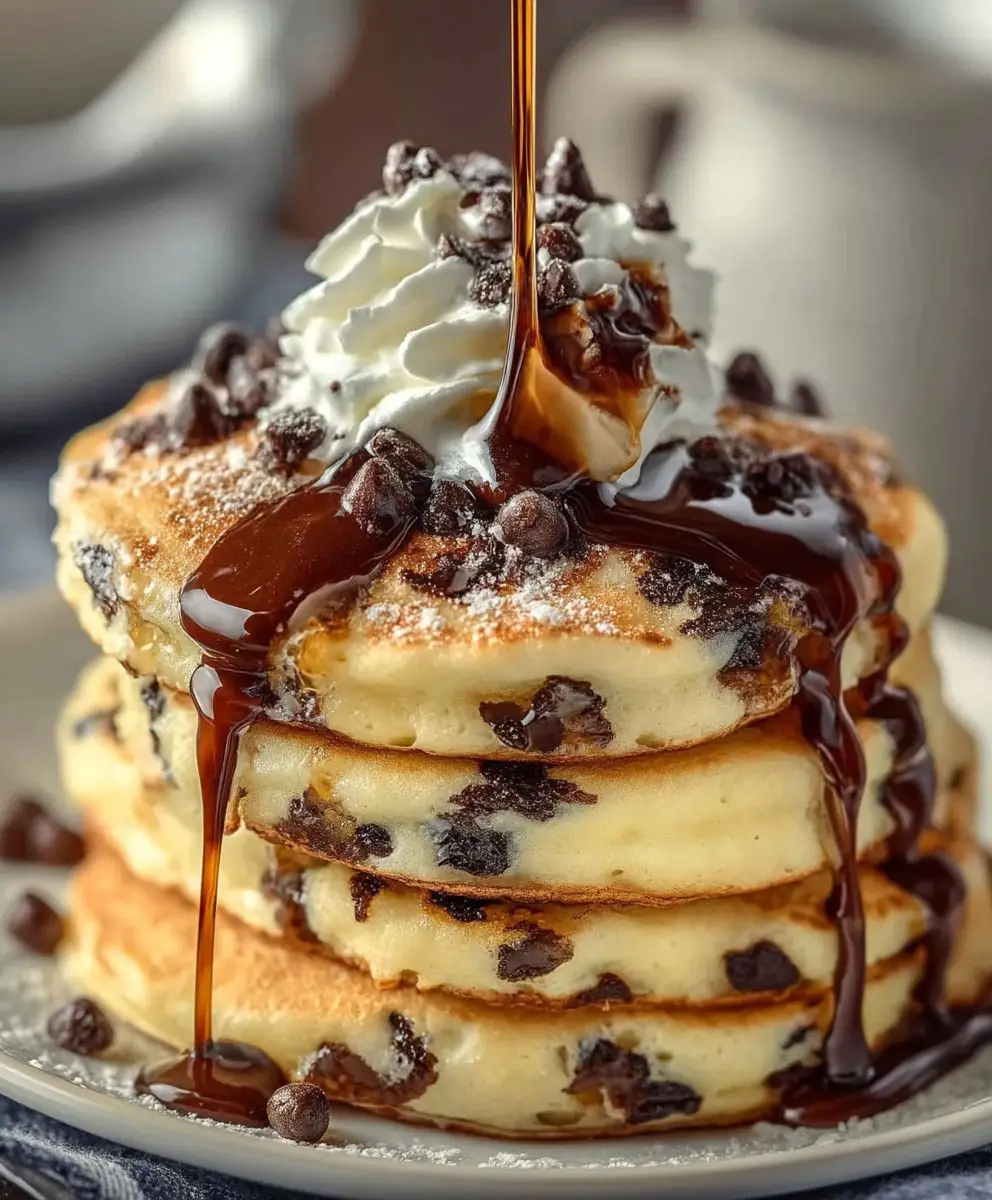
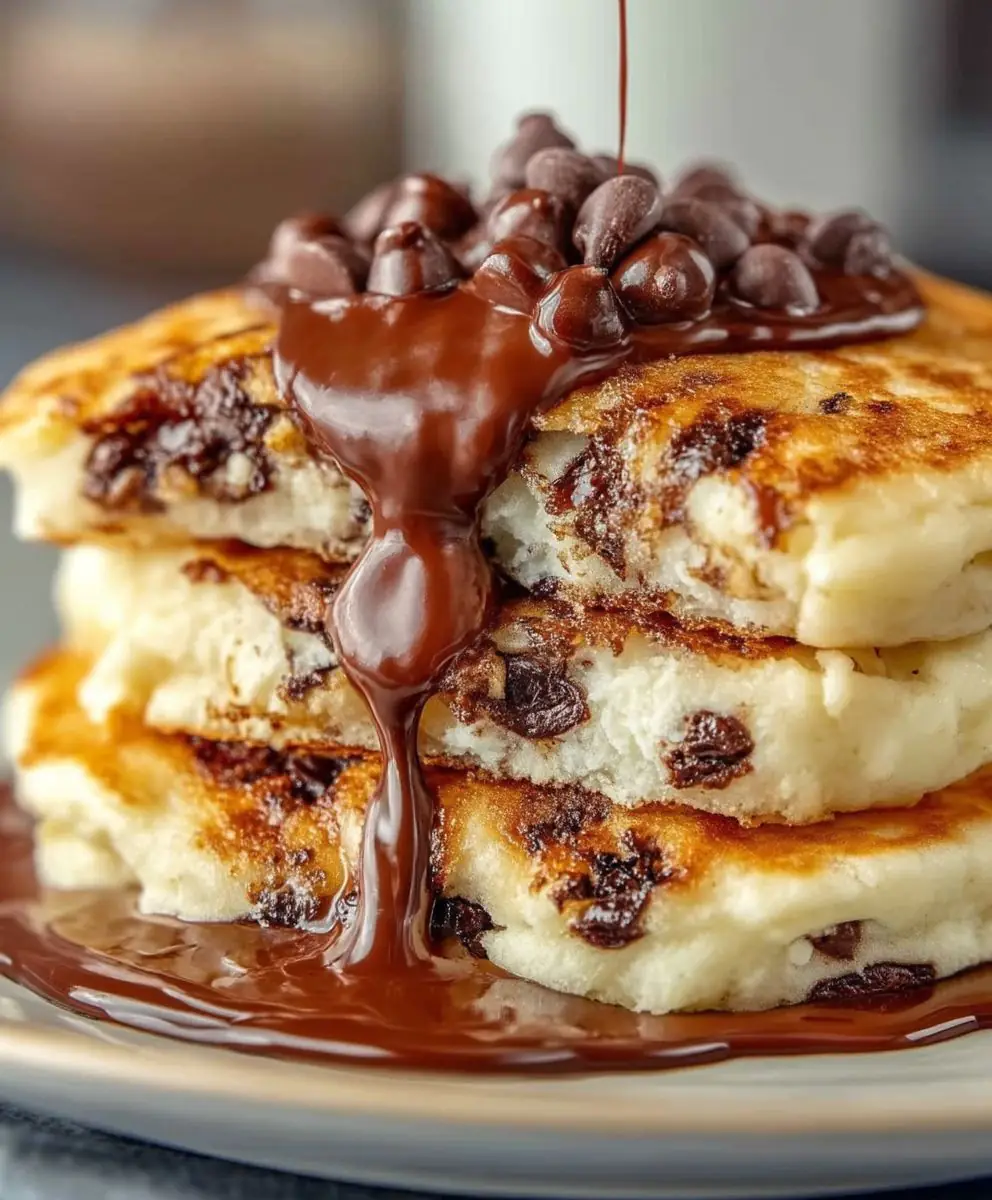
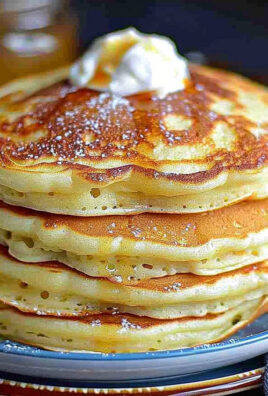
Chocolate Chip Pancakes: Is there anything that screams weekend brunch quite like a stack of fluffy, chocolate-studded pancakes? I think not! These aren’t just any pancakes; they’re a symphony of warm, buttery goodness punctuated by bursts of melty chocolate that will have you reaching for seconds (and maybe thirds!).
Pancakes themselves have a long and fascinating history, with variations popping up in cultures around the globe for centuries. While the exact origin of adding chocolate chips is a bit more modern, it’s a stroke of genius that has cemented its place in breakfast history. Think of it as a delicious evolution, taking a classic comfort food and elevating it to a whole new level of indulgence.
But what is it about chocolate chip pancakes that makes them so universally loved? It’s the perfect combination of textures – the soft, airy pancake contrasting beautifully with the gooey, slightly crisp chocolate. The taste is a delightful dance between the subtle sweetness of the pancake batter and the rich, decadent chocolate. Plus, they’re incredibly easy to make, making them a perfect choice for a quick weekday breakfast or a leisurely weekend brunch. Get ready to whip up a batch of these irresistible treats and experience the joy of perfect chocolate chip pancakes!
Ingredients:
- 1 ½ cups all-purpose flour
- 3 ½ teaspoons baking powder
- ¼ teaspoon baking soda
- 1 teaspoon salt
- 1 tablespoon granulated sugar
- 1 large egg
- 1 ¼ cups milk
- 3 tablespoons unsalted butter, melted
- 1 teaspoon vanilla extract
- 1 cup chocolate chips (milk chocolate, semi-sweet, or dark chocolate – your choice!)
- Butter or oil, for greasing the griddle
- Optional toppings: maple syrup, whipped cream, fresh berries, chocolate sauce
Preparing the Pancake Batter
Okay, let’s get started! The key to fluffy chocolate chip pancakes is not overmixing the batter. We want to keep it light and airy, so gentle is the name of the game.
- Combine the dry ingredients: In a large bowl, whisk together the flour, baking powder, baking soda, salt, and sugar. Make sure everything is well combined. This ensures that the baking powder and soda are evenly distributed, which is crucial for that perfect rise. I like to use a whisk for this because it helps to aerate the flour a little bit.
- Combine the wet ingredients: In a separate bowl, whisk together the egg, milk, melted butter, and vanilla extract. Make sure the egg is fully incorporated into the milk mixture. You don’t want any streaks of egg white in your batter!
- Combine wet and dry ingredients: Now, pour the wet ingredients into the bowl with the dry ingredients. Gently fold the wet ingredients into the dry ingredients using a spatula or wooden spoon. Be careful not to overmix! Stop mixing when the dry ingredients are just moistened. It’s okay if there are a few small lumps – those will disappear during cooking. Overmixing develops the gluten in the flour, which can result in tough, flat pancakes. We want light and fluffy, remember?
- Fold in the chocolate chips: Gently fold in the chocolate chips. Again, be careful not to overmix. You just want to distribute the chocolate chips evenly throughout the batter. I sometimes reserve a few chocolate chips to sprinkle on top of the pancakes while they’re cooking – it makes them look extra appealing!
- Let the batter rest (optional but recommended): This is a little trick I learned from a professional chef. Let the batter rest for 5-10 minutes. This allows the gluten to relax and the baking powder to activate, resulting in even fluffier pancakes. While the batter is resting, you can preheat your griddle or pan.
Cooking the Pancakes
Now for the fun part – cooking the pancakes! The key here is to use the right temperature and to be patient. Don’t flip them too early!
- Preheat your griddle or pan: Heat a lightly oiled griddle or non-stick frying pan over medium heat. You want the griddle to be hot enough so that the pancakes cook evenly and get a nice golden-brown color, but not so hot that they burn. A good way to test the temperature is to sprinkle a few drops of water on the griddle. If the water sizzles and evaporates quickly, the griddle is ready. If the water just sits there, it’s not hot enough. If the water immediately splatters and burns, it’s too hot.
- Grease the griddle: Lightly grease the griddle with butter or oil. I prefer butter because it gives the pancakes a richer flavor, but oil works just as well. You can use a pastry brush or a paper towel to spread the butter or oil evenly over the surface of the griddle.
- Pour the batter onto the griddle: Pour ¼ cup of batter onto the hot griddle for each pancake. You can use a measuring cup or a ladle to ensure that the pancakes are uniform in size. Leave some space between the pancakes so they don’t run into each other.
- Cook the pancakes: Cook the pancakes for 2-3 minutes per side, or until golden brown and cooked through. You’ll know it’s time to flip the pancakes when bubbles start to form on the surface and the edges start to look set. Use a thin spatula to carefully flip the pancakes. Be gentle so you don’t deflate them.
- Check for doneness: To check if the pancakes are cooked through, insert a toothpick into the center of a pancake. If the toothpick comes out clean, the pancake is done. If the toothpick comes out with batter on it, cook the pancake for another minute or two.
- Keep warm (optional): If you’re making a large batch of pancakes, you can keep them warm in a preheated oven (200°F) until you’re ready to serve them. Place the cooked pancakes on a baking sheet lined with parchment paper and put them in the oven.
Serving and Enjoying Your Chocolate Chip Pancakes
The best part! Now it’s time to enjoy the fruits (or should I say, pancakes?) of your labor.
- Serve immediately: Serve the pancakes immediately while they’re still warm and fluffy.
- Add your favorite toppings: Top the pancakes with your favorite toppings, such as maple syrup, whipped cream, fresh berries, chocolate sauce, or a dusting of powdered sugar. I personally love a combination of maple syrup and fresh strawberries.
- Enjoy! Dig in and enjoy your delicious homemade chocolate chip pancakes!
Tips for Perfect Pancakes
Here are a few extra tips to help you make the perfect chocolate chip pancakes every time:
- Don’t overmix the batter: I can’t stress this enough! Overmixing is the enemy of fluffy pancakes.
- Use fresh ingredients: Fresh baking powder and baking soda are essential for a good rise.
- Use a hot griddle: A hot griddle ensures that the pancakes cook evenly and get a nice golden-brown color.
- Don’t flip too early: Wait until bubbles start to form on the surface and the edges start to look set before flipping the pancakes.
- Experiment with different flavors: Try adding different extracts, spices, or fruits to the batter to create your own unique pancake flavors.
- Make them ahead of time: Cooked pancakes can be stored in the refrigerator for up to 3 days or in the freezer for up to 2 months. To reheat, simply microwave them for a few seconds or toast them in a toaster.
Variations
Want to mix things up a bit? Here are some fun variations you can try:
- Blueberry Chocolate Chip Pancakes: Add ½ cup of fresh or frozen blueberries to the batter along with the chocolate chips.
- Banana Chocolate Chip Pancakes: Mash one ripe banana and add it to the batter.
- Cinnamon Chocolate Chip Pancakes: Add ½ teaspoon of ground cinnamon to the dry ingredients.
- Peanut Butter Chocolate Chip Pancakes: Swirl a spoonful of peanut butter into the batter before cooking.
- Vegan Chocolate Chip Pancakes: Substitute the egg with a flax egg (1 tablespoon flaxseed meal mixed with 3 tablespoons water), use plant-based milk, and vegan butter.
Troubleshooting
Sometimes things don’t go as planned. Here are some common pancake problems and how to fix them:
- Pancakes are flat: This is usually caused by overmixing the batter or using old baking powder. Make sure to use fresh baking powder and avoid overmixing.
- Pancakes are tough: This is also usually caused by overmixing the batter.
- Pancakes are burning: The griddle is too hot. Reduce the heat and try again.
- Pancakes are sticking to the griddle: The griddle is not hot enough or not properly greased. Make sure the griddle is hot and lightly greased before pouring the batter.
Conclusion:
So there you have it! These aren’t just any pancakes; they’re Chocolate Chip Pancakes elevated to a whole new level of deliciousness. From the fluffy texture to the bursts of melty chocolate in every bite, this recipe is a guaranteed crowd-pleaser, whether you’re making breakfast for a special occasion or simply treating yourself to a delightful weekend brunch. I truly believe this recipe is a must-try because it’s simple enough for a beginner baker, yet yields results that taste like they came straight from a gourmet breakfast spot. The subtle sweetness is perfectly balanced, and the chocolate chips add that touch of indulgence that makes mornings just a little bit brighter.
But the best part? This recipe is incredibly versatile! Feel free to experiment with different types of chocolate chips. Dark chocolate chips will add a richer, more intense flavor, while white chocolate chips will create a sweeter, creamier experience. You could even use a combination of both for a truly decadent treat!
And don’t stop there! Consider adding a sprinkle of cinnamon or nutmeg to the batter for a warm, comforting spice. Or, for a truly luxurious experience, top your pancakes with a dollop of whipped cream, a drizzle of maple syrup, and a handful of fresh berries. Strawberries, raspberries, and blueberries all pair beautifully with the chocolate and pancake flavors.
If you’re feeling adventurous, you could even try making these pancakes into a dessert! Stack them high, layer them with chocolate ganache or Nutella, and top with a scoop of vanilla ice cream. It’s a guaranteed showstopper that will impress your friends and family.
For a lighter option, try serving these pancakes with a side of fresh fruit and a dollop of Greek yogurt. The yogurt adds a tangy contrast to the sweetness of the pancakes, and the fruit provides a healthy dose of vitamins and antioxidants.
Another fantastic variation is to add a swirl of peanut butter to the batter before cooking. The peanut butter adds a nutty, savory element that complements the chocolate perfectly. Just be sure to adjust the amount of peanut butter to your liking.
And if you’re looking for a vegan option, simply substitute the milk with your favorite plant-based milk (almond, soy, or oat milk all work well), and use a flax egg instead of a regular egg. The pancakes will still be incredibly fluffy and delicious!
I’m confident that once you try this recipe, it will become a staple in your breakfast rotation. It’s quick, easy, and incredibly satisfying. Plus, it’s a great way to use up any leftover chocolate chips you might have lying around.
So, what are you waiting for? Grab your ingredients, preheat your griddle, and get ready to whip up a batch of these amazing Chocolate Chip Pancakes. I promise you won’t be disappointed!
I’m so excited for you to try this recipe and experience the joy of homemade, chocolate-filled pancakes. Once you’ve made them, I’d love to hear about your experience! Share your photos and comments on social media using [Your Hashtag Here] or leave a review on the blog. Let me know what variations you tried and what your family thought. Happy cooking, and happy eating! I can’t wait to see your pancake creations!
Chocolate Chip Pancakes: The Ultimate Recipe for Fluffy Goodness
Fluffy and delicious chocolate chip pancakes, perfect for a weekend breakfast! Easy to make and customizable with your favorite toppings.
Ingredients
Instructions
Recipe Notes
- Don’t overmix the batter for fluffy pancakes.
- Letting the batter rest for 5-10 minutes helps with fluffiness.
- Use a medium-hot griddle to avoid burning.
- Flip pancakes when bubbles form on the surface.
- Experiment with different extracts, spices, or fruits to the batter to create your own unique pancake flavors.
- Cooked pancakes can be stored in the refrigerator for up to 3 days or in the freezer for up to 2 months. To reheat, simply microwave them for a few seconds or toast them in a toaster.

Leave a Comment