
Chicken Fajitas Quick: Craving a sizzling, flavorful fiesta on your plate, but short on time? Look no further! Imagine tender strips of marinated chicken, bursting with smoky spices, mingling with vibrant bell peppers and onions, all served in warm, soft tortillas. That’s the magic of fajitas, and we’re about to show you how to achieve this culinary delight in a fraction of the time.
Fajitas, derived from the Spanish word for “little strips,” have a rich history rooted in the ranches of South and West Texas. Originally, they were made with skirt steak, a less desirable cut of beef that resourceful cowboys transformed into a delicious and satisfying meal. Over time, the dish evolved, incorporating chicken and other proteins, and spreading its irresistible charm across the globe.
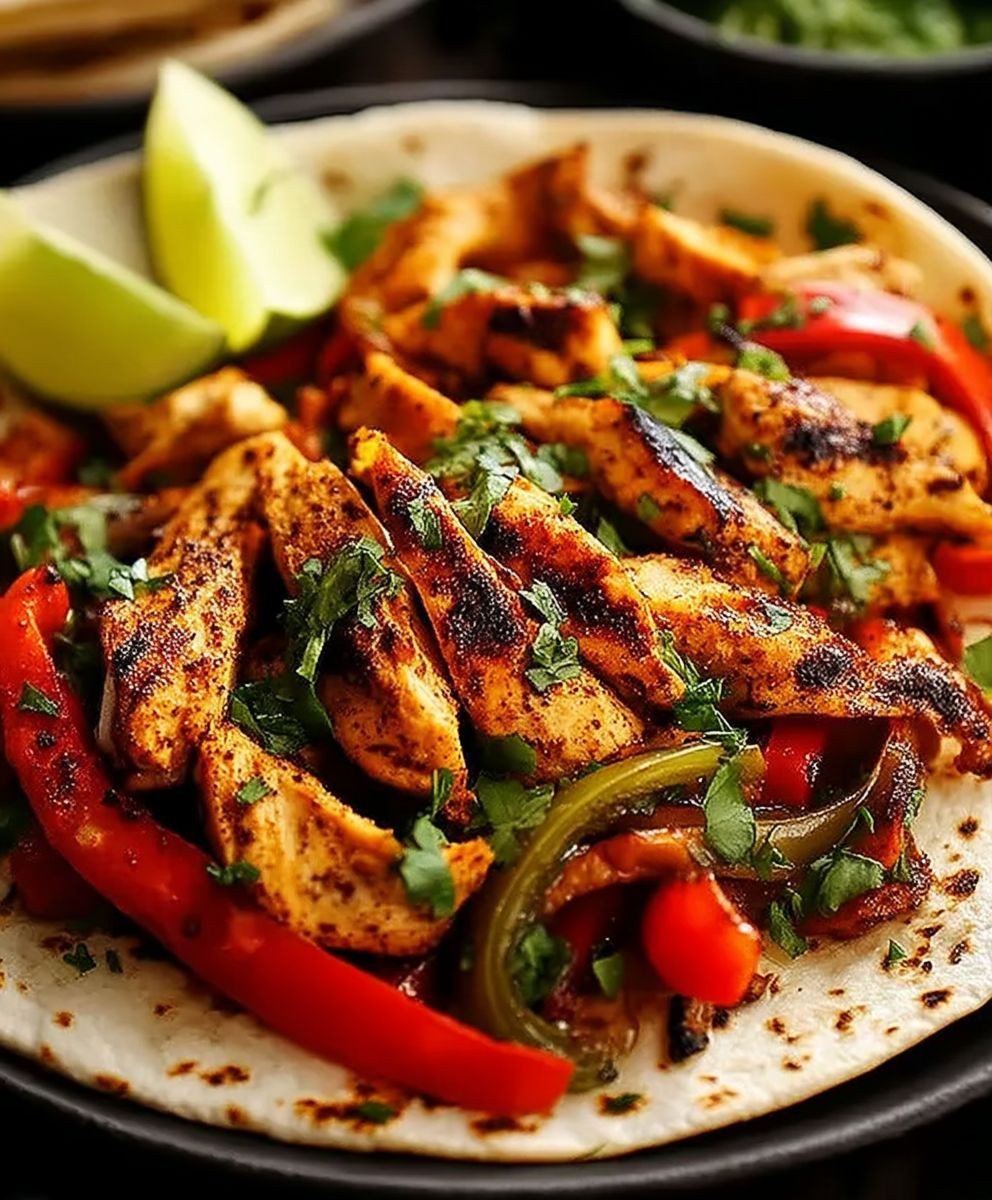
What makes fajitas so universally loved? It’s the perfect combination of textures and flavors: the juicy, savory chicken, the slightly charred vegetables, and the customizable toppings that allow everyone to create their perfect bite. Plus, the interactive nature of assembling your own fajitas makes it a fun and engaging meal for families and friends. And now, with our Chicken Fajitas Quick recipe, you can enjoy all the deliciousness without spending hours in the kitchen. Get ready to experience a taste of Tex-Mex heaven in under 30 minutes!

Ingredients:
- 1 pound boneless, skinless chicken breasts, cut into thin strips
- 1 large bell pepper (any color), sliced
- 1 medium onion, sliced
- 2 tablespoons olive oil
- 1 packet fajita seasoning
- 1/4 cup water
- 8 flour tortillas
- Optional toppings: sour cream, guacamole, salsa, shredded cheese, chopped cilantro, lime wedges
Preparing the Chicken and Vegetables:
Okay, let’s get started! First, we need to prep our chicken and veggies. This is where the magic begins, and trust me, the aroma alone will have your mouth watering.
- Slice the Chicken: Take your chicken breasts and lay them flat on a cutting board. Using a sharp knife, carefully slice them into thin strips. Aim for strips that are about 1/4 inch thick. This ensures they cook quickly and evenly. Don’t worry if they aren’t perfectly uniform; we’re going for delicious, not perfect!
- Prepare the Vegetables: Now, let’s tackle the bell pepper and onion. Cut the bell pepper in half, remove the seeds and membrane, and then slice it into thin strips, similar to the chicken. Do the same with the onion. I like to slice the onion from root to stem so the strips are long and beautiful.
Cooking the Fajitas:
Now for the fun part – cooking! This is where the flavors really come together. We’re going to use a skillet to get everything nice and sizzling.
- Heat the Oil: Place a large skillet (cast iron is great if you have one!) over medium-high heat. Add the olive oil and let it heat up for a minute or two. You want the oil to be shimmering but not smoking.
- Sauté the Vegetables: Add the sliced bell pepper and onion to the hot skillet. Cook, stirring occasionally, until the vegetables are tender-crisp and slightly softened. This usually takes about 5-7 minutes. You want them to have a little bit of color, but not be mushy.
- Add the Chicken: Push the vegetables to one side of the skillet and add the chicken strips to the other side. If your skillet is too crowded, you might need to cook the chicken in batches to ensure it browns properly. Cook the chicken, stirring occasionally, until it is cooked through and no longer pink. This usually takes about 5-7 minutes, depending on the thickness of the strips. Make sure the internal temperature reaches 165°F (74°C) for safety.
- Season and Simmer: Once the chicken is cooked, mix it with the vegetables. Sprinkle the fajita seasoning over the chicken and vegetables. Add the water to the skillet. Stir everything together well to coat the chicken and vegetables evenly with the seasoning. Bring the mixture to a simmer and cook for another 2-3 minutes, allowing the sauce to thicken slightly. This step is crucial for infusing all the flavors together.
Warming the Tortillas:
While the fajita mixture is simmering, let’s warm up those tortillas. Warm tortillas are essential for a good fajita experience. They’re more pliable and taste so much better than cold ones!
- Microwave Method: The quickest way is to wrap the tortillas in a damp paper towel and microwave them for about 30-60 seconds, or until they are warm and pliable.
- Skillet Method: Alternatively, you can warm them in a dry skillet over medium heat for about 15-20 seconds per side. Watch them carefully so they don’t burn.
- Oven Method: You can also wrap a stack of tortillas in foil and warm them in a preheated oven at 350°F (175°C) for about 10-15 minutes.
Assembling the Fajitas:
Alright, everything is ready! Now comes the best part – assembling and eating! Get ready to customize your fajitas with all your favorite toppings.
- Fill the Tortillas: Take a warm tortilla and spoon a generous amount of the chicken and vegetable mixture into the center. Don’t overfill it, or it will be difficult to roll up.
- Add Toppings: Now, add your favorite toppings! I love sour cream, guacamole, salsa, shredded cheese, and chopped cilantro. A squeeze of lime juice is also a must!
- Roll and Enjoy: Fold in the sides of the tortilla and then roll it up tightly. Serve immediately and enjoy!
Tips and Variations:
Want to take your fajitas to the next level? Here are a few tips and variations to try:
- Marinate the Chicken: For even more flavor, marinate the chicken in a mixture of lime juice, olive oil, garlic, and fajita seasoning for at least 30 minutes before cooking.
- Add Some Heat: If you like a little spice, add a pinch of cayenne pepper or a chopped jalapeño to the fajita mixture.
- Use Different Vegetables: Feel free to experiment with other vegetables, such as mushrooms, zucchini, or corn.
- Make it Vegetarian: Substitute the chicken with tofu or black beans for a vegetarian option.
- Serve with Rice and Beans: For a complete meal, serve your fajitas with rice and beans on the side.
- Make a Fajita Bowl: Skip the tortillas and serve the fajita mixture over rice or quinoa in a bowl. Top with your favorite toppings.
- Spice Level Adjustment: If you’re sensitive to spice, start with half the packet of fajita seasoning and add more to taste. Some fajita seasoning packets can be quite spicy!
- Bell Pepper Variety: Using a mix of different colored bell peppers (red, yellow, orange, green) not only adds visual appeal but also a slightly different flavor profile to your fajitas.
- Onion Options: While yellow onions are a classic choice, you can also use white or red onions depending on your preference. Red onions will add a bit more bite.
- Cheese Choices: Monterey Jack, cheddar, or a Mexican blend cheese are all great options for topping your fajitas.
- Homemade Fajita Seasoning: For a healthier and more customized option, make your own fajita seasoning. Combine chili powder, cumin, paprika, garlic powder, onion powder, oregano, salt, and pepper to taste.
- Grilling Option: For a smoky flavor, grill the chicken and vegetables instead of cooking them in a skillet. Cut the chicken and vegetables into larger pieces for grilling.
- Leftovers: Fajitas are great for leftovers! Store the chicken and vegetable mixture in an airtight container in the refrigerator for up to 3 days. Reheat in a skillet or microwave.
- Freezing: You can also freeze the cooked chicken and vegetable mixture for longer storage. Let it cool completely before transferring it to a freezer-safe container. It can be stored in the freezer for up to 2 months. Thaw overnight in the refrigerator before reheating.
Enjoy Your Homemade Chicken Fajitas!
I hope you enjoy making and eating these delicious chicken fajitas! They’re a quick, easy, and customizable meal that’s perfect for any night of the week. Don’t be afraid to experiment with different toppings and variations to find your perfect fajita combination. Happy cooking!
Conclusion:
So, there you have it! These Chicken Fajitas Quick are more than just a meal; they’re a flavor explosion waiting to happen in your kitchen. I truly believe this recipe is a must-try for anyone looking for a delicious, satisfying, and incredibly easy weeknight dinner. The vibrant colors, the sizzling sounds, and the tantalizing aroma – it’s a sensory experience that will transport you straight to a fiesta!
But why is this recipe so special? Well, beyond the sheer speed and simplicity, it’s the incredible versatility. You’re not just stuck with chicken! Feel free to swap in steak, shrimp, or even tofu for a vegetarian option. The key is the marinade – it’s what infuses everything with that signature fajita flavor. And let’s be honest, who doesn’t love a good fajita?
Serving Suggestions and Variations:
Now, let’s talk about how to serve these beauties. Of course, warm tortillas are a must! But don’t stop there. Load them up with your favorite toppings: shredded cheese (cheddar, Monterey Jack, or a Mexican blend are all great), sour cream or Greek yogurt, guacamole (or just sliced avocado), pico de gallo, salsa, and a squeeze of lime juice. The possibilities are endless!
Feeling adventurous? Try these variations:
* Spicy Fajitas: Add a pinch of cayenne pepper or a diced jalapeño to the marinade for an extra kick.
* Bell Pepper Bonanza: Use a variety of bell peppers – red, yellow, orange, and green – for a visually stunning and flavorful dish.
* Fajita Bowls: Skip the tortillas altogether and serve the fajita mixture over rice or quinoa for a healthy and satisfying bowl. Top with all your favorite fixings.
* Fajita Salad: Toss the cooked fajita mixture with mixed greens, black beans, corn, and a cilantro-lime dressing for a light and refreshing salad.
* Creamy Fajitas: Stir in a dollop of cream cheese or sour cream into the fajita mixture during the last few minutes of cooking for a richer, creamier flavor.
I’ve even used the leftover chicken fajita mixture to make quesadillas, nachos, and even omelets! Seriously, this recipe is a gift that keeps on giving.
I’m confident that once you try these Chicken Fajitas Quick, they’ll become a regular part of your meal rotation. They’re perfect for busy weeknights, casual get-togethers, or even a fun family dinner.
So, what are you waiting for? Gather your ingredients, fire up your skillet, and get ready to enjoy the best fajitas you’ve ever made! I’m so excited for you to experience the deliciousness of this recipe.
And most importantly, I want to hear about your experience! Did you try any of the variations? What toppings did you use? Did you make any modifications to the recipe? Share your photos and stories in the comments below. I can’t wait to see what you create! Happy cooking!
Chicken Fajitas Quick: Easy Recipe & Fast Cooking Tips
Quick and easy chicken fajitas with tender chicken, flavorful vegetables, and your favorite toppings, all wrapped in warm tortillas.
Ingredients
Instructions
Recipe Notes
- Marinating: For extra flavor, marinate the chicken in lime juice, olive oil, garlic, and fajita seasoning for at least 30 minutes before cooking.
- Spice: Add a pinch of cayenne pepper or a chopped jalapeño for heat. Adjust fajita seasoning to taste.
- Vegetables: Experiment with mushrooms, zucchini, or corn.
- Vegetarian: Substitute chicken with tofu or black beans.
- Serving Suggestions: Serve with rice and beans, or make a fajita bowl over rice or quinoa.
- Bell Pepper Variety: Use a mix of different colored bell peppers for visual appeal and flavor.
- Onion Options: Use white or red onions depending on your preference.
- Cheese Choices: Monterey Jack, cheddar, or a Mexican blend cheese are all great options.
- Homemade Fajita Seasoning: Combine chili powder, cumin, paprika, garlic powder, onion powder, oregano, salt, and pepper to taste.
- Grilling Option: Grill the chicken and vegetables instead of cooking them in a skillet.
- Leftovers: Store the chicken and vegetable mixture in an airtight container in the refrigerator for up to 3 days. Reheat in a skillet or microwave.
- Freezing: Freeze the cooked chicken and vegetable mixture for longer storage. Let it cool completely before transferring it to a freezer-safe container. It can be stored in the freezer for up to 2 months. Thaw overnight in the refrigerator before reheating.
Leave a Comment