
Cheese Curds: those squeaky, salty, utterly irresistible nuggets of dairy delight! Have you ever experienced the pure joy of biting into a fresh cheese curd, the satisfying “squeak” against your teeth, followed by a burst of milky, slightly tangy flavor? If not, you’re in for a treat! This recipe will guide you through creating your own batch of golden-brown, perfectly melted cheese curds right in your kitchen.
While deep-fried cheese curds are a relatively modern invention, their roots lie in the cheesemaking traditions of Wisconsin, USA. These fresh, unaged cheddar cheese curds are a byproduct of the cheesemaking process, and their unique squeaky texture comes from the way the proteins bind together. Wisconsinites have long enjoyed them fresh, but the transformation into a crispy, warm appetizer has elevated them to a beloved snack across the country.
What makes cheese curds so universally appealing? It’s a combination of factors. The satisfying texture, the salty, cheesy flavor, and the sheer comfort food aspect all contribute to their popularity. Whether you’re enjoying them as a snack, an appetizer, or even as a topping for poutine, cheese curds are guaranteed to bring a smile to your face. Get ready to embark on a culinary adventure and discover the magic of homemade cheese curds!

Ingredients:
- 1 pound fresh cheese curds (the fresher, the better!)
- 1 cup all-purpose flour
- 1/2 cup cornstarch
- 1 teaspoon baking powder
- 1/2 teaspoon baking soda
- 1/2 teaspoon salt
- 1/4 teaspoon black pepper
- 1 cup buttermilk (or milk with 1 tablespoon of lemon juice or vinegar added)
- 1 large egg
- 2 tablespoons vegetable oil (plus more for frying)
- Optional: 1/4 teaspoon garlic powder
- Optional: 1/4 teaspoon onion powder
- Optional: Pinch of cayenne pepper (for a little kick!)
Preparing the Batter:
- In a large bowl, whisk together the flour, cornstarch, baking powder, baking soda, salt, pepper, garlic powder (if using), onion powder (if using), and cayenne pepper (if using). Make sure everything is well combined. This ensures even distribution of the leavening agents and spices, which is crucial for a light and flavorful coating.
- In a separate bowl, whisk together the buttermilk, egg, and vegetable oil. The buttermilk adds a tangy flavor and helps to tenderize the coating. If you don’t have buttermilk, you can easily make a substitute by adding 1 tablespoon of lemon juice or white vinegar to regular milk and letting it sit for about 5 minutes until it slightly curdles.
- Gradually pour the wet ingredients into the dry ingredients, whisking constantly until just combined. Be careful not to overmix the batter. Overmixing develops the gluten in the flour, which can result in a tough coating. A few lumps are perfectly fine!
- Let the batter rest for 10-15 minutes. This allows the gluten to relax and the baking powder and baking soda to activate, resulting in a lighter and crispier coating.
Coating the Cheese Curds:
- While the batter is resting, prepare your frying station. This includes setting up a deep fryer or a large, heavy-bottomed pot filled with at least 3 inches of vegetable oil. Make sure you have a thermometer to monitor the oil temperature.
- Line a baking sheet with paper towels. This is where you’ll place the fried cheese curds to drain excess oil.
- Once the batter has rested, gently stir it again.
- Working in batches, drop a handful of cheese curds into the batter. Use a fork or spoon to gently coat each curd completely. Make sure each curd is well covered to prevent cheese from leaking out during frying.
- Remove the coated cheese curds from the batter, allowing any excess batter to drip off. You can use a slotted spoon or fork for this.
Frying the Cheese Curds:
- Heat the vegetable oil to 350°F (175°C). Maintaining the correct oil temperature is essential for achieving perfectly golden and crispy cheese curds. If the oil is too cold, the curds will absorb too much oil and become soggy. If the oil is too hot, they will brown too quickly on the outside and the cheese inside won’t melt properly.
- Carefully drop the coated cheese curds into the hot oil, working in batches to avoid overcrowding the fryer. Overcrowding will lower the oil temperature and result in soggy cheese curds. Fry only as many curds as will fit comfortably in a single layer without touching each other.
- Fry for 1-2 minutes, or until golden brown and crispy. Keep a close eye on the cheese curds as they fry. They cook quickly, so you don’t want them to burn.
- Remove the fried cheese curds from the oil using a slotted spoon or spider and transfer them to the prepared baking sheet lined with paper towels to drain.
- Repeat the coating and frying process with the remaining cheese curds.
Serving and Enjoying:
- Serve the fried cheese curds immediately while they are hot and crispy. They are best enjoyed fresh out of the fryer.
- Offer a variety of dipping sauces, such as marinara sauce, ranch dressing, honey mustard, or your favorite dipping sauce. The dipping sauce adds another layer of flavor and complements the richness of the cheese curds.
- Enjoy! These crispy, cheesy bites are perfect as an appetizer, snack, or side dish.
Tips for Perfect Cheese Curds:
- Use fresh cheese curds: The fresher the cheese curds, the better they will melt and stretch when fried. Look for cheese curds that are squeaky when you bite into them – this is a sign of freshness.
- Don’t overcrowd the fryer: Frying in batches ensures that the oil temperature remains consistent and the cheese curds cook evenly.
- Maintain the correct oil temperature: Use a thermometer to monitor the oil temperature and adjust the heat as needed.
- Serve immediately: Fried cheese curds are best enjoyed hot and crispy. They tend to lose their crispness as they cool.
- Experiment with flavors: Add different spices to the batter to customize the flavor of your cheese curds. Try adding garlic powder, onion powder, cayenne pepper, or paprika.
- Double batter for extra crispiness: For an extra crispy coating, you can double batter the cheese curds. After the first coating, dip them back into the batter and then fry.
- Keep warm in a low oven: If you need to fry the cheese curds in batches and want to keep them warm while you finish, place them on a baking sheet in a preheated oven at 200°F (95°C).
Troubleshooting:
- Cheese curds are not melting: The oil temperature may be too low. Increase the heat and make sure the oil is at 350°F (175°C).
- Cheese curds are burning: The oil temperature may be too high. Reduce the heat and make sure the oil is at 350°F (175°C).
- Cheese curds are soggy: The oil temperature may be too low, or you may be overcrowding the fryer. Make sure the oil is at 350°F (175°C) and fry in batches.
- Batter is not sticking to the cheese curds: Make sure the cheese curds are dry before coating them in the batter. You can pat them dry with paper towels. Also, make sure the batter is thick enough to coat the cheese curds properly. If the batter is too thin, add a little more flour.
Variations:
- Spicy Cheese Curds: Add a pinch of cayenne pepper or a dash of hot sauce to the batter for a spicy kick.
- Garlic Parmesan Cheese Curds: Add garlic powder and grated Parmesan cheese to the batter for a savory flavor.
- Herb Cheese Curds: Add dried herbs such as oregano, basil, or thyme to the batter for an aromatic flavor.
- Beer Battered Cheese Curds: Substitute some of the buttermilk with beer for a richer, more flavorful batter.
Conclusion:
So, there you have it! This recipe for homemade cheese curds is more than just a snack; it’s an experience. From the satisfying squeak to the melty, cheesy goodness, every bite is a little piece of dairy heaven. I truly believe that once you’ve tasted these fresh, warm cheese curds, you’ll never want to go back to the store-bought variety. The difference in flavor and texture is simply astounding.
But why is this recipe a must-try? Well, beyond the incredible taste, it’s surprisingly simple to make. Yes, there’s a bit of a process involved, but I’ve broken it down into easy-to-follow steps, so even a novice cheesemaker can achieve delicious results. Plus, making your own cheese curds allows you to control the ingredients, ensuring you’re using the highest quality milk and avoiding any unwanted additives. You know exactly what’s going into your food, and that peace of mind is priceless.
And the versatility! Oh, the possibilities are endless! While these cheese curds are absolutely divine on their own, served warm with a sprinkle of sea salt, they also lend themselves beautifully to a variety of dishes.
Serving Suggestions and Variations:
* Poutine Perfection: Of course, no discussion about cheese curds is complete without mentioning poutine! Use these fresh curds to create the ultimate comfort food experience. Top crispy fries with your homemade curds and a rich, savory gravy for a truly unforgettable dish.
* Fried Cheese Curds: For an extra indulgent treat, try battering and deep-frying your cheese curds. Serve them with your favorite dipping sauce, such as ranch, marinara, or a spicy aioli.
* Cheese Curd Pizza: Elevate your pizza game by adding cheese curds as a topping. Their unique texture and flavor will add a delightful twist to your favorite pizza combinations.
* Cheese Curd Salad: Add a touch of cheesy goodness to your salads by incorporating cheese curds. They pair well with leafy greens, vegetables, and a light vinaigrette.
* Flavored Cheese Curds: Get creative with your cheese curds by adding different flavorings during the cheesemaking process. Try adding herbs like dill or chives, spices like garlic powder or paprika, or even a touch of chili flakes for a spicy kick.
* Cheese Curd Skewers: Thread cheese curds onto skewers with cherry tomatoes, olives, and other bite-sized ingredients for a fun and flavorful appetizer.
I’m so excited for you to try this recipe and experience the joy of making your own cheese curds. It’s a rewarding process that will leave you with a delicious and satisfying treat. Don’t be intimidated by the idea of making cheese at home; with a little patience and attention to detail, you’ll be amazed at what you can create.
So, gather your ingredients, put on your apron, and get ready to embark on a cheesy adventure! I’m confident that you’ll love the results. And most importantly, I want to hear about your experience! Please, after you’ve made your own batch of these delicious morsels, come back and share your thoughts in the comments below. Did you try any variations? What was your favorite way to serve them? I’m eager to learn from your experiences and see the creative ways you’ve put your own spin on this recipe. Happy cheesemaking!
Cheese Curds: A Guide to Wisconsin's Favorite Snack
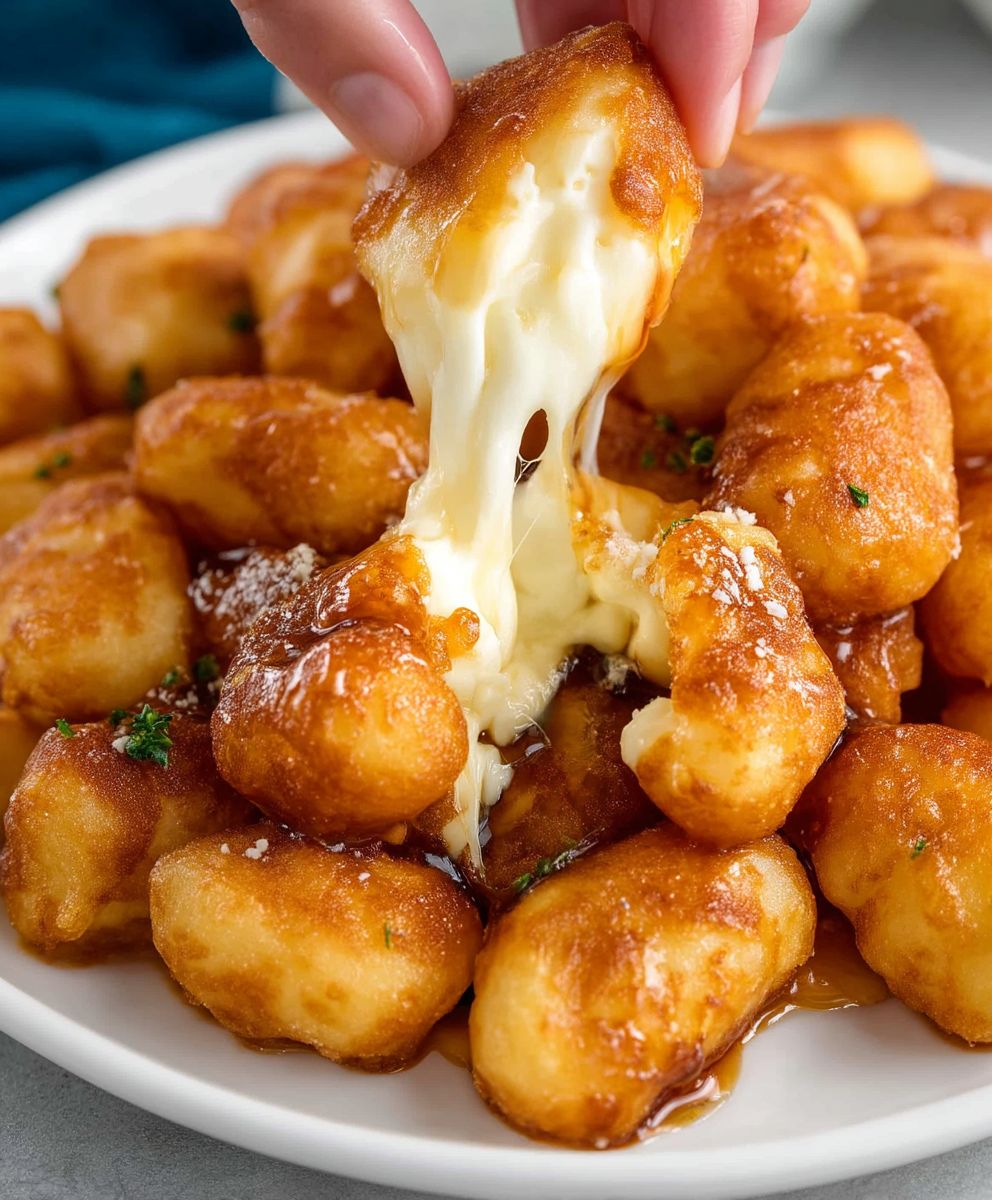
Crispy, golden, and irresistibly cheesy! These fried cheese curds are a classic comfort food, perfect as an appetizer or snack.
Ingredients
- 1 pound fresh cheese curds (the fresher, the better!)
- 1 cup all-purpose flour
- 1/2 cup cornstarch
- 1 teaspoon baking powder
- 1/2 teaspoon baking soda
- 1/2 teaspoon salt
- 1/4 teaspoon black pepper
- 1 cup buttermilk (or milk with 1 tablespoon of lemon juice or vinegar added)
- 1 large egg
- 2 tablespoons vegetable oil (plus more for frying)
- Optional: 1/4 teaspoon garlic powder
- Optional: 1/4 teaspoon onion powder
- Optional: Pinch of cayenne pepper (for a little kick!)
Instructions
- Prepare the Batter: In a large bowl, whisk together the flour, cornstarch, baking powder, baking soda, salt, pepper, garlic powder (if using), onion powder (if using), and cayenne pepper (if using).
- In a separate bowl, whisk together the buttermilk, egg, and 2 tablespoons of vegetable oil.
- Gradually pour the wet ingredients into the dry ingredients, whisking constantly until just combined. Be careful not to overmix.
- Let the batter rest for 10-15 minutes.
- Coat the Cheese Curds: While the batter is resting, prepare your frying station with a deep fryer or large pot filled with at least 3 inches of vegetable oil. Line a baking sheet with paper towels.
- Once the batter has rested, gently stir it again.
- Working in batches, drop a handful of cheese curds into the batter. Use a fork or spoon to gently coat each curd completely.
- Remove the coated cheese curds from the batter, allowing any excess batter to drip off.
- Fry the Cheese Curds: Heat the vegetable oil to 350°F (175°C).
- Carefully drop the coated cheese curds into the hot oil, working in batches to avoid overcrowding the fryer.
- Fry for 1-2 minutes, or until golden brown and crispy.
- Remove the fried cheese curds from the oil using a slotted spoon or spider and transfer them to the prepared baking sheet lined with paper towels to drain.
- Repeat the coating and frying process with the remaining cheese curds.
- Serve and Enjoy: Serve the fried cheese curds immediately while they are hot and crispy. Offer a variety of dipping sauces.
Notes
- Use fresh cheese curds for the best melting and stretching.
- Don’t overcrowd the fryer to maintain oil temperature.
- Maintain the correct oil temperature (350°F/175°C).
- Serve immediately for optimal crispness.
- Experiment with spices in the batter.
- Double batter for extra crispiness.
- Keep warm in a low oven (200°F/95°C) if needed.
Leave a Comment