
Black Velvet Cake Halloween
Black Velvet Cake Halloween – just the name conjures up images of spooky elegance, doesn’t it? This isn’t your average chocolate cake; oh no, this is a decadent masterpiece, a dark and mysterious delight perfect for your Halloween celebrations. I’ve always been fascinated by the history of this intriguing cake, its rich, almost gothic appeal setting it apart from other holiday treats. While its precise origins are somewhat shrouded in mystery, many believe the Black Velvet Cake emerged in the early 20th century, possibly as a variation on the classic red velvet, embracing a darker, more dramatic aesthetic.
What makes Black Velvet Cake so captivating? For starters, the deep, intensely dark color is simply stunning. It’s visually striking, making it a showstopper centerpiece for any Halloween gathering. But beyond its beauty lies a truly exceptional taste. The velvety texture, a hallmark of this cake, is incredibly smooth and moist, a delightful contrast to the rich, slightly bitter chocolate flavor. It’s the perfect balance of sweetness and depth, a sophisticated indulgence that’s far from cloying. Many people love this cake because it’s surprisingly easy to make, despite its impressive appearance. It’s a recipe that allows even novice bakers to create something truly special.
Why This Black Velvet Cake Halloween Recipe is Special
This particular Black Velvet Cake Halloween recipe is one I’ve perfected over the years, incorporating tips and tricks to ensure a consistently moist and flavorful result. I’ve included detailed instructions and helpful photos to guide you through each step, making the baking process enjoyable and stress-free. So, gather your ingredients, put on your witch’s hat (optional, but encouraged!), and let’s create a truly unforgettable Black Velvet Cake Halloween treat. You won’t regret it!

Ingredients:
- For the Devil’s Food Cake Layers:
- 2 cups (250g) all-purpose flour
- 2 cups (400g) granulated sugar
- ¾ cup (60g) unsweetened cocoa powder
- 1 ½ teaspoons baking powder
- 1 ½ teaspoons baking soda
- 1 teaspoon salt
- 1 cup (240ml) buttermilk
- ½ cup (120ml) vegetable oil
- 2 large eggs
- 2 teaspoons vanilla extract
- 1 cup (240ml) freshly brewed hot coffee
- For the Black Velvet Frosting:
- 1 cup (2 sticks) unsalted butter, softened
- 3 cups (360g) powdered sugar
- ¾ cup (60g) unsweetened cocoa powder
- ½ cup (120ml) heavy cream
- 1 teaspoon vanilla extract
- Black food coloring gel (a small amount, to your desired darkness)
- For the Halloween Decoration:
- Black candy melts
- White candy melts
- Orange candy melts
- Small candy eyeballs
- Edible glitter (optional)
- Piping bags and tips (optional, but recommended for intricate designs)
Preparing the Devil’s Food Cake Layers:
- Preheat your oven to 350°F (175°C). Grease and flour two 9-inch round cake pans. I like to line the bottoms with parchment paper for easy removal later.
- In a large bowl, whisk together the flour, sugar, cocoa powder, baking powder, baking soda, and salt. Make sure there are no lumps of cocoa powder.
- In a separate bowl, whisk together the buttermilk, oil, eggs, and vanilla extract.
- Gradually add the wet ingredients to the dry ingredients, mixing on low speed until just combined. Don’t overmix!
- Slowly pour in the hot coffee while mixing on low speed. The batter will be thin – that’s okay!
- Divide the batter evenly between the prepared cake pans.
- Bake for 30-35 minutes, or until a wooden skewer inserted into the center comes out clean. Every oven is different, so keep an eye on them!
- Let the cakes cool in the pans for 10 minutes before inverting them onto a wire rack to cool completely. This prevents them from sticking.
Making the Black Velvet Frosting:
- In a large bowl, beat the softened butter with an electric mixer until light and fluffy. This is crucial for a smooth frosting.
- Gradually add the powdered sugar and cocoa powder, alternating with the heavy cream, beating on low speed until combined. Start and end with the powdered sugar to avoid a cocoa powder cloud!
- Add the vanilla extract and then gradually add the black food coloring gel, a tiny bit at a time, until you reach your desired shade of black. It’s easier to add more than to take it away!
- Beat on medium-high speed for 2-3 minutes, until the frosting is light, fluffy, and smooth. If it seems too thick, add a teaspoon of heavy cream at a time until you reach the desired consistency.
Assembling and Decorating the Black Velvet Cake:
- Once the cakes are completely cool, level the tops with a serrated knife if necessary. This ensures a nice, even layer.
- Place one cake layer on a cake board or serving plate. Frost the top evenly with a generous layer of the black velvet frosting.
- Carefully place the second cake layer on top and frost the entire cake with the remaining frosting. I like to use a crumb coat first (a thin layer of frosting to trap the crumbs) and then a final thicker layer for a smooth finish.
- Now for the fun part! Melt your black, white, and orange candy melts according to package directions. Transfer them to piping bags fitted with different tips for varied designs.
- Create your Halloween designs! You can pipe cobwebs with the black candy melts, ghosts with the white, and pumpkins with the orange. Get creative!
- Add candy eyeballs to your designs for extra spooky effect. A little edible glitter can add some extra sparkle.
- Let the frosting set for at least 30 minutes before serving to allow the decorations to adhere properly. Enjoy your spooky masterpiece!
Tips for Success:
- Use good quality cocoa powder for the richest flavor.
- Don’t overmix the cake batter, or the cake will be tough.
- Make sure your butter is softened to room temperature for the best frosting consistency.
- If your frosting is too thick, add a teaspoon of heavy cream at a time until it reaches the desired consistency.
- Get creative with your Halloween decorations! There are endless possibilities.
Conclusion:
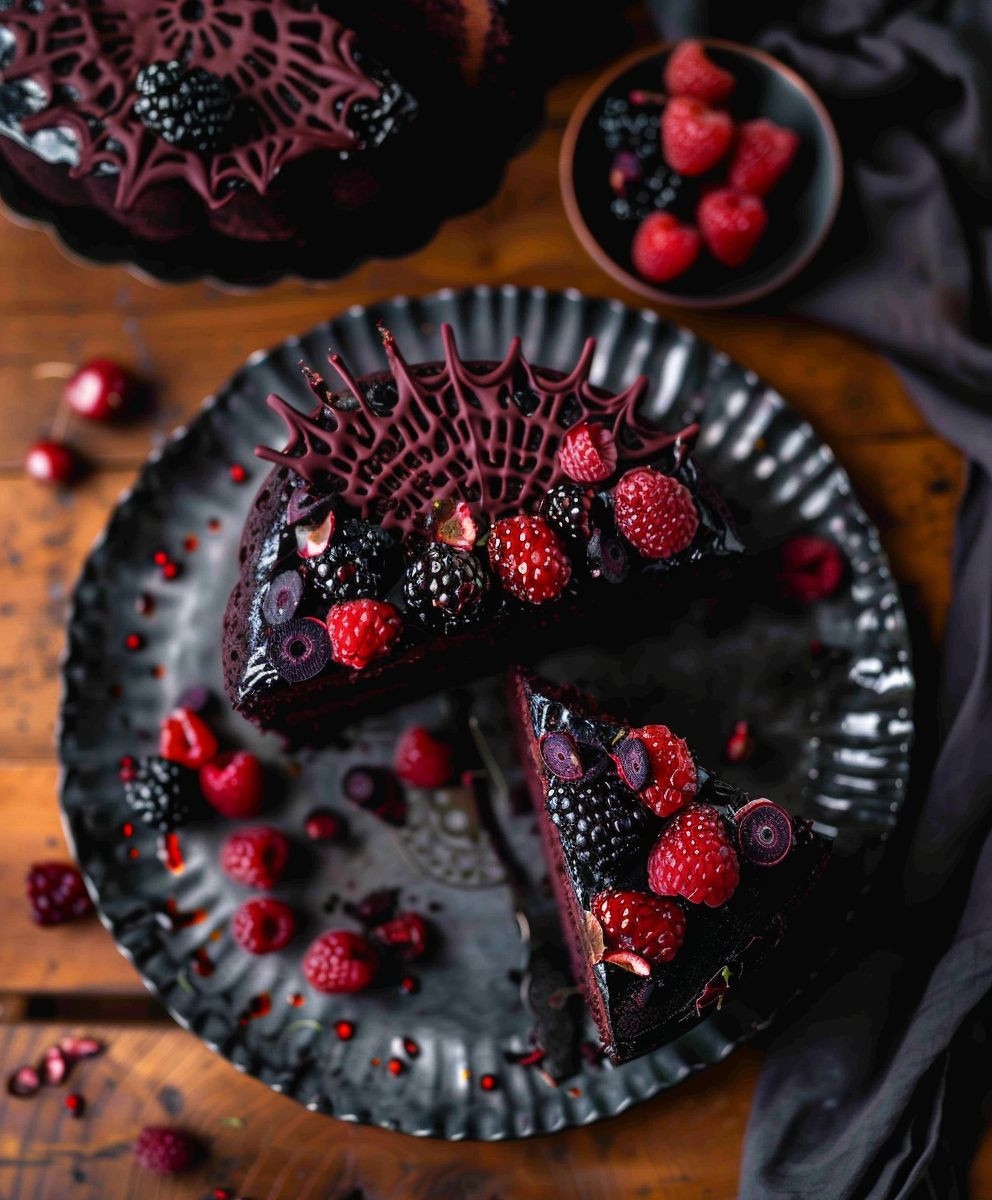
So there you have it – my recipe for the ultimate Black Velvet Cake, perfect for Halloween! I truly believe this recipe is a must-try for several reasons. First, the flavor combination is simply divine. The rich, decadent chocolate cake perfectly complements the tangy, slightly tart blackberry filling, creating a harmonious balance that will tantalize your taste buds. Second, the visual appeal is undeniable. That deep, dark chocolate cake, contrasted with the vibrant jewel-toned blackberry filling, is a showstopper, guaranteed to impress your guests and add a touch of spooky elegance to your Halloween gathering.
Beyond its stunning appearance and delicious taste, this Black Velvet Cake Halloween recipe is surprisingly easy to make. While it might seem intimidating at first glance, I’ve broken down the steps into manageable portions, ensuring even beginner bakers can achieve professional-looking results. The satisfaction of creating such a beautiful and delicious cake from scratch is truly rewarding.
Now, let’s talk about serving suggestions and variations! I personally love serving this cake with a dollop of freshly whipped cream, lightly dusted with cocoa powder. The cream adds a touch of lightness and sweetness that balances the richness of the cake perfectly. Alternatively, a scoop of vanilla bean ice cream is a classic pairing that never disappoints. For a truly decadent experience, consider drizzling a dark chocolate ganache over the top – the rich chocolate will complement the blackberry filling beautifully.
Feeling adventurous? Why not experiment with different fillings? Raspberry or blueberry would be delicious substitutes for the blackberry, offering a slightly different flavor profile. You could also add a layer of chocolate buttercream frosting between the cake layers for an extra dose of chocolatey goodness. The possibilities are truly endless!
For a truly spooky Halloween touch, consider using black food coloring to intensify the dark chocolate color of the cake. You could also pipe spiderwebs onto the frosting using melted dark chocolate, or add some edible Halloween sprinkles for an extra festive touch. Let your creativity run wild and personalize this recipe to match your own unique style and preferences.
I encourage you to give this Black Velvet Cake Halloween recipe a try. It’s a perfect centerpiece for your Halloween celebrations, a delightful treat for any occasion, and a recipe you’ll want to keep coming back to year after year. I’m confident that it will become a new family favorite. Once you’ve baked it, I’d love to hear about your experience! Share your photos and feedback on social media using #BlackVelvetCakeHalloween – I can’t wait to see your creations!
Remember, baking is all about having fun and expressing your creativity. Don’t be afraid to experiment and make this recipe your own. Happy baking, and happy Halloween!
Don’t forget to share your baking journey with me! I’m excited to see your stunning Black Velvet Cake creations.
Black Velvet Cake Halloween: Spooky Delicious Recipe
Decadent devil's food cake with rich black velvet frosting, perfectly decorated for Halloween.
Ingredients
Instructions
Recipe Notes
- Use good quality cocoa powder for best flavor.
- Don’t overmix cake batter.
- Ensure butter is softened to room temperature for best frosting consistency.
- Get creative with Halloween decorations!
Leave a Comment