
The journey to mastering the perfect Red Velvet Crinkle Cookie Recipe begins here, and I promise you, it’s a delightful one! Imagine biting into a cookie that’s simultaneously rich, subtly chocolatey, and incredibly moist, all while being beautifully adorned with a snowy dusting of powdered sugar. These festive cookies aren’t just a treat for the taste buds; they’re a feast for the eyes, instantly bringing a touch of elegance and whimsy to any dessert platter.
While the exact origins of red velvet cake are debated, its characteristic vibrant hue and velvety texture, often attributed to the reaction between cocoa powder, buttermilk, and vinegar, have captivated generations. Evolving from its cake form, the cookie version delivers that same iconic flavor profile – a delicate balance of mild cocoa and tangy buttermilk notes – but in a wonderfully convenient, bite-sized package. It’s truly a celebration of classic flavors in a modern format.
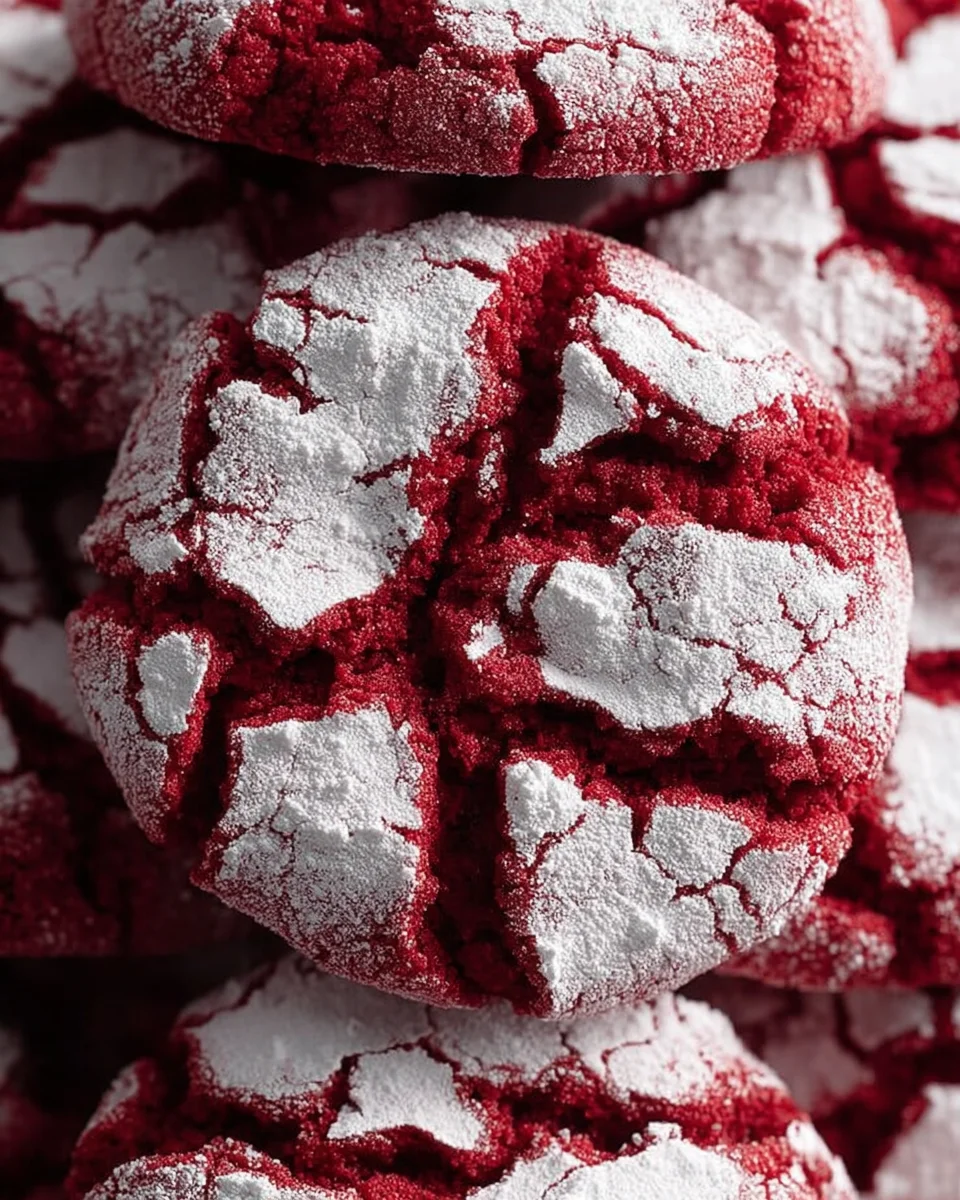
People simply adore these cookies for their stunning visual contrast, their soft, chewy interior, and the irresistible sweetness of the powdered sugar coating that “cracks” beautifully during baking. They are the quintessential holiday cookie, a cherished potluck contribution, and a comforting evening indulgence. If you’re ready to create something truly special, then this Red Velvet Crinkle Cookie Recipe is precisely what you need to impress and delight everyone.

Ingredients:
- For the Red Velvet Cookie Dough:
- 1 cup (2 sticks or 226g) unsalted butter, softened to room temperature
- 1 ¾ cups (350g) granulated sugar
- 2 large eggs, room temperature
- 1 tablespoon pure vanilla extract
- 2 tablespoons unsweetened cocoa powder (natural or Dutch-processed works, but natural tends to give a brighter red)
- 1.5 – 2 ounces (45-60ml) liquid red food coloring (gel food coloring works too, about 2-3 teaspoons for a vibrant red, adjust to your preference for intensity)
- 2 ½ cups (300g) all-purpose flour
- 2 teaspoons baking powder
- ½ teaspoon salt
- For the Crinkle Coating:
- ½ cup (100g) granulated sugar (for the first roll)
- 1 cup (120g) confectioners’ sugar (powdered sugar, for the second roll, ensuring a thick coating)
Making the Red Velvet Crinkle Cookie Dough
Embarking on this delightful Red Velvet Crinkle Cookie Recipe journey begins with meticulously preparing the dough. Patience and precision at this stage will ensure your cookies have that irresistible soft, chewy texture and vibrant color.
- Prepare Your Dry Ingredients: In a medium bowl, whisk together the all-purpose flour, baking powder, and salt. It’s crucial to whisk these thoroughly to ensure the leavening agent (baking powder) and salt are evenly distributed throughout the flour. This prevents any pockets of unmixed ingredients and guarantees a consistent rise and flavor in every cookie. Set this bowl aside for now.
- Cream the Butter and Sugar: In a large mixing bowl, preferably using an electric stand mixer fitted with the paddle attachment, or with a hand mixer, cream together the softened unsalted butter and granulated sugar. You’ll want to beat these on medium-high speed for about 3-5 minutes until the mixture is light, fluffy, and pale in color. This creaming process incorporates air into the butter and sugar, which is fundamental for creating a tender cookie with a good texture. Don’t rush this step, as it sets the foundation for your delicious Red Velvet Crinkle Cookie Recipe.
- Incorporate Eggs and Vanilla: Reduce the mixer speed to medium-low. Add the large eggs one at a time, beating well after each addition until fully incorporated. Scrape down the sides of the bowl as needed to ensure everything is mixing evenly. Once the eggs are in, stir in the pure vanilla extract. The vanilla enhances the overall flavor profile, adding warmth and depth that complements the cocoa beautifully.
- Add That Signature Red Color and Cocoa: Now for the star of the show – the color! With the mixer still on low, add the unsweetened cocoa powder and your red food coloring. Mix until the color is evenly distributed and no streaks of uncolored dough remain. This step is where your Red Velvet Crinkle Cookie Recipe truly comes to life. If you’re using liquid food coloring, you might need the full 2 ounces for a deep, rich red. If using gel, start with 2 teaspoons and add more if you desire a more intense hue. The cocoa powder is subtle but essential, providing that classic red velvet undertone.
- Gradually Add Dry Ingredients: With the mixer on its lowest speed, gradually add the dry ingredient mixture (flour, baking powder, salt) to the wet ingredients. Add about a third at a time, mixing only until just combined before adding the next portion. Be careful not to overmix the dough once the flour is added. Overmixing can develop the gluten in the flour too much, leading to tough, chewy cookies rather than the soft, tender texture we’re aiming for. A few streaks of flour are perfectly acceptable; you’ll finish combining it by hand.
- Chill the Dough – A Crucial Step: Once the dough is mixed, cover the bowl tightly with plastic wrap and refrigerate it for at least 2 hours, or ideally, overnight. This chilling period is absolutely vital for this Red Velvet Crinkle Cookie Recipe. It allows the flavors to meld, the flour to fully hydrate, and most importantly, it firms up the dough. A firm, chilled dough is much easier to handle and prevents the cookies from spreading too much in the oven, ensuring they maintain their shape and develop those beautiful, distinct crinkles. Do not skip this step if you want the best results for your crinkle cookies!
Preparing for Baking: Rolling Your Red Velvet Crinkle Cookies
Once your dough is perfectly chilled and ready, the next phase of our Red Velvet Crinkle Cookie Recipe focuses on shaping and preparing them for their spectacular crinkled finish. This process is both fun and essential for achieving that iconic look.
- Preheat Oven and Prep Baking Sheets: Before you start rolling, preheat your oven to 350°F (175°C). Line two large baking sheets with parchment paper or silicone baking mats. Parchment paper is highly recommended as it prevents sticking and promotes even baking, making cleanup a breeze.
- Set Up Your Sugar Bowls: Prepare two separate shallow bowls. In one bowl, place the ½ cup of granulated sugar. In the second bowl, place the 1 cup of confectioners’ sugar. Having them ready makes the rolling process smooth and efficient.
- Portion and Roll Dough Balls: Remove the chilled dough from the refrigerator. Using a small cookie scoop (about 1.5 tablespoons capacity) or by hand, roll the dough into uniform balls, roughly 1 inch (2.5 cm) in diameter. Consistency in size is key for even baking. If the dough is too sticky to handle, you can lightly dust your hands with a little flour, but usually, a well-chilled dough is quite manageable.
- Double-Coat for the Best Crinkle Effect: This is where the magic happens for your Red Velvet Crinkle Cookie Recipe!
- First Roll (Granulated Sugar): Take each dough ball and roll it thoroughly in the bowl of granulated sugar. This layer of granulated sugar helps prevent the confectioners’ sugar from dissolving too quickly and provides an additional textural element. Ensure a good, even coating.
- Second Roll (Confectioners’ Sugar): Immediately after the granulated sugar, transfer the dough ball to the bowl of confectioners’ sugar. Roll it generously in the confectioners’ sugar, making sure it’s completely covered with a thick, opaque layer. Do not skimp on this step! The thicker the coating of confectioners’ sugar, the more pronounced and beautiful your crinkles will be. The confectioners’ sugar melts and then bakes, creating a protective layer that cracks as the cookie expands, forming those characteristic crinkles. A thin coating will result in less dramatic, or even absent, crinkles.
Baking Your Perfect Red Velvet Crinkle Cookies
With your beautifully coated dough balls ready, it’s time to bake! This final stage of our Red Velvet Crinkle Cookie Recipe will bring out those vibrant colors and perfect crinkles you’ve been working towards.
- Arrange on Baking Sheets: Place the double-coated cookie dough balls on the prepared baking sheets, leaving about 2 inches (5 cm) of space between each cookie. They will spread during baking, so adequate spacing is important to prevent them from merging into one giant cookie. Generally, you can fit 10-12 cookies per standard baking sheet.
- Bake to Perfection: Bake the cookies in your preheated oven for 10-12 minutes. Baking times can vary slightly depending on your oven, so keep a close eye on them. The cookies are done when they are slightly puffed, the edges are just set, and the centers still look very soft and a little undercooked. The confectioners’ sugar coating will have cracked beautifully, revealing the vibrant red velvet dough underneath. If you bake them until they are completely firm, they will lose their desirable soft, chewy texture. Trust me, pulling them out when they look a touch undone is the secret to a perfect chewy cookie.
- Cooling Process: Once baked, remove the baking sheets from the oven and let the cookies cool on the sheets for about 5 minutes. This allows them to firm up slightly without overbaking. After 5 minutes, carefully transfer the cookies to a wire rack to cool completely. Cooling on a wire rack allows air to circulate around the cookies, preventing them from becoming soggy on the bottom and ensuring they cool evenly. Resist the urge to stack them while warm, as the delicate confectioners’ sugar coating can smudge or stick together.
Tips for the Best Red Velvet Crinkle Cookie Recipe Experience
To ensure every batch of your Red Velvet Crinkle Cookie Recipe is a resounding success, here are some extra tips and insights:
Understanding Your Ingredients
- Room Temperature Matters: Ensure your butter and eggs are at room temperature. This is not just a suggestion; it’s a critical step. Room temperature ingredients emulsify better, creating a smoother, more uniform dough, which translates to better cookie texture. Cold butter won’t cream properly, and cold eggs can cause the mixture to curdle.
- Cocoa Powder Choice: While natural unsweetened cocoa powder typically results in a brighter red due to its acidity reacting with baking powder, Dutch-processed cocoa powder can also be used. Dutch-processed cocoa is less acidic and provides a darker, richer chocolate flavor that complements the red velvet profile beautifully. The choice depends on your preference for the red hue versus chocolate intensity. For a truly vibrant red, natural cocoa and a good quality liquid red food coloring (or gel coloring) are your best friends.
- Food Coloring Quality: Invest in a good quality liquid or gel food coloring. Cheap liquid food coloring might not give you the intense red you desire without adding too much liquid, potentially affecting the dough consistency. Gel food coloring is highly concentrated and often yields a more vibrant color with less product.
The Magic of Chilling
- Why Chill? I cannot stress enough the importance of chilling the dough for this Red Velvet Crinkle Cookie Recipe. Not only does it make the dough easier to handle, preventing sticky situations, but it also allows the fats in the butter to solidify. This significantly reduces spreading during baking, resulting in thicker, chewier cookies. Furthermore, chilling allows the flavors to deepen and the flour to fully hydrate, leading to a more tender and flavorful final product. If you skip this, your cookies might spread too thin and your crinkles won’t be as defined.
- Longer Chill, Better Results: While 2 hours is the minimum, an overnight chill (or even up to 2-3 days) can truly enhance the flavor and texture of your Red Velvet Crinkle Cookies. Plan ahead for maximum deliciousness!
Mastering the Crinkle
- Generous Coating is Key: The secret to those show-stopping crinkles lies entirely in the thickness of your confectioners’ sugar coating. Be bold! Roll those dough balls until they are completely encased in a thick, white layer. The more sugar on the outside, the more dramatic and beautiful the cracks will be as the cookies bake and expand.
- Sugar Bowls vs. Bags: While you can shake dough balls in a bag with sugar, I find using shallow bowls for rolling more effective for achieving a truly thick, even coating. It allows for better control and adherence.
Storage and Enjoyment
- Airtight Storage: Once completely cooled, store your Red Velvet Crinkle Cookies in an airtight container at room temperature for up to 3-4 days. They remain wonderfully soft and chewy.
- Freezing Dough: You can prepare the dough balls, double-coat them, and then freeze them in a single layer on a baking sheet until solid. Once frozen, transfer them to a freezer-safe bag. When ready to bake, place the frozen dough balls directly on a prepared baking sheet and add an extra 1-2 minutes to the baking time. This is fantastic for having fresh-baked cookies whenever the craving strikes!
- Freezing Baked Cookies: Fully baked and cooled Red Velvet Crinkle Cookies can also be frozen for up to 3 months. Thaw them at room temperature before serving.
Following these detailed instructions and tips will ensure that your venture into making this Red Velvet Crinkle Cookie Recipe is a resounding success, yielding perfectly soft, chewy, and beautifully crinkled cookies every single time. Happy baking!
Conclusion:
As we wrap up our delightful journey with this particular sweet treat, I truly hope you’re feeling as excited as I am about the prospect of bringing these beauties to life in your own kitchen. This isn’t just another cookie recipe; it’s an experience, a little piece of culinary magic that promises to impress and satisfy. From their captivating ruby-red hue, reminiscent of velvet fabric, to the delicate snowy cracks that burst across their surface, these cookies are a feast for both the eyes and the palate. They are, in my humble opinion, an absolute must-try because they perfectly marry a deeply satisfying, rich cocoa flavor with a wonderfully soft, chewy interior and just the right amount of tang that sets red velvet apart. The contrast of the intense color with the powdery white sugar coating is simply enchanting, making them an instant showstopper at any gathering, no matter the occasion. Trust me when I say, the aroma alone as they bake will have everyone eagerly anticipating the first bite.
Beyond their stunning appearance and exquisite taste, what makes this recipe particularly special is its ability to evoke pure joy. There’s something incredibly satisfying about watching the powdered sugar “crackle” as the cookies bake, revealing those signature fissures that give them their name. They manage to be both sophisticated and comforting at the same time, making them suitable for a fancy dessert spread or simply a cozy evening indulgence. Whether you’re an experienced baker looking for a new challenge or a beginner eager to create something truly impressive, this recipe offers a rewarding journey with a delicious destination.
Now, let’s talk about how to best enjoy these edible gems. While they are utterly divine straight out of the oven, perhaps after cooling just enough to handle, there are countless ways to elevate the experience. Imagine a warm cookie, its chocolatey scent filling the air, paired with a tall, frosty glass of cold milk – a classic combination that never disappoints. For coffee lovers, they are the perfect companion to a strong espresso or a creamy latte, providing a lovely sweetness to balance the bitterness of the brew. If you’re feeling indulgent, try serving them alongside a scoop of vanilla bean ice cream, allowing the melting creaminess to mingle with the cookie’s tender crumb. A dollop of freshly whipped cream or a drizzle of white chocolate ganache would also be a luxurious addition, enhancing their already irresistible charm. For a more festive touch, especially around the holidays, a light dusting of cocoa powder over the powdered sugar can add an extra layer of visual appeal and chocolatey depth.
But why stop there? The beauty of baking is in experimentation and making a recipe truly your own. Don’t hesitate to play with variations to suit your taste or the season. For instance, a tiny splash of peppermint extract in the dough could transform these into a sensational treat perfect for winter festivities, offering a cool, refreshing counterpoint to the cocoa. Conversely, a hint of orange zest could brighten the flavor profile, adding a subtle citrusy note that pairs wonderfully with chocolate. If you’re a fan of a little extra kick, a teaspoon of espresso powder dissolved in the liquid ingredients will deepen the chocolate flavor without making the cookies taste like coffee, enhancing their richness. You could even get creative with the rolling stage; while powdered sugar is traditional, a mix of powdered sugar and finely chopped nuts, like pecans or walnuts, could add an interesting textural dimension. Or, for a truly decadent surprise, gently press a small piece of cream cheese frosting (chilled until firm) into the center of each dough ball before rolling it in powdered sugar – imagine a molten cream cheese surprise with every bite!
Your Baking Adventure Awaits!
I truly encourage you to set aside some time soon to embark on this delightful baking adventure. You’ll find the process as enjoyable as the outcome. There’s a certain magic that happens when simple ingredients come together to create something so wonderfully delicious and beautiful. This particular
Red Velvet Crinkle Cookie Recipe
is more than just a set of instructions; it’s an invitation to create memories, share joy, and indulge in a truly spectacular dessert. The satisfaction you’ll feel when you pull these perfectly cracked, vibrantly colored cookies from the oven is unparalleled, and the compliments you’ll receive from friends and family will make every moment spent in the kitchen worth it.
Once you’ve had a chance to bake and taste these incredible cookies, I would absolutely love to hear about your experience! Did you stick to the original recipe, or did you try one of the suggested variations? What was your favorite part of the process, and what did your tasters think? Your feedback and shared experiences are what make this community so vibrant and inspiring. So please, don’t be shy – share your stories, your triumphs, and even your funny kitchen mishaps. Happy baking, my friends; I can’t wait to hear how your Red Velvet Crinkle Cookies turn out!
Best Red Velvet Crinkle Cookies – Quick & Simple Recipe
Master the perfect Red Velvet Crinkle Cookie Recipe. Enjoy rich, subtly chocolatey, and incredibly moist cookies adorned with a snowy dusting of powdered sugar. These festive treats offer a delicate balance of mild cocoa and tangy notes in a convenient, bite-sized package, making them a feast for the eyes and taste buds.
Ingredients
Instructions
Important Information
Nutrition Facts (Per Serving)
It is important to consider this information as approximate and not to use it as definitive health advice.
Allergy Information
Please check ingredients for potential allergens and consult a health professional if in doubt.
Leave a Comment