
Peppermint Meltaway Cookies Recipe
Oh, my goodness, I am so excited to share this Peppermint Meltaway Cookies Recipe with you today! If you’ve been searching for a cookie that truly lives up to its name, then you’ve found it. These aren’t just any ordinary cookies; they are an absolute dream come true for anyone who adores the refreshing kick of peppermint combined with an unbelievably tender, buttery texture. What makes them so special, you ask? Well, it’s all in that magical “meltaway” quality – each bite practically dissolves on your tongue, leaving behind a cool, sweet peppermint sensation that is just divine.
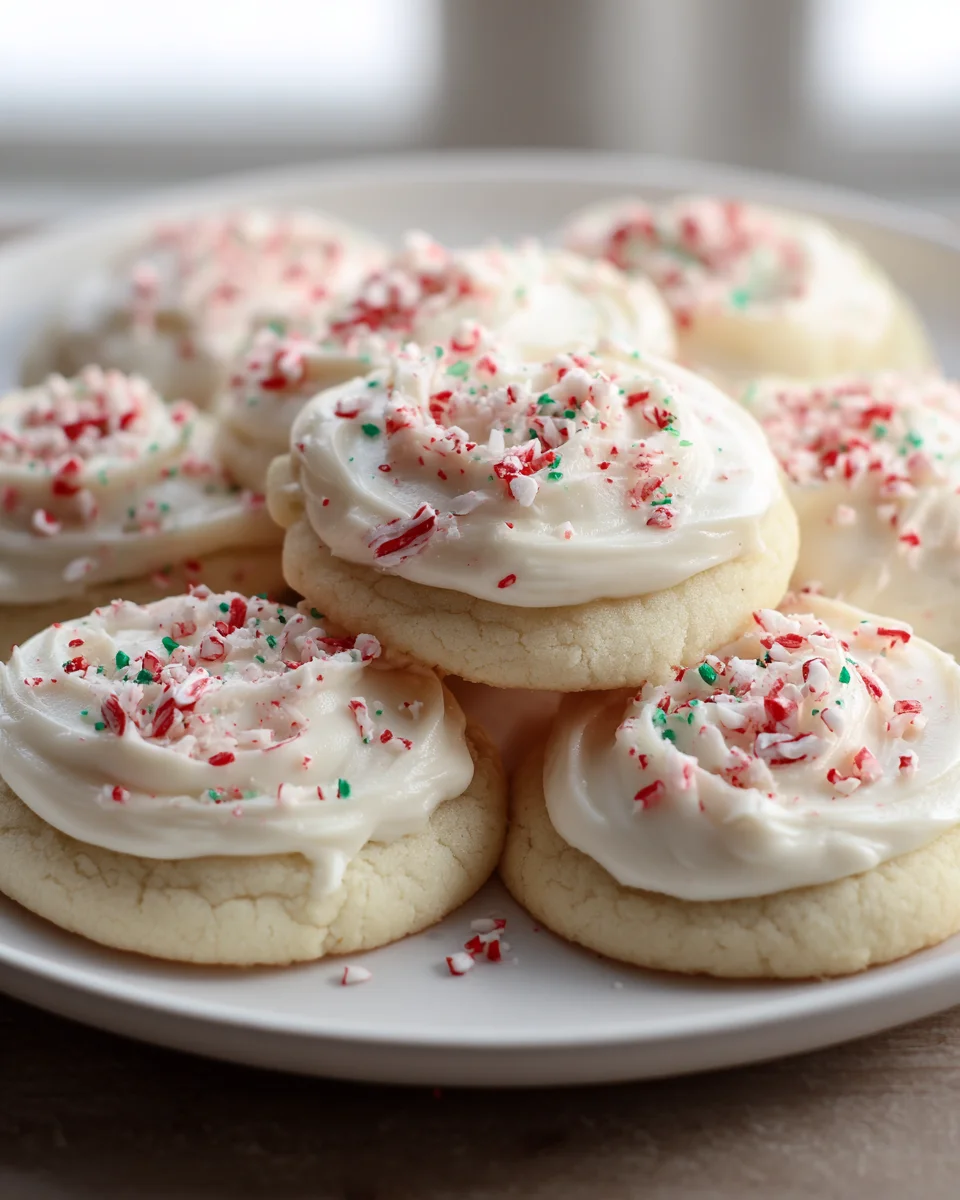
I genuinely believe you are going to fall head over heels for these little wonders. They’re incredibly easy to whip up, making them perfect for bakers of all skill levels, and the payoff is huge. Imagine presenting a plate of these delicate, snow-dusted gems at your next gathering or simply enjoying one (or three!) with a cup of tea or coffee. They’re absolutely perfect for holiday platters, cookie exchanges, or simply as a delightful treat to brighten any ordinary day. The joy of a cookie that literally melts away in your mouth is something everyone deserves to experience!
So, what exactly are we making? We’re diving into a recipe for a truly exquisite shortbread-style cookie, infused generously with pure peppermint extract for that signature cool burst of flavor. They’re typically coated in a light dusting of powdered sugar, which adds to their ethereal appearance and enhances that melt-in-your-mouth experience. Prepare yourself for a cookie that’s buttery, sweet, and wonderfully refreshing – a true delight from start to finish!

Ingredient Notes
Crafting the perfect Peppermint Meltaway Cookies starts with understanding the role each ingredient plays. These aren’t just any sugar cookies; the “meltaway” characteristic comes from a precise balance of fats and starches, while the “peppermint” flavor is vibrant and festive. Here’s a closer look at what you’ll need and why:
- Unsalted Butter: This is the foundation of our cookies’ melt-in-your-mouth texture. I always recommend using unsalted butter so you can control the overall salt content in the recipe. Make sure it’s softened to room temperature – not melted, but pliable enough to cream easily with the sugar. This helps create a light, airy base. If you’re looking for a dairy-free alternative, a high-quality plant-based butter stick (one that bakes well) can often be substituted successfully, though the texture might vary slightly.
- Powdered Sugar (Confectioners’ Sugar): While most cookie recipes use granulated sugar, powdered sugar is crucial for meltaways. Its fine texture dissolves more readily into the butter, resulting in a super tender, crumbly, and melt-in-your-mouth texture that granulated sugar simply can’t achieve. It also adds to the delicate sweetness without making the cookies gritty. You’ll also use a generous dusting of this after baking for that signature snowy look.
- All-Purpose Flour: The structure of our cookie! I always measure my flour by spooning it into the measuring cup and then leveling it off with a straight edge. This prevents over-packing the flour, which can lead to dense, tough cookies. For an even more delicate crumb, you can sift your flour, although it’s not strictly necessary if you measure correctly. I haven’t tried alternative flours like gluten-free blends for this particular recipe, so I can’t guarantee the same “meltaway” texture if you deviate here.
- Cornstarch: Ah, the secret weapon for ultimate tenderness! Cornstarch works by interfering with gluten development in the flour, resulting in a softer, more delicate cookie that truly lives up to its “meltaway” name. Don’t skip this ingredient; it’s what differentiates these from a standard sugar cookie. There isn’t a direct substitute that will yield the exact same results for this specific texture.
- Peppermint Extract: This is where the festive flavor comes in! Use a good quality pure peppermint extract for the best, cleanest flavor. I find that the flavor strength can vary between brands, so always start with the recommended amount and then taste a tiny bit of the dough (before adding eggs, if any, but in this case, no eggs!) if you’re unsure, adjusting to your preference. Avoid “mint” extract unless you specifically want a spearmint-like flavor, as it’s different from peppermint.
- Vanilla Extract: While peppermint is the star, a touch of pure vanilla extract enhances the overall flavor profile, adding warmth and depth without overpowering the peppermint. It’s like a secret ingredient that makes everything taste a little bit better. If you wanted a slight twist, a hint of almond extract could be interesting, but I prefer vanilla for these classic holiday treats.
- Salt: Just a pinch of salt balances the sweetness and enhances all the other flavors. Don’t underestimate its importance in baking!
- Crushed Candy Canes (Optional, for garnish): For that extra festive touch and a satisfying crunch, I love to decorate some of my cookies with crushed candy canes. You can buy them pre-crushed, or easily crush your own by placing them in a zip-top bag and gently tapping with a rolling pin or meat tenderizer. They add both visual appeal and a burst of peppermint flavor and texture.
Step-by-Step Instructions
Making Peppermint Meltaway Cookies is a delightful process, and with these clear steps, you’ll be enjoying these festive treats in no time. I always find that following a recipe precisely, especially with baking, leads to the best results.
- Preheat Oven & Prepare Baking Sheets: First things first, get your oven ready! Preheat it to 350°F (175°C). Line two large baking sheets with parchment paper or silicone baking mats. This prevents sticking and makes cleanup a breeze, ensuring your beautiful cookies slide right off. I always prep my sheets before I even start mixing, so I’m not scrambling later.
- Cream Butter and Sugar: In a large mixing bowl, using an electric mixer (either a stand mixer with the paddle attachment or a hand mixer), beat the softened unsalted butter and powdered sugar together. Start on low speed to prevent a cloud of sugar, then increase to medium-high. Beat for about 2-3 minutes, until the mixture is light, fluffy, and pale in color. This creaming process incorporates air, which contributes to the cookie’s delicate texture.
- Add Extracts: Reduce the mixer speed to low. Add the peppermint extract and vanilla extract to the creamed butter mixture. Mix until just combined. You want to make sure these flavor powerhouses are evenly distributed throughout the dough.
- Combine Dry Ingredients: In a separate medium bowl, whisk together the all-purpose flour, cornstarch, and salt. Whisking ensures these ingredients are thoroughly combined and helps to aerate the flour mixture. This step is important to avoid pockets of unmixed ingredients in your final cookie.
- Gradually Add Dry to Wet: With the mixer on low speed, gradually add the dry ingredient mixture to the wet ingredients, a third at a time. Mix only until just combined after each addition. Be careful not to overmix! Overmixing develops gluten in the flour, which can lead to tough cookies instead of the desired tender meltaway texture. Stop mixing as soon as no dry streaks of flour remain. The dough will be soft and slightly crumbly, but should hold together when pressed.
- Chill the Dough (Crucial Step!): This is a non-negotiable step for meltaway cookies! Gather the dough into a ball, flatten it slightly into a disc, wrap it tightly in plastic wrap, and refrigerate for at least 30 minutes, or up to 1 hour. Chilling helps the butter solidify, preventing the cookies from spreading too much in the oven and ensuring they maintain their shape and that delightful meltaway texture. I often chill mine for closer to an hour if I have the time.
- Roll Dough Balls: Once chilled, unwrap the dough. Using a small cookie scoop (about 1 tablespoon in size) or your hands, roll the dough into uniform 1-inch balls. Place them about 2 inches apart on your prepared baking sheets. Uniform size is key for even baking, so they all get perfectly meltaway at the same time.
- Bake: Transfer the baking sheets to your preheated oven. Bake for 10-12 minutes, or until the edges are just set and very lightly golden. The cookies will still look pale and soft in the center, and that’s exactly what you want! They will firm up as they cool. Don’t overbake them, or you’ll lose that signature meltaway texture.
- Cool & Decorate: Let the cookies cool on the baking sheets for about 5 minutes before carefully transferring them to a wire rack to cool completely. While they are still warm (but not hot), you can gently dust them with an additional layer of powdered sugar for that classic snowy look. If using crushed candy canes, I like to gently press the top of the slightly cooled cookie into a shallow dish of crushed candy canes, or simply sprinkle them over the top. Allow them to cool completely before storing.
Tips & Suggestions
Having made countless batches of these festive Peppermint Meltaway Cookies, I’ve gathered a few invaluable tips and suggestions that can elevate your baking experience and ensure perfect results every time. These little insights can make a big difference!
- Don’t Skip the Chill Time: I really can’t emphasize this enough. Chilling the dough isn’t just a suggestion; it’s a critical step for these cookies. The cold dough prevents excessive spreading in the oven, ensuring your cookies hold their round, plump shape and maintain their thick, tender texture. If you skip chilling, you might end up with thin, crispy cookies, which aren’t the “meltaways” we’re aiming for. If your kitchen is particularly warm, consider chilling the dough for an extra 15-20 minutes.
- Measure Flour Correctly: For baking, especially with delicate cookies like these, accurate flour measurement is paramount. I always recommend the “spoon and level” method: gently spoon the flour into your measuring cup until it’s overflowing, then level it off with a straight edge (like the back of a knife). Scooping flour directly from the bag can compact it, leading to too much flour and a dry, dense cookie.
- Avoid Overmixing: Once you add the flour mixture, mix only until just combined. The moment you see no more dry streaks of flour, stop. Overmixing develops gluten, which can make your cookies tough rather than tender and melt-in-your-mouth. Embrace a gentle hand here!
- Quality Peppermint Extract Matters: Since peppermint is the star flavor, using a good quality pure peppermint extract will make a noticeable difference. Cheaper extracts can sometimes have an artificial or medicinal aftertaste. Invest in a good one, especially around the holidays when you’ll likely be using it often!
- Crushing Candy Canes Made Easy: If you’re crushing your own candy canes, place them in a sturdy zip-top bag and seal it, removing as much air as possible. Then, use a rolling pin, the flat side of a meat tenderizer, or even the bottom of a heavy pan to gently tap and crush them. Avoid smashing too hard, which can tear the bag. Aim for a mix of fine dust and small pieces for visual appeal and texture.
- Alternative Decorations: While a dusting of powdered sugar and crushed candy canes are classic, don’t hesitate to get creative! You could drizzle cooled cookies with melted white chocolate (tinted green or red for extra festivity!) and then sprinkle with the crushed candy canes. Or, simply use festive sprinkles for a different look.
- Make Ahead Option: The raw dough can be prepared and stored in the refrigerator for up to 3 days. Just make sure it’s tightly wrapped in plastic wrap. When you’re ready to bake, let it sit at room temperature for 10-15 minutes to soften slightly before rolling, then proceed with the recipe. You can also freeze the dough balls for up to 3 months; simply arrange them on a baking sheet, freeze until solid, then transfer to a freezer-safe bag. Bake from frozen, adding a minute or two to the baking time.
- Don’t Overbake: These cookies are meant to be pale and delicate. They should be just set at the edges and still look very soft in the center when you pull them from the oven. They will continue to cook slightly and firm up as they cool on the baking sheet. Overbaking will result in a drier, less “meltaway” cookie.
Storage
Properly storing your Peppermint Meltaway Cookies is key to keeping them fresh, tender, and delicious for as long as possible. Given their delicate texture and sometimes festive toppings, a little care goes a long way!
- At Room Temperature: Once your Peppermint Meltaway Cookies have completely cooled (this is critical to prevent condensation and sogginess), store them in an airtight container at room temperature. A cookie tin or a plastic container with a tight-fitting lid works perfectly. I find that they stay wonderfully fresh and tender for up to 5-7 days. To maintain their pristine look, especially if dusted heavily with powdered sugar, you can place a piece of parchment paper between layers of cookies to prevent the sugar from rubbing off.
- Dealing with Candy Canes: If you’ve decorated your cookies with crushed candy canes, be aware that the candy can sometimes become sticky or bleed color, especially in humid environments. To minimize this, it’s best to add the candy canes as close to serving time as possible if you’re very particular about aesthetics. Alternatively, store these specific cookies in a single layer or with parchment paper between layers to prevent them from sticking to each other. Keeping them in a cool, dry place also helps.
- Freezing Baked Cookies: These cookies freeze exceptionally well! After they have completely cooled, arrange them in a single layer on a baking sheet and freeze until solid, about 1-2 hours. Once solid, transfer them to a freezer-safe airtight container or heavy-duty freezer bag, layering with parchment paper if stacking. They can be frozen for up to 2-3 months. To thaw, simply remove them from the freezer and let them come to room temperature on your countertop. This is a fantastic way to get a head start on holiday baking!
- Freezing Raw Dough: As mentioned in my tips, you can also freeze the unbaked dough. Roll the dough into balls, arrange them on a parchment-lined baking sheet, and freeze until solid. Then transfer the frozen dough balls to a freezer-safe bag. They can be stored for up to 3 months. When you’re ready to bake, you can bake them directly from frozen, adding an extra 1-3 minutes to the baking time, or let them thaw slightly in the refrigerator overnight before baking. This makes fresh-baked cookies incredibly convenient!
- Reviving Cookies: If your cookies have been sitting out for a few days and feel a bit less “meltaway” than fresh, you can sometimes soften them slightly. Place them in an airtight container with a slice of fresh bread for a few hours or overnight. The moisture from the bread will be absorbed by the cookies, helping to soften them. Just remember to remove the bread after a day to prevent mold.
Final Thoughts
There’s something truly magical about a cookie that delivers both a refreshing burst and a delicate melt-in-your-mouth experience. And that, my friends, is exactly what you get with the Peppermint Meltaway Cookies Recipe. I find myself coming back to this recipe year after year, not just because of its incredible flavor, but also for the sheer joy it brings to anyone who takes a bite. It’s the perfect blend of cool peppermint and buttery goodness, creating a treat that simply dissolves, leaving behind a delightful taste.
I truly believe this Peppermint Meltaway Cookies Recipe is a must-try for anyone looking to add a touch of festive cheer or simply enjoy a wonderfully unique cookie. Whether you’re baking for a holiday gathering, a cozy evening in, or just because you deserve a little sweet indulgence, these cookies are guaranteed to impress. They are surprisingly easy to make, yet taste incredibly gourmet. So go ahead, treat yourself and your loved ones to these delightful meltaways – I promise, you won’t be disappointed!
Leave a Comment