
Amish Peanut Butter Cream Pie: just the name conjures up images of creamy, dreamy deliciousness, doesn’t it? Forget everything you think you know about peanut butter desserts because this pie is a game-changer. Imagine sinking your fork into a cloud of peanut butter perfection, a symphony of sweet and salty that will have you craving more with every single bite.
This isn’t just any pie; it’s a taste of tradition. Passed down through generations within Amish communities, this recipe reflects their commitment to simple, wholesome ingredients and time-honored techniques. While the exact origins are shrouded in the mists of time, the pie’s popularity speaks volumes about its enduring appeal. It’s a staple at gatherings, potlucks, and family dinners, a testament to its ability to bring people together.
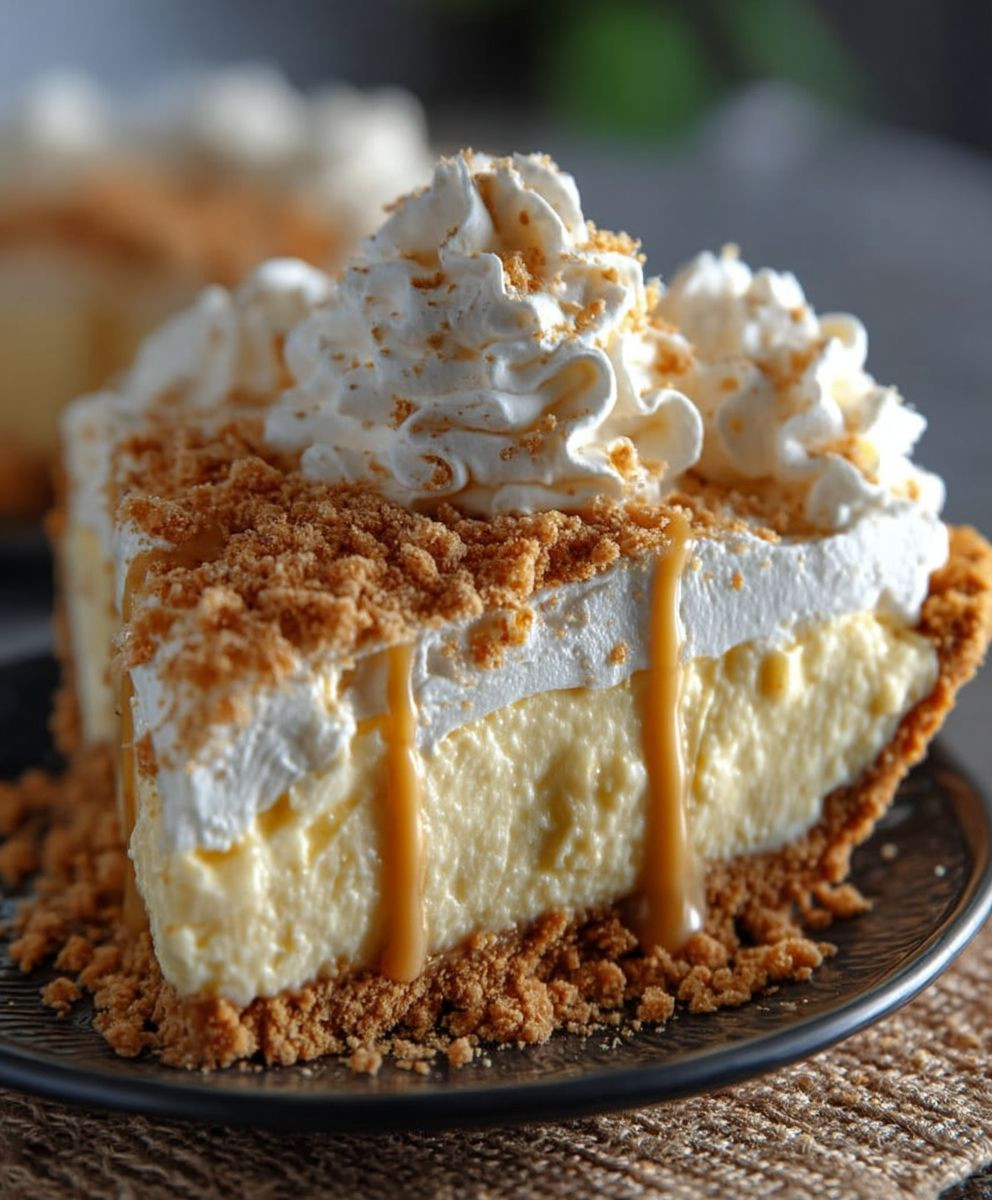
What makes Amish Peanut Butter Cream Pie so irresistible? It’s the perfect balance of textures: a flaky, buttery crust, a smooth, rich peanut butter filling, and a light, airy whipped cream topping. The combination of sweet peanut butter and creamy coolness is simply divine. Plus, it’s surprisingly easy to make! This no-bake wonder is a lifesaver when you need a show-stopping dessert without spending hours in the kitchen. Get ready to experience a slice of heaven – your taste buds will thank you!

Ingredients:
- For the Crust:
- 1 ½ cups all-purpose flour
- ½ teaspoon salt
- ½ cup (1 stick) cold unsalted butter, cut into cubes
- ¼ cup cold shortening, cut into cubes
- 5-7 tablespoons ice water
- For the Peanut Butter Filling:
- 8 ounces cream cheese, softened
- 1 cup creamy peanut butter
- 1 cup powdered sugar
- ½ cup granulated sugar
- 1 teaspoon vanilla extract
- 1 cup heavy cream, whipped to stiff peaks
- For the Chocolate Ganache Topping (Optional):
- 4 ounces semi-sweet chocolate, finely chopped
- ½ cup heavy cream
- For Garnish (Optional):
- Chopped peanuts
- Chocolate shavings
Preparing the Crust:
- Combine Dry Ingredients: In a large bowl, whisk together the flour and salt. This ensures the salt is evenly distributed throughout the crust, which is crucial for flavor.
- Cut in the Fats: Add the cold butter and shortening to the flour mixture. Using a pastry blender or your fingertips (work quickly to keep the fats cold!), cut the fats into the flour until the mixture resembles coarse crumbs. You should still see small pieces of butter and shortening – these are what create flaky layers.
- Add Ice Water: Gradually add the ice water, one tablespoon at a time, mixing gently after each addition. The amount of water you need may vary depending on the humidity. Stop adding water when the dough just comes together and is no longer dry. Be careful not to overmix, as this will develop the gluten and result in a tough crust.
- Form the Dough: Gently gather the dough into a ball. Flatten it into a disc, wrap it tightly in plastic wrap, and refrigerate for at least 30 minutes, or up to 2 hours. This allows the gluten to relax, making the crust easier to roll out and preventing it from shrinking during baking.
- Roll Out the Dough: On a lightly floured surface, roll out the dough into a 12-inch circle. Make sure to rotate the dough frequently and add more flour as needed to prevent it from sticking to the surface.
- Transfer to Pie Plate: Carefully transfer the rolled-out dough to a 9-inch pie plate. Gently press the dough into the bottom and up the sides of the pie plate.
- Crimp the Edges: Trim any excess dough from the edges of the pie plate. Crimp the edges using a fork or your fingers to create a decorative border. This also helps to seal the edges and prevent them from shrinking during baking.
- Pre-Bake the Crust (Blind Bake): Preheat your oven to 375°F (190°C). Line the pie crust with parchment paper and fill it with pie weights or dried beans. This prevents the crust from puffing up during baking. Bake for 15-20 minutes, or until the edges are lightly golden brown.
- Remove Weights and Bake Further: Remove the parchment paper and pie weights. Return the crust to the oven and bake for another 5-10 minutes, or until the bottom of the crust is golden brown. This ensures that the crust is fully cooked and won’t be soggy.
- Cool Completely: Let the pie crust cool completely on a wire rack before filling. This is important to prevent the filling from melting or becoming runny.
Preparing the Peanut Butter Filling:
- Cream Cheese and Peanut Butter: In a large bowl, beat the softened cream cheese and peanut butter together until smooth and creamy. Make sure the cream cheese is completely softened to avoid any lumps in the filling.
- Add Sugars and Vanilla: Gradually add the powdered sugar and granulated sugar to the cream cheese mixture, beating until well combined. Stir in the vanilla extract.
- Fold in Whipped Cream: Gently fold in the whipped cream until just combined. Be careful not to overmix, as this will deflate the whipped cream and result in a less airy filling. The whipped cream adds lightness and volume to the filling.
Assembling the Pie:
- Pour in Filling: Pour the peanut butter filling into the cooled pie crust. Spread it evenly to the edges.
- Chill: Cover the pie with plastic wrap and refrigerate for at least 4 hours, or preferably overnight. This allows the filling to set completely and the flavors to meld together.
Preparing the Chocolate Ganache Topping (Optional):
- Heat Cream: Place the chopped chocolate in a heatproof bowl. In a small saucepan, heat the heavy cream over medium heat until it just begins to simmer. Do not boil.
- Pour Over Chocolate: Pour the hot cream over the chocolate. Let it sit for 1 minute to allow the chocolate to melt.
- Stir Until Smooth: Gently stir the mixture until the chocolate is completely melted and the ganache is smooth and glossy.
- Cool Slightly: Let the ganache cool slightly before pouring it over the pie. This will prevent it from melting the peanut butter filling.
- Pour Over Pie: Pour the cooled ganache over the chilled peanut butter pie. Spread it evenly to the edges.
- Chill Again: Return the pie to the refrigerator and chill for another 30 minutes to allow the ganache to set.
Garnishing and Serving:
- Garnish (Optional): Before serving, garnish the pie with chopped peanuts and chocolate shavings, if desired. These add texture and visual appeal to the pie.
- Slice and Serve: Slice the pie into wedges and serve chilled. Enjoy!
Tips for Success:
- Keep Ingredients Cold: Using cold ingredients, especially for the crust, is crucial for creating a flaky texture.
- Don’t Overmix: Overmixing the dough or filling can result in a tough crust or a dense filling.
- Chill Time is Important: Allowing the pie to chill for the recommended time is essential for the filling to set properly.
- Adjust Sweetness: Adjust the amount of sugar in the filling to your liking. If you prefer a less sweet pie, reduce the amount of powdered sugar or granulated sugar.
- Use High-Quality Ingredients: Using high-quality ingredients, such as good-quality chocolate and peanut butter, will result in a better-tasting pie.
Variations:
- Chocolate Crust: For a chocolate crust, add 2 tablespoons of unsweetened cocoa powder to the flour mixture when making the crust.
- Peanut Butter Cups: Add chopped peanut butter cups to the filling for extra peanut butter flavor.
- Salted Caramel: Drizzle salted caramel sauce over the pie before serving for a sweet and salty twist.
- Different Nuts: Use different nuts, such as pecans or walnuts, for garnish instead of peanuts.
Storage Instructions:
- Store leftover pie in the refrigerator, covered, for up to 3 days.
Conclusion:
This Amish Peanut Butter Cream Pie is more than just a dessert; it’s a journey back to simpler times, a taste of home-style goodness that will have everyone begging for seconds. The creamy, dreamy peanut butter filling, nestled in a flaky crust, is a symphony of textures and flavors that’s both comforting and utterly irresistible. If you’re looking for a show-stopping dessert that’s surprisingly easy to make, look no further. This pie is guaranteed to be a crowd-pleaser, perfect for family gatherings, potlucks, or simply a special treat for yourself.
But why is this recipe a must-try? It’s the perfect balance of sweet and salty, the richness of the peanut butter perfectly complemented by the light and airy whipped cream topping. It’s a dessert that appeals to all ages, from the little ones who adore peanut butter to the adults who appreciate a classic, well-made pie. Plus, the recipe is incredibly forgiving, making it ideal for both novice and experienced bakers alike. You don’t need to be a pastry chef to create this masterpiece!
And the best part? There are so many ways to customize this Amish Peanut Butter Cream Pie to your liking! For a richer, more decadent experience, try using a chocolate graham cracker crust instead of a traditional pie crust. Or, if you’re feeling adventurous, swirl in some melted chocolate into the peanut butter filling for a chocolate peanut butter explosion. For a lighter version, you can use a reduced-fat cream cheese and a sugar substitute in the filling.
Serving suggestions are endless! A simple dollop of whipped cream and a sprinkle of chopped peanuts are always a classic choice. But you could also drizzle some hot fudge sauce over each slice for an extra touch of indulgence. Or, for a truly special occasion, top the pie with a homemade peanut butter brittle.
Consider adding a layer of chopped Reese’s Peanut Butter Cups to the bottom of the crust before adding the filling for an extra peanut butter punch. Another variation is to use a different type of nut butter, such as almond butter or cashew butter, for a unique twist on the classic recipe. If you’re a fan of salty-sweet combinations, sprinkle a little sea salt on top of the whipped cream before serving.
Don’t be intimidated by the thought of making a pie from scratch. This recipe is designed to be straightforward and easy to follow. With just a few simple ingredients and a little bit of patience, you’ll be rewarded with a dessert that’s truly unforgettable.
I truly believe that this Amish Peanut Butter Cream Pie will become a staple in your recipe collection. It’s a dessert that’s perfect for any occasion, and it’s guaranteed to bring a smile to everyone’s face.
So, what are you waiting for? Gather your ingredients, preheat your oven, and get ready to bake! I’m confident that you’ll love this recipe as much as I do. And when you do, please come back and share your experience in the comments below. I’d love to hear how it turned out and any variations you tried. Happy baking! I can’t wait to hear all about your peanut butter pie adventures!
Amish Peanut Butter Cream Pie: A Delicious & Easy Recipe
Decadent peanut butter pie with a flaky crust and creamy peanut butter filling. Optional chocolate ganache topping. Perfect for peanut butter lovers!
Ingredients
Instructions
Recipe Notes
- Keep Ingredients Cold: Using cold ingredients, especially for the crust, is crucial for creating a flaky texture.
- Don’t Overmix: Overmixing the dough or filling can result in a tough crust or a dense filling.
- Chill Time is Important: Allowing the pie to chill for the recommended time is essential for the filling to set properly.
- Adjust Sweetness: Adjust the amount of sugar in the filling to your liking. If you prefer a less sweet pie, reduce the amount of powdered sugar or granulated sugar.
- Use High-Quality Ingredients: Using high-quality ingredients, such as good-quality chocolate and peanut butter, will result in a better-tasting pie.
- Chocolate Crust: For a chocolate crust, add 2 tablespoons of unsweetened cocoa powder to the flour mixture when making the crust.
- Peanut Butter Cups: Add chopped peanut butter cups to the filling for extra peanut butter flavor.
- Salted Caramel: Drizzle salted caramel sauce over the pie before serving for a sweet and salty twist.
- Different Nuts: Use different nuts, such as pecans or walnuts, for garnish instead of peanuts.
- Storage Instructions: Store leftover pie in the refrigerator, covered, for up to 3 days.
Leave a Comment