
Aesthetic Tiramisu: Prepare to be captivated by a dessert that’s as visually stunning as it is delicious! Have you ever wanted to create a show-stopping dessert that will impress your guests and tantalize their taste buds? Look no further. This recipe will guide you through creating a truly beautiful and unforgettable aesthetic tiramisu.
Tiramisu, meaning “pick me up” or “cheer me up” in Italian, has a rich history rooted in the Veneto region of Italy. While its exact origins are debated, it’s widely believed to have emerged in the latter half of the 20th century, quickly becoming a beloved classic. This decadent dessert traditionally features layers of coffee-soaked ladyfingers, creamy mascarpone cheese, and cocoa powder, creating a symphony of flavors and textures that’s simply irresistible.
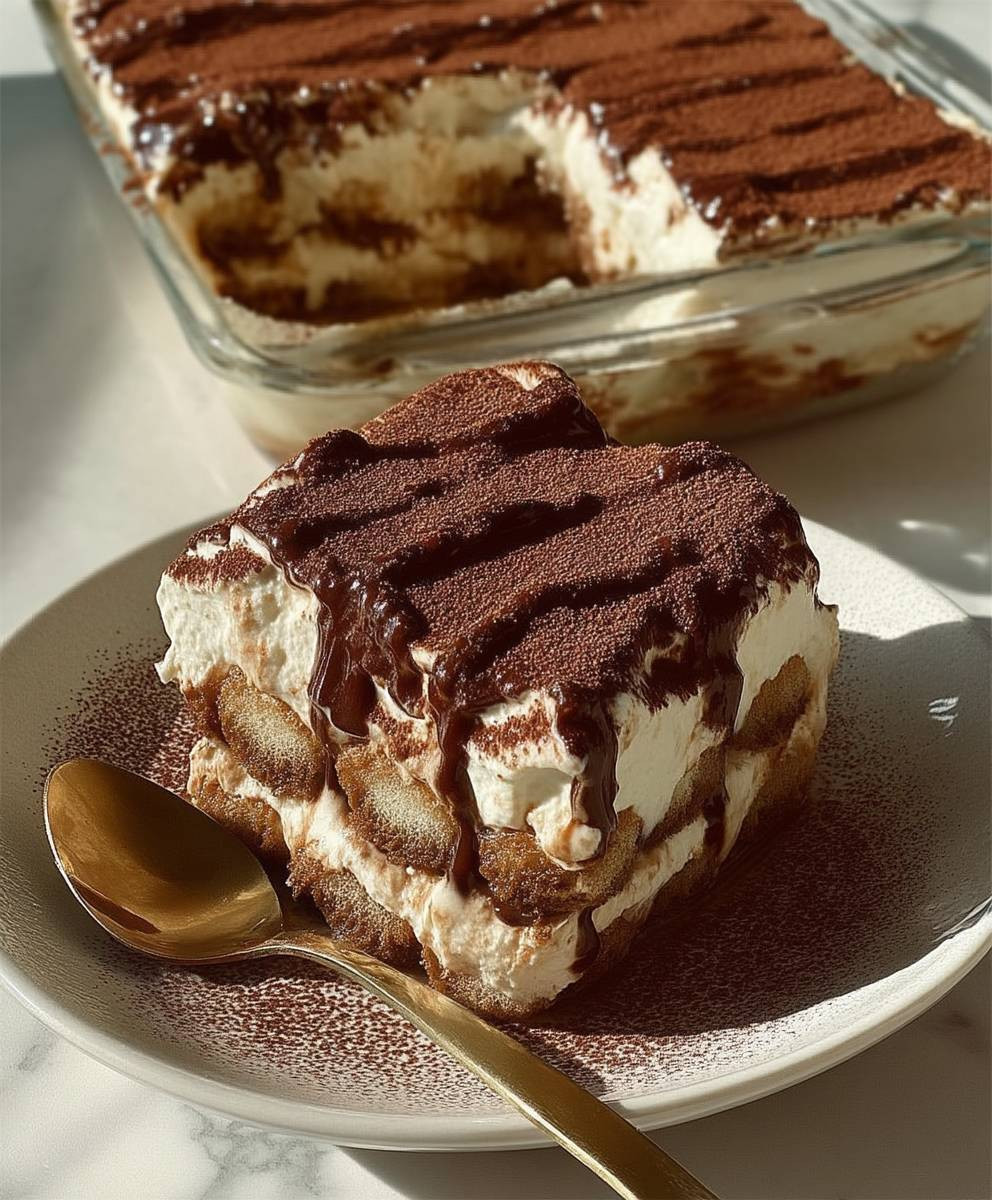
What makes tiramisu so universally adored? It’s the perfect balance of bitter and sweet, the creamy smoothness contrasted with the slight crunch of the ladyfingers, and the invigorating coffee flavor that provides a delightful boost. Beyond its taste, tiramisu is also relatively easy to prepare, making it a fantastic option for both casual gatherings and special occasions. This version elevates the classic with an emphasis on visual appeal, transforming it into a true work of art. Get ready to create an aesthetic tiramisu that will be the highlight of any event!

Ingredients:
- For the Ladyfingers:
- 1 cup all-purpose flour
- 1/4 teaspoon salt
- 4 large eggs, separated
- 1/2 cup granulated sugar, divided
- 1 teaspoon vanilla extract
- Powdered sugar, for dusting
- For the Coffee Syrup:
- 1 1/2 cups strong brewed coffee, cooled
- 1/4 cup coffee liqueur (such as Kahlua), optional
- 2 tablespoons granulated sugar
- For the Mascarpone Cream:
- 1 1/2 cups heavy cream, cold
- 1/2 cup granulated sugar
- 1 pound (16 ounces) mascarpone cheese, cold
- 1 teaspoon vanilla extract
- Pinch of salt
- For Dusting:
- Unsweetened cocoa powder
- Optional Garnishes:
- Chocolate shavings
- Espresso beans
- Fresh berries (strawberries, raspberries)
Making the Ladyfingers (Savoiardi)
Okay, let’s tackle the ladyfingers first. I know it seems like a lot of work, but trust me, homemade ladyfingers are SO much better than store-bought. They’re lighter and airier, and they soak up the coffee syrup beautifully.
- Preheat and Prep: Preheat your oven to 350°F (175°C). Line two baking sheets with parchment paper. This is crucial, or the ladyfingers will stick!
- Dry Ingredients: In a medium bowl, whisk together the flour and salt. Set aside.
- Egg Yolks and Sugar: In a large bowl, beat the egg yolks with 1/4 cup of the granulated sugar using an electric mixer until pale yellow and thickened. This usually takes about 3-5 minutes. Add the vanilla extract and mix until combined.
- Egg Whites and Sugar: In a separate, clean bowl (make sure it’s grease-free!), beat the egg whites with an electric mixer until soft peaks form. Gradually add the remaining 1/4 cup of granulated sugar, beating until stiff, glossy peaks form. Don’t overbeat, or the egg whites will become dry.
- Combine Wet and Dry: Gently fold the egg yolk mixture into the egg white mixture in two additions. Be careful not to deflate the egg whites. This is what gives the ladyfingers their airy texture.
- Add Flour: Gradually fold the flour mixture into the egg mixture in three additions, being careful not to overmix. Overmixing will develop the gluten in the flour, resulting in tough ladyfingers.
- Pipe the Ladyfingers: Transfer the batter to a piping bag fitted with a large round tip (or just cut the tip off a disposable piping bag). Pipe the batter onto the prepared baking sheets in 3-4 inch long strips, about 1 inch apart.
- Dust with Sugar: Dust the ladyfingers generously with powdered sugar. Let them sit for 5 minutes, then dust with powdered sugar again. This helps create a slightly crisp exterior.
- Bake: Bake for 12-15 minutes, or until the ladyfingers are lightly golden brown.
- Cool: Let the ladyfingers cool completely on the baking sheets before removing them. They should be crisp and dry.
Making the Coffee Syrup
While the ladyfingers are cooling (or even while they’re baking!), let’s whip up the coffee syrup. This is what gives tiramisu its signature flavor, so don’t skimp on the good coffee!
- Combine Ingredients: In a small saucepan, combine the brewed coffee, coffee liqueur (if using), and granulated sugar.
- Simmer: Heat over medium heat, stirring until the sugar is dissolved.
- Cool: Remove from heat and let the syrup cool completely. You can even refrigerate it to speed up the process.
Making the Mascarpone Cream
Now for the star of the show: the mascarpone cream! This is what makes tiramisu so rich and decadent. Make sure your ingredients are cold for the best results.
- Whip the Cream: In a large bowl, beat the heavy cream with an electric mixer until soft peaks form.
- Add Sugar: Gradually add the granulated sugar, beating until stiff peaks form. Be careful not to overwhip, or the cream will turn into butter.
- Add Mascarpone: In a separate bowl, gently whisk the mascarpone cheese until smooth and creamy. This is important because cold mascarpone can be lumpy.
- Combine: Gently fold the whipped cream into the mascarpone cheese in two additions. Add the vanilla extract and salt, and fold until just combined. Be careful not to overmix, or the cream will deflate.
Assembling the Tiramisu
Alright, we’ve made all the components! Now comes the fun part: assembling the tiramisu. This is where you can get creative with the presentation.
- Choose Your Dish: Select a serving dish. A 9×13 inch baking dish works well, but you can also use individual glasses or ramekins for a more elegant presentation.
- Dip the Ladyfingers: Quickly dip each ladyfinger into the cooled coffee syrup, one at a time. Don’t soak them for too long, or they’ll become soggy. Aim for a quick dip on each side.
- First Layer: Arrange the soaked ladyfingers in a single layer on the bottom of the dish, covering the entire surface. You may need to break some ladyfingers to fit.
- Cream Layer: Spread half of the mascarpone cream evenly over the ladyfinger layer.
- Second Layer: Repeat steps 2 and 3 with the remaining ladyfingers and coffee syrup.
- Final Cream Layer: Spread the remaining mascarpone cream evenly over the second layer of ladyfingers.
- Dust with Cocoa: Dust the top of the tiramisu generously with unsweetened cocoa powder. Use a fine-mesh sieve for even distribution.
- Chill: Cover the tiramisu with plastic wrap and refrigerate for at least 4 hours, or preferably overnight. This allows the flavors to meld together and the ladyfingers to soften.
- Garnish (Optional): Before serving, garnish with chocolate shavings, espresso beans, or fresh berries, if desired.
- Serve: Cut into squares and serve chilled. Enjoy!
Tips for an Aesthetic Tiramisu:
- Layering: Pay attention to your layering. Make sure the ladyfingers are evenly distributed and the cream is spread smoothly.
- Cocoa Dusting: Use a stencil to create a design with the cocoa powder. You can find stencils online or make your own.
- Garnishes: Use high-quality chocolate shavings or espresso beans for a sophisticated look. Fresh berries add a pop of color and freshness.
- Individual Servings: Layer the tiramisu in individual glasses or ramekins for a more elegant presentation.
- Edible Flowers: Add a few edible flowers for a touch of whimsy.
- Coffee Bean Arrangement: Arrange a few coffee beans in a decorative pattern on top of the cocoa powder.
- Chocolate Drizzle: Drizzle melted chocolate over the top of the tiramisu for an extra touch of indulgence.
- Use High-Quality Ingredients: The better the ingredients, the better the tiramisu will taste and look.
- Don’t Oversoak: Be careful not to oversoak the ladyfingers, or they will become soggy. A quick dip is all you need.
- Chill Properly: Chilling the tiramisu for at least 4 hours is essential for the flavors to meld together and the ladyfingers to soften.
Conclusion:
So, there you have it! This isn’t just any dessert; it’s an experience, a journey for your taste buds, and a guaranteed showstopper. I truly believe this aesthetic tiramisu recipe is a must-try for anyone who appreciates the finer things in life, or simply loves a good, decadent treat. The layers of coffee-soaked ladyfingers, the creamy mascarpone filling, and the dusting of cocoa powder create a symphony of flavors and textures that will leave you wanting more.
But why is it a must-try, you ask? Well, beyond the incredible taste, it’s surprisingly achievable. I’ve broken down each step to make it as simple and straightforward as possible, even for beginner bakers. Plus, the presentation is absolutely stunning. Imagine bringing this to your next dinner party – you’ll be the star of the show! It’s the perfect balance of elegance and ease, making it a winner in my book.
And the best part? You can totally customize it to your liking! Feeling adventurous? Try adding a splash of your favorite liqueur to the coffee mixture for an extra kick. A little rum, brandy, or even amaretto would work wonders. Or, if you’re not a coffee fan (gasp!), you could soak the ladyfingers in chocolate milk or even a fruit juice for a completely different flavor profile.
For serving suggestions, I personally love to enjoy this tiramisu chilled, straight from the fridge. It’s the perfect ending to a delicious meal, or even a delightful afternoon treat with a cup of coffee (or tea, if you’re not feeling the coffee-soaked ladyfingers!). You can also get creative with your presentation. Serve individual portions in elegant glasses or ramekins for a sophisticated touch. A sprinkle of chocolate shavings or a few fresh berries on top would also elevate the look.
Another fun variation is to incorporate different types of chocolate. Instead of just dusting with cocoa powder, you could add a layer of grated dark chocolate or even white chocolate shavings between the mascarpone layers. This would add another layer of complexity and richness to the dessert. You could even try using different flavored ladyfingers, if you can find them!
Don’t be intimidated by the fancy name or the elegant appearance. This aesthetic tiramisu is truly a labor of love, but it’s a love that’s easily shared and enjoyed. The recipe is designed to be approachable and fun, so don’t be afraid to experiment and make it your own.
I’m so excited for you to try this recipe and experience the magic of homemade tiramisu. It’s a dessert that’s sure to impress your friends and family, and it’s a wonderful way to treat yourself to something special.
So, what are you waiting for? Gather your ingredients, put on your apron, and get baking! I promise you won’t regret it. And when you do, please, please, please share your creations with me! I’d love to see your photos and hear about your experiences. Tag me on social media or leave a comment below – I can’t wait to see your beautiful tiramisu masterpieces! Happy baking!
Aesthetic Tiramisu: The Ultimate Guide to a Beautiful Dessert
Classic Italian Tiramisu with homemade ladyfingers, rich mascarpone cream, and a coffee liqueur-infused syrup. A decadent dessert perfect for any occasion.
Ingredients
Instructions
Recipe Notes
- Homemade ladyfingers are recommended for the best flavor and texture.
- Make sure all ingredients for the mascarpone cream are cold.
- Don’t oversoak the ladyfingers in the coffee syrup.
- Chill the tiramisu for at least 4 hours to allow the flavors to meld.
- Use high-quality ingredients for the best results.
- For an aesthetic presentation, pay attention to layering, cocoa dusting, and garnishes.
Leave a Comment