
Melt In Your Mouth Cake A Simple Delight That Costs Next To Nothing
Oh, prepare yourselves, because I am absolutely thrilled to share a recipe that is about to become your new best friend in the kitchen: Melt In Your Mouth Cake A Simple Delight That Costs Next To Nothing. Seriously, this isn’t just a catchy name; it’s a promise! I’ve lost count of how many times I’ve whipped this up for spontaneous guests or just when a sweet craving hits, and it never disappoints.
What makes this cake so incredibly special, you ask? Well, it’s the magical trifecta of utterly delicious taste, ridiculously simple preparation, and a price tag that will make your wallet sing. We all want to create something wonderful without breaking the bank or spending hours fussing, right? This recipe delivers exactly that. It’s proof that some of the best things in life truly are simple and affordable. You’ll love it because it takes humble, everyday pantry staples and transforms them into a dessert so tender, so moist, it quite literally dissolves on your tongue, leaving behind a pure, comforting sweetness that feels like a warm hug.
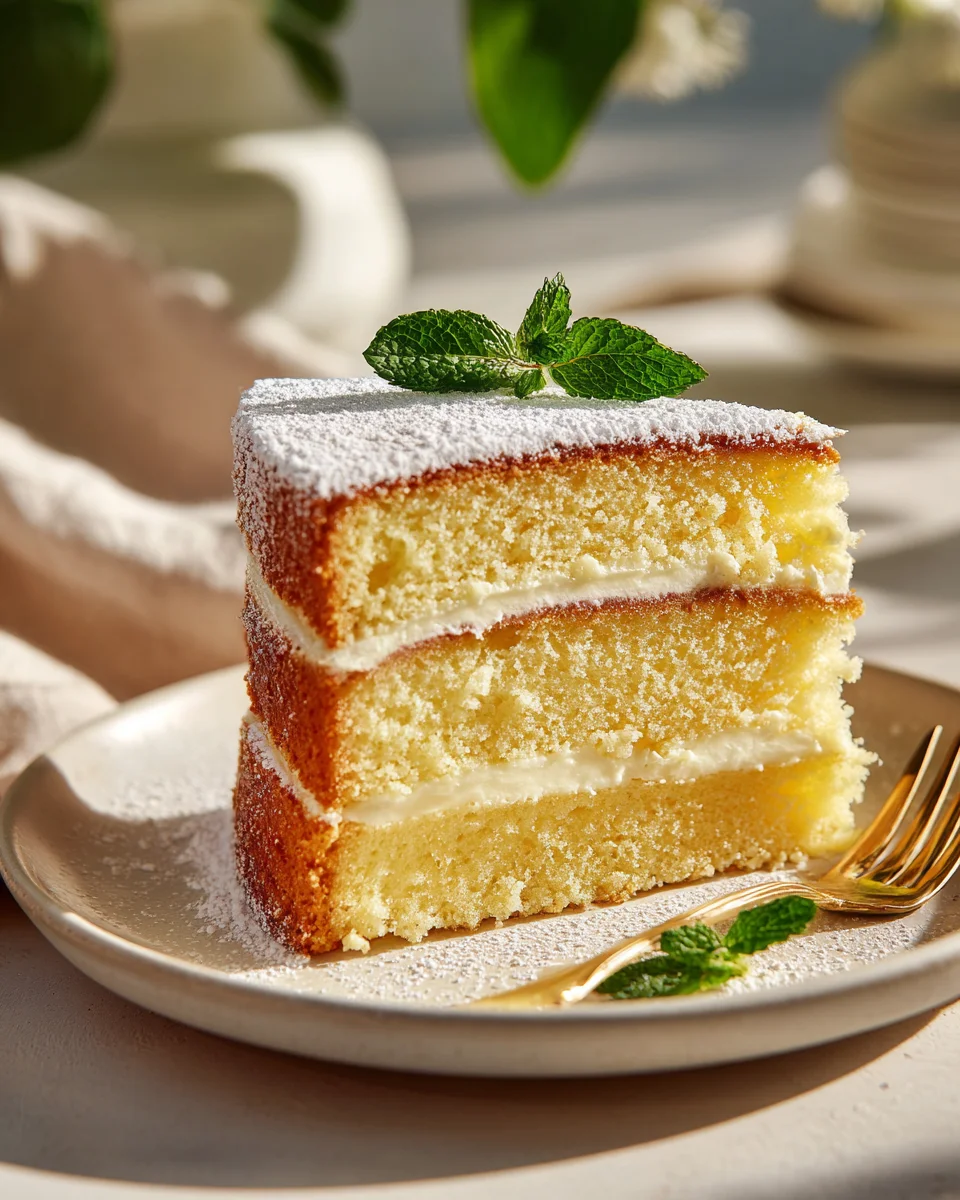
So, what exactly is this delightful creation? Imagine a light, fluffy cake with an unbelievably tender crumb that’s subtly sweet and wonderfully moist throughout. It’s the kind of cake that doesn’t need fancy frosting or elaborate decorations to shine; its inherent deliciousness speaks for itself. Perfect for an everyday treat with a cup of coffee or tea, a last-minute potluck contribution, or simply when you need a little moment of pure, unadulterated joy. Get ready to bake a cake that lives up to its name and becomes a staple in your home!

Welcome to my kitchen, where we’re about to create something truly magical without breaking the bank! This “Melt In Your Mouth Cake” is a recipe I hold dear because it proves that deliciousness doesn’t have to come with a hefty price tag. It’s incredibly simple, uses everyday ingredients, and the result is a cake so tender and moist, it practically dissolves on your tongue. Let’s get baking!
Ingredient Notes
The beauty of this “Melt In Your Mouth Cake” lies in its simplicity and the affordability of its ingredients. We’re talking about pantry staples that come together to create something truly special. Here’s a rundown of what you’ll need and why each component is key to that incredible texture and low cost.
-
All-Purpose Flour
- I always reach for regular all-purpose flour for this cake. It’s the most economical option and provides just the right amount of structure without making the cake dense. For that ‘melt in your mouth’ tenderness, precise measurement is crucial – I suggest spooning your flour into a measuring cup and leveling it off with a straight edge rather than scooping directly from the bag.
- Substitution: While cake flour would make it even more tender, it adds to the cost. If you absolutely only have self-rising flour, omit the baking powder and baking soda listed below. However, I highly recommend sticking with all-purpose for consistency and cost-effectiveness.
-
Granulated Sugar
- Plain white granulated sugar is our sweetener. It contributes to the cake’s tenderness and helps create that beautiful, light crust. It’s inexpensive and readily available.
- Substitution: Brown sugar could add a slightly deeper flavor and more moisture, but it’s typically a bit more expensive. Stick with granulated to keep costs down.
-
Large Eggs
- Eggs are essential for structure, richness, and binding the ingredients together. They also contribute to the cake’s overall moisture and tenderness. Room temperature eggs emulsify better with other ingredients, leading to a smoother batter and finer crumb.
- Substitution: For a truly ‘melt in your mouth’ texture, I find eggs irreplaceable. I haven’t found a vegan substitute that gives quite the same light, airy result without significantly increasing the cost or complexity.
-
Vegetable Oil
- This is where a lot of the magic happens for that ‘melt in your mouth’ texture and budget-friendliness! Vegetable oil, such as canola or sunflower oil, creates an incredibly moist and tender crumb that stays soft for days. Unlike butter, which can make cakes denser, oil keeps things wonderfully light and open. Plus, it’s typically far cheaper than butter.
- Substitution: Any neutral-flavored liquid oil will work. Margarine could be used, but you might lose a little of that unique oil-based tenderness, and it’s generally not as cheap as generic vegetable oil.
-
Milk
- Milk adds moisture and richness to our cake. Any type of dairy milk (whole, 2%, skim) will work beautifully, so use whatever you have on hand. Room temperature milk also helps create a smooth, lump-free batter.
- Substitution: For an even cheaper option, you can substitute milk with water. The cake will still be moist, but you might notice a slight difference in richness. Non-dairy milks like almond or soy milk also work well if you need an alternative, though they might add a bit to the cost.
-
Baking Powder & Baking Soda
- These leavening agents are crucial for giving our cake its light, airy structure. They work together to create the lift that prevents the cake from being dense, contributing directly to that ‘melt in your mouth’ lightness.
- Substitution: Ensure your baking powder and soda are fresh. There’s no direct substitute if you want a properly risen cake.
-
Vanilla Extract
- A touch of vanilla extract rounds out all the flavors, giving the cake a warm, comforting aroma and taste. It’s a small addition that makes a big difference.
- Substitution: If you’re really trying to cut costs, you can omit it. However, a little vanilla imitation extract is usually very affordable and adds so much. Lemon zest or a tiny pinch of cinnamon could also be used for a different flavor profile if you have them on hand.
Step-by-Step Instructions
Making this “Melt In Your Mouth Cake” is a breeze! Just follow these simple steps, and you’ll have a tender, delicious treat in no time. Precision and gentleness are key for that perfect texture.
-
Prepare Your Pan and Oven
- Start by preheating your oven to 350°F (175°C). This ensures the oven is at the correct temperature when your batter goes in, promoting even rising.
- Lightly grease and flour a 9×13 inch baking pan, or spray it with non-stick baking spray. If you prefer, you can also line the bottom with parchment paper for easy removal, though for such a simple cake, just greasing and flouring works perfectly.
-
Combine Dry Ingredients
- In a large mixing bowl, whisk together your all-purpose flour, granulated sugar, baking powder, baking soda, and a pinch of salt (if not using salted butter). Whisking them well ensures the leavening agents are evenly distributed, which is important for a consistent rise and that delicate crumb.
-
Combine Wet Ingredients
- In a separate medium bowl, whisk together the vegetable oil, eggs (make sure they’re at room temperature for better emulsion!), milk (also at room temperature), and vanilla extract until well combined.
-
Gently Combine Wet and Dry Mixtures
- Pour the wet ingredients into the dry ingredients. Using a spatula or a wooden spoon, gently mix until just combined. The most crucial tip for a ‘melt in your mouth’ cake is to avoid overmixing! Overmixing develops the gluten in the flour, which can lead to a tough, chewy cake. A few lumps are perfectly fine; they’ll disappear during baking.
-
Pour and Bake
- Pour the batter evenly into your prepared baking pan.
- Bake for 25-30 minutes, or until a wooden skewer or toothpick inserted into the center comes out clean. The top should be golden brown and spring back lightly when gently pressed. Keep an eye on it towards the end, as oven temperatures can vary.
-
Cool
- Once baked, remove the cake from the oven and let it cool in the pan on a wire rack for about 10-15 minutes. This allows the cake to set and prevents it from crumbling.
- After partial cooling, you can carefully invert the cake onto the wire rack to cool completely. If you prefer, you can also simply slice and serve it directly from the pan once it’s cool enough to handle.
Tips & Suggestions
To truly get that “Melt In Your Mouth” experience from this simple, budget-friendly cake, I have a few extra tips and suggestions that I’ve learned along the way. These will help you achieve the perfect texture and keep your costs down!
-
Don’t Overmix Your Batter!
- This is probably the single most important tip for achieving that delicate, melt-in-your-mouth crumb. Once you combine the wet and dry ingredients, mix only until no streaks of dry flour remain. A few small lumps are perfectly acceptable and even preferred over an overmixed batter. Overmixing develops the gluten, leading to a tough, chewy cake – the opposite of what we want!
-
Room Temperature Ingredients are Your Friend
- Using room temperature eggs and milk helps them emulsify better with the oil, creating a smoother, more uniform batter. This translates to a finer, more tender crumb in the final cake. If you forget to take them out ahead of time, you can quickly warm eggs in a bowl of warm (not hot) water for 5-10 minutes, and milk can be gently warmed in the microwave for 15-20 seconds.
-
Measure Accurately, Especially Flour
- Baking is a science, and precise measurements are key, especially with flour. Too much flour can lead to a dry, dense cake. I recommend using the “spoon and level” method: spoon the flour into your measuring cup until overflowing, then level it off with the back of a knife or a straight edge. Don’t scoop directly from the bag, as this compacts the flour and results in too much being used.
-
Keep It Simple for ‘Next To Nothing’ Cost
- This cake is fantastic on its own. A simple dusting of powdered sugar (if you have it) is often all it needs. If you want a bit more, a basic glaze made from powdered sugar and a tiny bit of milk or water (and a drop of vanilla) is incredibly cheap and adds a nice touch without adding significant cost. Avoid expensive frostings if you’re sticking strictly to the budget theme.
-
Flavor Variations (Budget-Friendly)
- Citrus Zest: If you happen to have an orange or lemon on hand, a teaspoon of grated zest added to the wet ingredients can provide a wonderfully fresh and vibrant flavor without adding to your grocery bill.
- Cocoa Powder: For a simple chocolate version, substitute 1/4 cup of the flour with unsweetened cocoa powder. This won’t drastically increase the cost and gives a lovely chocolatey twist.
- Spices: A pinch of cinnamon or nutmeg (if they’re already in your spice rack) can add a warm, comforting note, especially perfect for cooler weather.
-
Don’t Overbake!
- A slightly underbaked cake is often more moist and ‘melt in your mouth’ than an overbaked one. Start checking for doneness at the lower end of the baking time. The toothpick test is your best friend here!
Storage
One of the best things about this “Melt In Your Mouth Cake” is how well it stores, meaning you can enjoy its simple deliciousness for days! Proper storage is key to maintaining that incredible tender texture.
-
At Room Temperature
- If your cake is unfrosted or simply has a light dusting of powdered sugar or a basic glaze, it will store beautifully at room temperature. Simply place the cooled cake in an airtight container. This will keep it fresh, moist, and wonderfully tender for 3-4 days. I find it tastes best and maintains its ‘melt in your mouth’ quality when stored this way.
- Make sure the cake is completely cool before storing. Storing a warm cake will create condensation, making it soggy.
-
In the Refrigerator
- If you live in a very warm or humid climate, or if you’ve added a frosting that requires refrigeration (though for this budget-friendly cake, I usually stick to simple toppings), you can store it in the refrigerator. Again, an airtight container is crucial.
- When stored in the fridge, the cake can last for up to 5-7 days. However, be aware that refrigeration can sometimes slightly alter the texture of cakes, making them a little firmer. I recommend bringing refrigerated cake slices to room temperature for about 20-30 minutes before serving to restore that soft, melt-in-your-mouth tenderness.
-
Freezing
- Yes, this cake freezes wonderfully! If you want to make it ahead or save some for much later, freezing is a fantastic option.
- To Freeze a Whole Cake: Ensure the cake is completely cooled. Wrap it tightly in several layers of plastic wrap, then an additional layer of aluminum foil. This double wrapping helps prevent freezer burn.
- To Freeze Slices: If you know you’ll only want a slice at a time, it’s great to freeze individual portions. Wrap each cooled slice individually in plastic wrap, then place them in an airtight freezer-safe bag or container.
- Frozen cake can be stored for up to 2-3 months.
- To Thaw: Simply transfer the wrapped cake (or individual slices) to the refrigerator overnight, or let it sit at room temperature for a few hours until fully thawed. Once thawed, enjoy it as you would a fresh cake!
Final Thoughts
I truly hope you’ll give Melt In Your Mouth Cake A Simple Delight That Costs Next To Nothing a try. It’s more than just a cake; it’s a testament to how incredible baking can be without breaking the bank or requiring advanced skills. The name really says it all – that amazing texture that simply dissolves, the pure delight of its flavor, and the sheer joy of creating something so wonderful from everyday ingredients. You’ll find yourself reaching for this recipe again and again, whether for a quick treat, an impromptu gathering, or just to satisfy that sweet craving. Trust me, once you experience the magic of this budget-friendly masterpiece, you’ll understand why it’s a staple in my kitchen. Happy baking!

Easy Melt In Your Mouth Cake Recipe – Affordable & Delicious
- Total Time: 45 minutes
- Yield: 12 servings 1x
Description
This Melt In Your Mouth Cake is a delightful treat that combines simplicity and affordability, making it perfect for any occasion. With its tender crumb and moist texture, it’s sure to become a favorite in your home.
Ingredients
- 2 cups All-Purpose Flour
- 1 1/2 cups Granulated Sugar
- 1 tablespoon Baking Powder
- 1/2 teaspoon Baking Soda
- 1/2 teaspoon Salt (if not using salted butter)
- 1/2 cup Vegetable Oil
- 3 Large Eggs
- 1 cup Milk
- 1 teaspoon Vanilla Extract
Instructions
- Preheat your oven to 350°F (175°C). Lightly grease and flour a 9×13 inch baking pan, or spray it with non-stick baking spray.
- In a large mixing bowl, whisk together the all-purpose flour, granulated sugar, baking powder, baking soda, and a pinch of salt.
- In a separate medium bowl, whisk together the vegetable oil, eggs, milk, and vanilla extract until well combined.
- Pour the wet ingredients into the dry ingredients and gently mix until just combined. Avoid overmixing.
- Pour the batter evenly into your prepared baking pan.
- Bake for 25-30 minutes, or until a wooden skewer or toothpick inserted into the center comes out clean.
- Once baked, remove the cake from the oven and let it cool in the pan on a wire rack for about 10-15 minutes. Then, carefully invert the cake onto the wire rack to cool completely.
- Prep Time: 15 mins
- Cook Time: 30 mins
- Category: Dessert
- Method: Baking
- Cuisine: American
Nutrition
- Serving Size: 1 slice
- Calories: 200
- Sugar: 20 g
- Sodium: 150 mg
- Fat: 8 g
- Saturated Fat: 1 g
- Unsaturated Fat: 7 g
- Trans Fat: 0 g
- Carbohydrates: 30 g
- Fiber: 1 g
- Protein: 3 g
- Cholesterol: 50 mg
Keywords: Don't overmix your batter to achieve a delicate crumb. Use room temperature ingredients for better emulsification, and measure flour accurately to avoid a dense cake. A simple dusting of powdered sugar or a basic glaze can enhance the cake without adding significant cost.
Leave a Comment